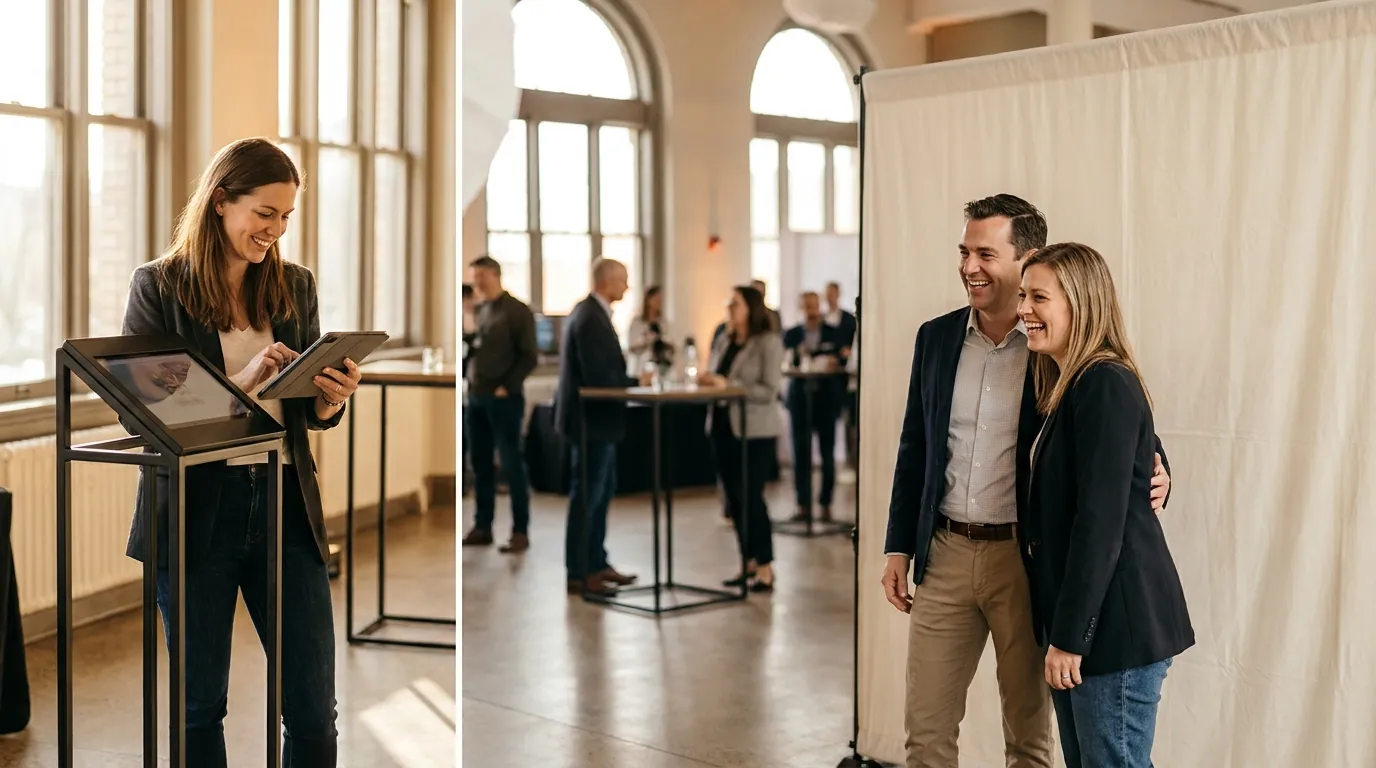


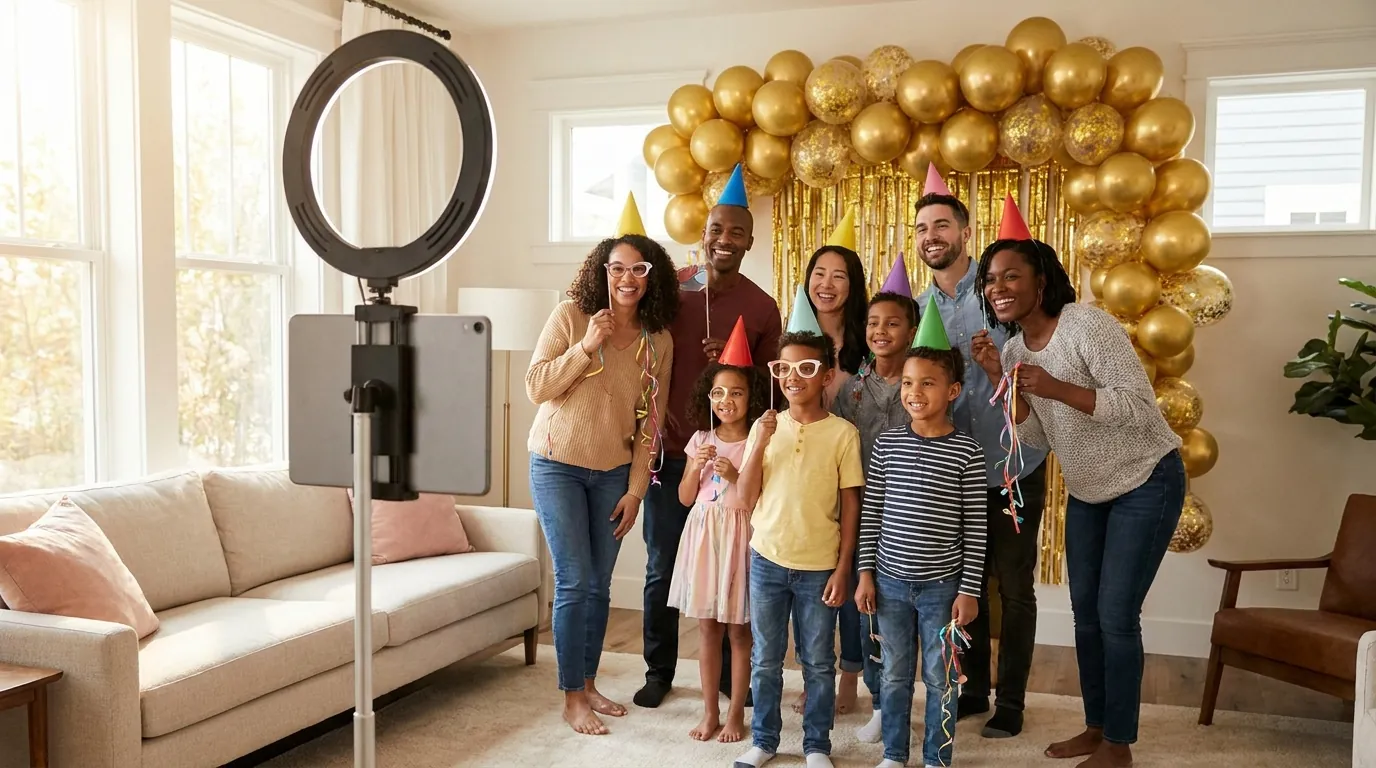
To set up a photo booth for a birthday party, you need five things: a clear corner of about 8 by 8 feet, a device to run the booth (a laptop or an iPad), a camera, soft front lighting and a simple backdrop. Add a template with the birthday name and date, a basket of props and a way to share photos instantly, and you have a booth guests will line up for.
This guide walks through each step, explains what changes between a kids party and a milestone 30th, 40th or 50th, and helps you decide whether to build it yourself or book a rental.
Pick the spot and plan the space
The location matters more than the gear. Put the booth where people pass by but not where they block the cake table or the bar. A corner near the main room works well because guests see others having fun and want a turn.
- Floor area: plan roughly 8 by 8 feet. Groups need room to step back, and kids will want to jump.
- Distance: keep about 6 to 8 feet between the camera and the backdrop so a group of four fits in the frame.
- Power: you need an outlet for the device, the light and a printer if you use one. Tape down every cable.
- Background noise: a quieter spot helps if you plan a video or boomerang mode with spoken messages.
Avoid placing the booth in front of a bright window. Daylight behind guests turns faces dark. If the only space faces a window, close the blinds or turn the setup sideways.
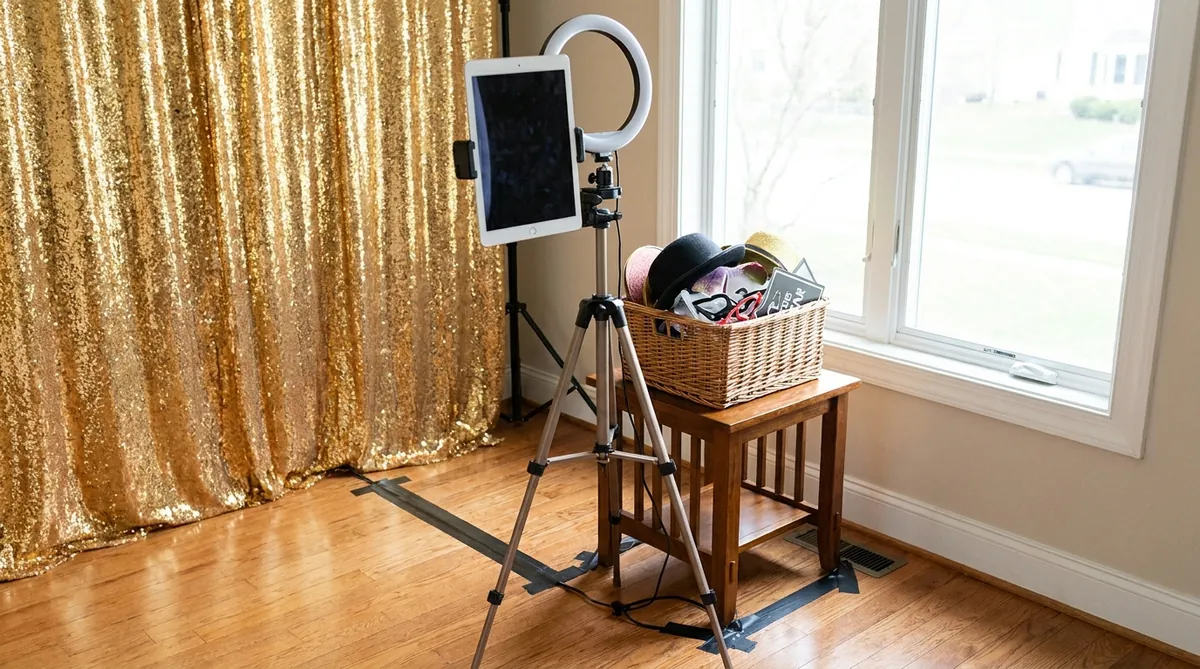
Build the backdrop, props and birthday template
The backdrop sets the mood in every photo. A sequin curtain, a balloon garland, a fabric wall or a printed banner all work. Typical DIY backdrops cost around $20 to $60, and you can find plenty of ideas in our list of photo booth backdrop ideas for every budget. Keep it wide enough for a group, at least 6 feet.
Props should match the theme and stay simple: oversized glasses, crowns, number balloons for the age, speech bubble signs and a few hats. Put them in a basket on a small table to the side so people grab them without crowding the frame.
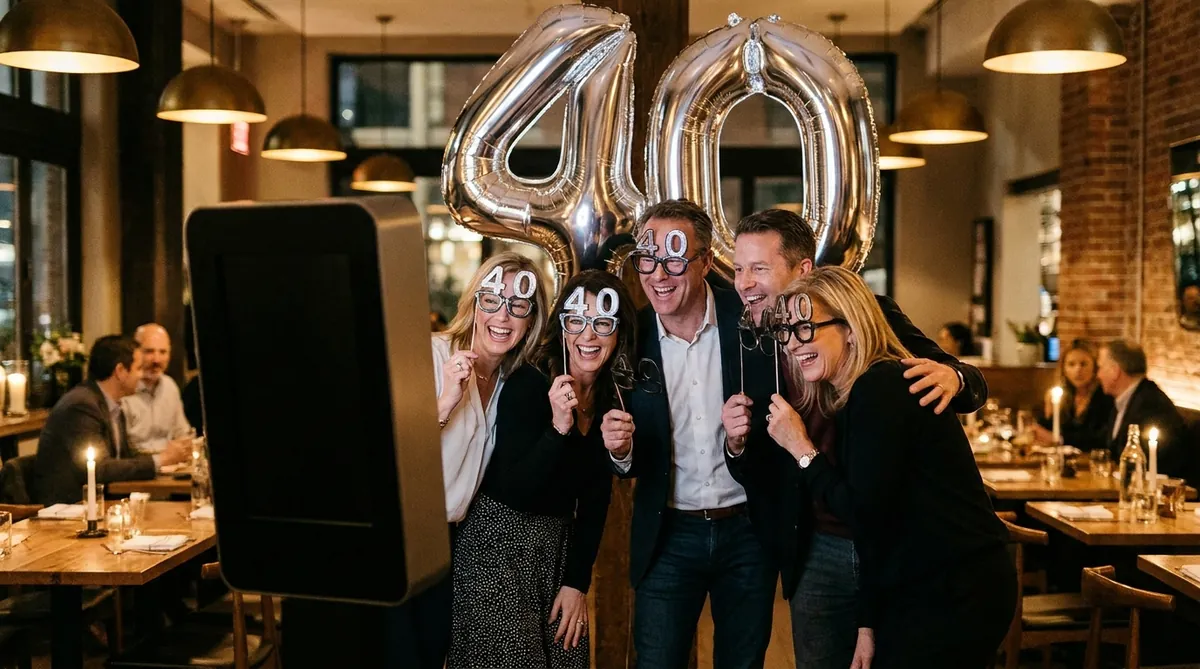
The template is what turns a photo into a keepsake. Add a frame with the birthday person's name, the age or "Happy 40th" and the date. Match the colors to the party invitations. In AI Photo Booth Pro you can create custom output templates with your own text and logo on every plan, and if you run several modes at one party, each mode can have its own frame.
Two practical tips: put an adult near the booth for the first half hour, and turn off any step that asks for typing. Kids will simply walk away.
Whatever the age, decide in advance whether you print. Guests at milestone parties often want a physical strip to take home.
Set up the software and run a test event
Install the app on your device, create the event, choose your modes and attach your template. The tutorial below shows the full flow from creating an event to running it.
Run a full test a day before the party with someone acting as a guest. Check that the camera is sharp, faces are well lit, the template text is correct and sharing works on your home network. With AI Photo Booth Pro you can run several modes side by side in one event, for example classic photos for grandparents and AI effects for the kids.
Remember that AI effects, online sharing and cloud sync need an internet connection. Classic capture and printing can work offline with a compatible setup, which is a good fallback if the venue Wi-Fi is weak.

Try AI Photo Booth Pro free for 14 days
No credit card needed. Set up your first event in minutes.
Start Free TrialSharing and printing the photos
Most guests want the photo on their phone right away. Instant sharing by QR code is the fastest option: the guest scans the code on screen and gets their photo or GIF. Email and SMS sharing are available where supported. After the party, you can see the event results in the online dashboard and collect everything in one place for the family.
Printing adds a lot to a birthday. A compact dye sublimation photo printer is the usual choice because prints come out dry and quickly. Printer support depends on the model and operating system, so test it with your setup first. For layout and paper tips, read our photo booth strip printing guide.
DIY booth or rental: what fits your budget
A DIY booth makes sense if you already own an iPad or a laptop. Your costs are a light, a backdrop, props and, if you want AI features, the software. Typical DIY add-on costs for light, backdrop and props land somewhere around $80 to $250 depending on what you already have.
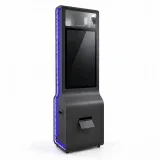
A rental makes sense if you want zero setup work or a large kiosk with printing and an attendant. Rental prices vary a lot by city and package, so ask for a quote that lists hours, prints and setup time.
If you plan to run booths for more than one party, or you are starting to offer booths to friends and clients, a subscription often pays off quickly because there are no per-event fees. You can compare plans and pricing before you decide.
One plan, unlimited events
Pro is {{price:aipb.pro.month}}/month or {{price:aipb.pro.year}}/year, for 2 devices with AI effects, face swap and AI video.
View pricing