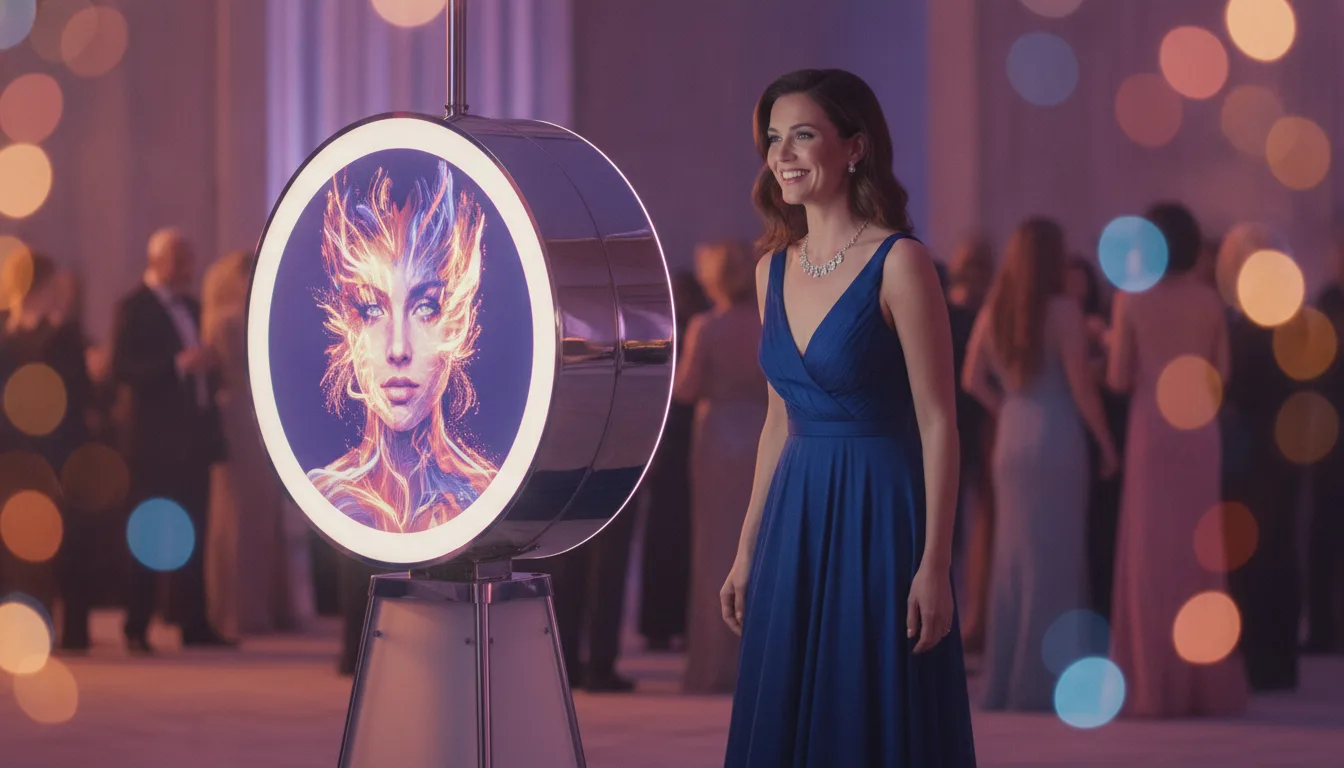
Running an event activation on a tablet used to mean settling for compromised features and walled gardens. Choosing the right photo booth software for ipad allows you to deliver professional-grade activations, streamline logistics, and maintain full compatibility across your entire equipment fleet.
A successful photobooth iPad deployment outputs crisp guest captures, automated social delivery via QR codes, and real-time cloud analytics without hardware instability. Before you step on-site, ensure you have an active Apple ID, iOS updated to the latest stable release, a secure booth stand, and your event credentials ready.
Why iPad Photo Booths Dominate Modern Event Activations
Tablets have shifted from novelty setups to frontline commercial workhorses. Their slim profiles let operators transport multiple rigs in standard vehicles, slashing transit overhead and setup labor on tight timelines.
Traditional iPad apps lock operators into proprietary tablet ecosystems. If you need a Windows desktop for heavy throughput on Friday and an iPad photo booth app on Saturday, paying two separate subscriptions hurts margins. Running multi-platform photo booth software eliminates that friction entirely.
Essential Hardware and Stand Considerations for iPad Rigs
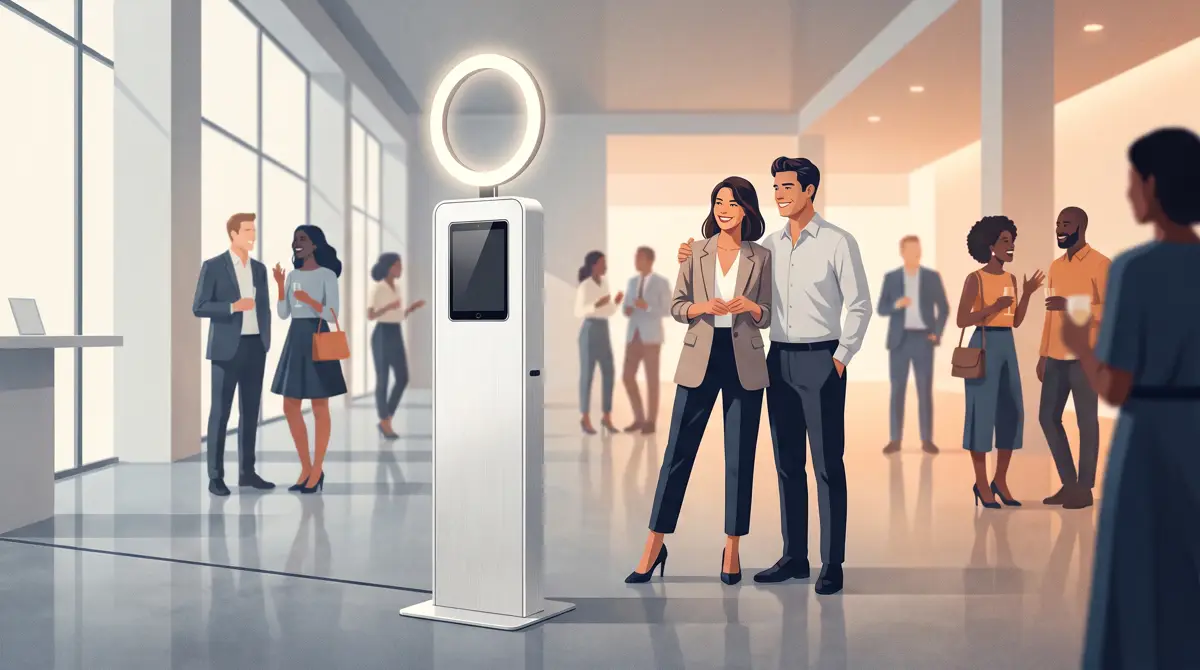
An iPad photo booth setup requires intentional hardware planning. The enclosure must protect the tablet against impacts while maintaining proper thermal ventilation during six-hour bookings.
Avoid basic consumer tablet brackets that obscure the lens or flex under firm guest taps. Choose heavy-base aluminum columns or rolling kiosks engineered specifically for photo booth rental operations. Proper constant ring lighting or integrated LED panels prevent the front-facing camera from graining out in dim venues.
Cable management inside your stand is critical. Always run commercial-grade USB-C power delivery cables directly to the wall rather than relying solely on battery reserves. Thermal throttling occurs when an enclosed tablet charges on high-wattage power blocks under full display brightness, so verify airflow around the enclosure.
Setting Up AI Photo Booth Pro on iPad: Step-by-Step Configuration
Configuring your activation takes only a few minutes when following an ordered sequence in the application.
- Log In to the App: Open the app on iOS and authenticate using your account credentials or a one-time verification email code.
- Create or Select Your Event: Navigate to Event Management. Tap Create New Event to launch the wizard, input your title, and select your orientation.
- Configure Capture and Booth Modes: Open Event Settings → Event Mode. Choose your booth layout (Classic, 360°, or GlamBot) and toggle your capture types, such as Photo, GIF, or Video.
- Apply Templates: Head to the Templates section to build a new canvas or import ready-made designs from the template library.
- Set Sharing Channels: In Sharing Settings, activate Activation Share to enable instant QR delivery and branded microsites.
- Lock the Interface: Open Event Settings → Kiosk, set a 4-digit Dashboard PIN to prevent guest tampering, and tap Run the App.
Overcoming Tablet Limitations: Dual-Device Seats, Cloud Sync, and Wireless Printing
Standalone tablets occasionally face resource bottlenecks during peak traffic. Using AI Photo Booth Pro solves this by including 2 device seats on every subscription, spanning Windows, macOS, iOS, and Android.
Use your iPad as the interactive capture kiosk while offloading management or gallery browsing to a secondary station. Thanks to automated cloud sync, an event configured on your office computer appears immediately on your iPad once signed into the same account.
Printing from iOS requires a clean network setup. While desktop environments support direct USB pipelines, tablets handle physical output over wireless protocols. Pair your setup with a wireless print server module like WCM Pro to drive commercial dye-sublimation units directly from the iPad.
Start an AI Photo Booth Pro 14-day trial
The active catalog lists a 14-day trial. Review the software page for current details.
Start FreeBest Practices for Maximizing Uptime and Guest Throughput on iOS
A flawless run comes down to locking down iOS settings before opening the queue. Never hand an unlocked device to attendees.
Enable Apple Guided Access in your iOS Accessibility settings to disable hardware buttons, swipe-up home gestures, and external notifications. Turn off auto-lock and adjust display brightness to manual to avoid mid-session dimming under shifting event venue lights.
Verify your end-to-end flow before guests arrive. Run a full test session: capture a photo, let the template render, scan the on-screen QR code on your smartphone, and print a physical proof. If you are incorporating custom designs, explore our guide on photo booth strip printing to keep paper waste at zero.

Keep your queue moving by streamlining the sharing screen. Limit result timers to 20 seconds so guests quickly grab their media and step aside for the next group.
Ready to see the current plans?
AI Photo Booth Pro monthly plans start at $79/mo in the active catalog.
See Plans and PricingRelated guide: Android Photo Booth App: How to Run a Photo Booth on an Android Tablet