Running an AI photo booth brand activation for a corporate client is very different from managing a casual party. Enterprise brand managers care about brand compliance, fast throughput, and reliable photo booth lead capture. If the system slows down or reveals generic default styling, clients hesitate to rebook.
To deliver an activation that commands professional corporate rates, operators must pair compelling visual effects with practical event engineering. Deploying capable ai photo booth software lets you transform attendee photos into branded marketing assets while gathering qualified business leads seamlessly.
Defining the AI Photo Booth Activation: Beyond Basic Snapshots
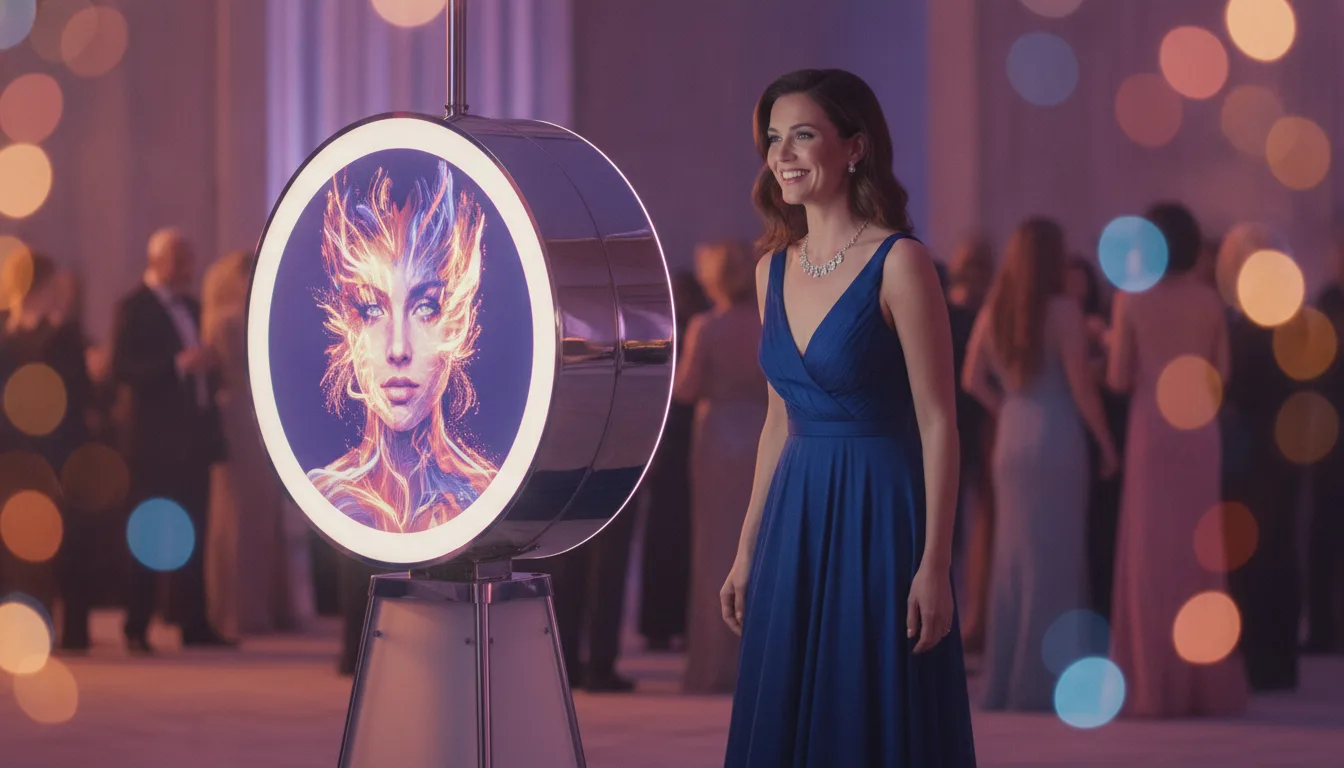
Standard photo booths place an overlay frame across an unmodified picture. An experiential ai photobooth goes much deeper, reshaping scenes using prompt-guided stylization, background adjustments, or curated face swaps. Attendees step in front of the lens and emerge as astronauts, retro icons, or company ambassadors that directly reflect the sponsor's campaign.
Corporate activations also introduce strict pacing demands. Trade show exhibits, conferences, and retail activations regularly see hundreds of visitors per hour. Booths cannot make guests wait through slow generation cycles, nor can operations collapse during spotty venue Wi-Fi. Success demands orderly queue flows, background processing, and clear digital delivery directly to attendee phones.
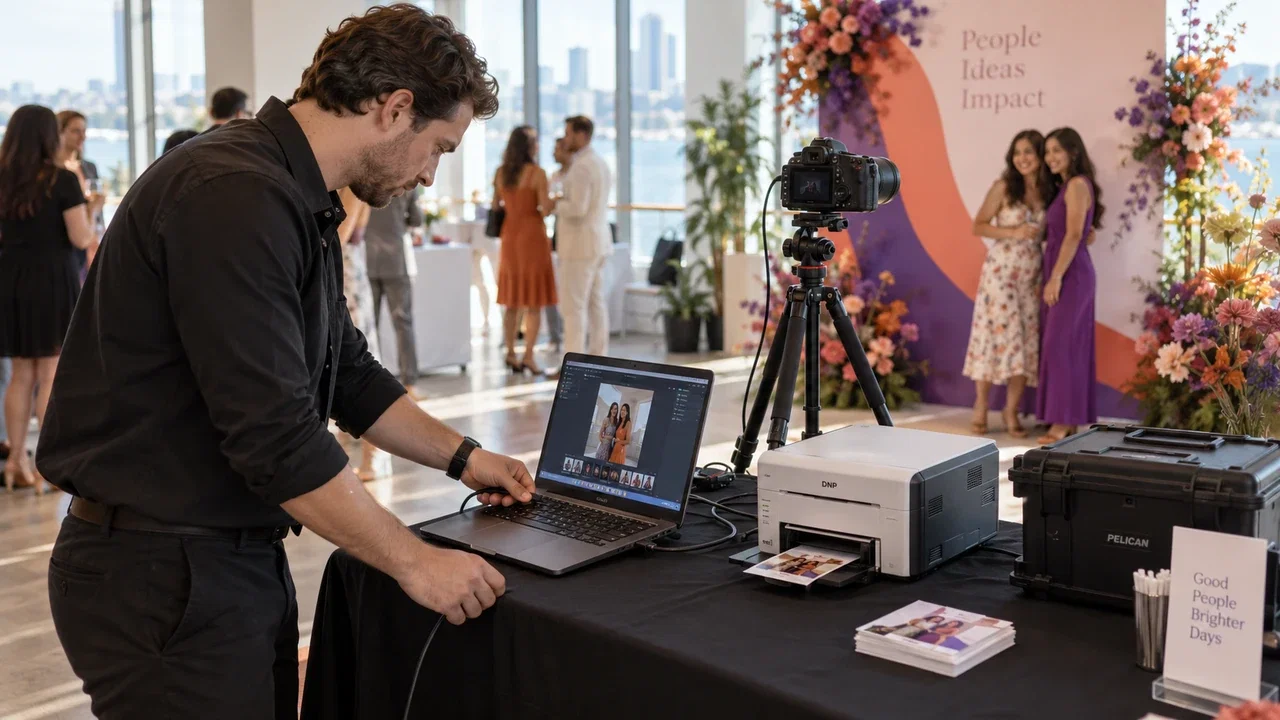
How AI Photos Work at Retail Activations
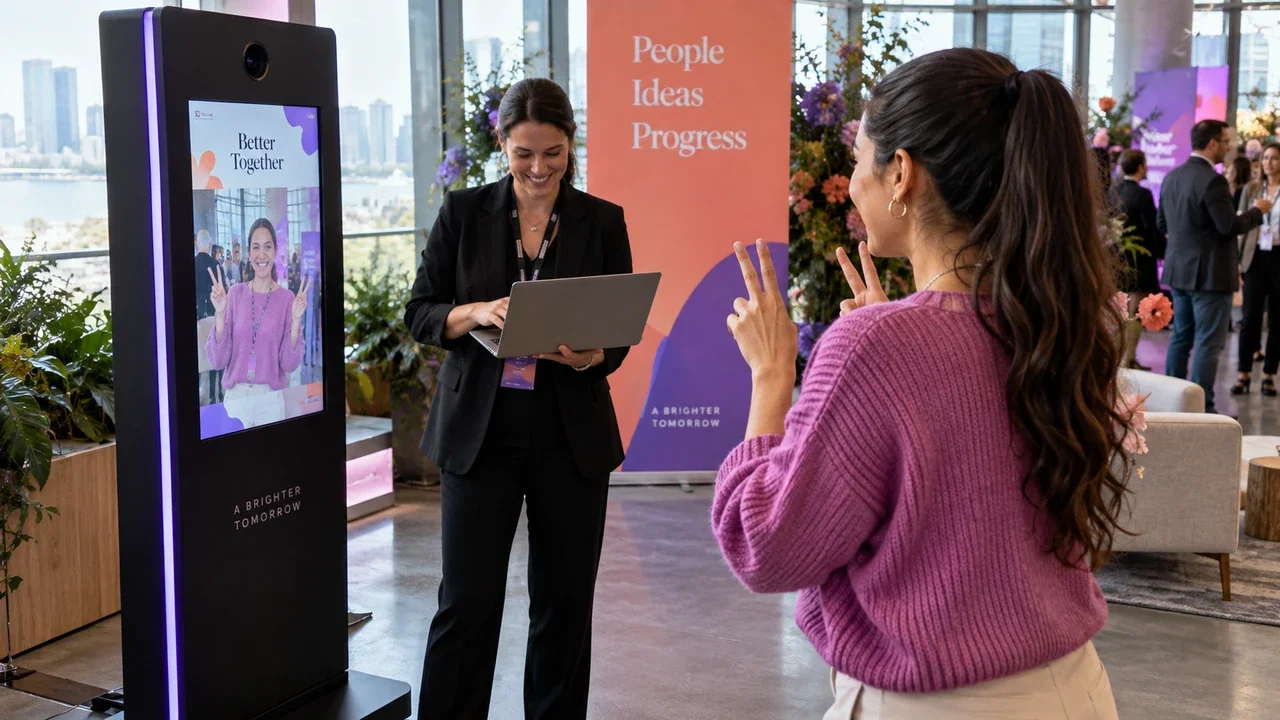
At a retail or in-store activation the guest journey has to stay short. With AI Photo Booth Pro it runs in four steps:
- Capture: the guest steps up to the booth and takes a photo on the capture screen.
- AI effect: the AI Effect or Face Swap pack you chose for the event is applied and placed in the brand's template.
- Share by QR: an on-screen ActivationShare QR code lets the guest download the image to their phone. Email and SMS delivery are optional.
- Lead data: if the survey is switched on, the name, email and opt-in answers are saved with the session for the brand's follow-up.
For store traffic, keep the effect list short and test your prompts under the store's own lighting before opening day.
Pre-Event Configuration: Effects, Prompts, and Templates
Preparation before load-in determines performance on the floor. Operators should lock in creative assets and confirm the capture workflow well before the doors open:
- Choose Stable Effects: In AI Photo Booth Pro, open your event and visit Settings → AI Assets. Select between prompt-driven AI Effects or curated Face Swap packs. For high-volume foot traffic, pre-tested stock effects or face swap collections ensure predictable turnaround without prompt variability.
- Test Custom Prompts Early: When authoring unique prompts in the AI Effects tab, test against different lighting setups, poses, and clothing before client sign-off to ensure clean facial details.
- Build Branded Layouts: In the Templates section, establish digital or print canvases. Position photo slots, insert sponsor graphics, and set dimensions like 4×6 or 2×6 strips.
- Lock Down Camera Settings: Connect a supported DSLR via USB, open Event Settings → Camera, and dial in manual exposure. On Windows, disable USB Selective Suspend in power settings to keep tethered connections from sleeping.
Managing Guest Flow, Queues, and Lead Capture
Line congestion quickly degrades event return on investment. Whenever space allows, decouple capture from sharing. Keeping the capture terminal dedicated to shooting ensures steady guest throughput while rendering finishes in the background.
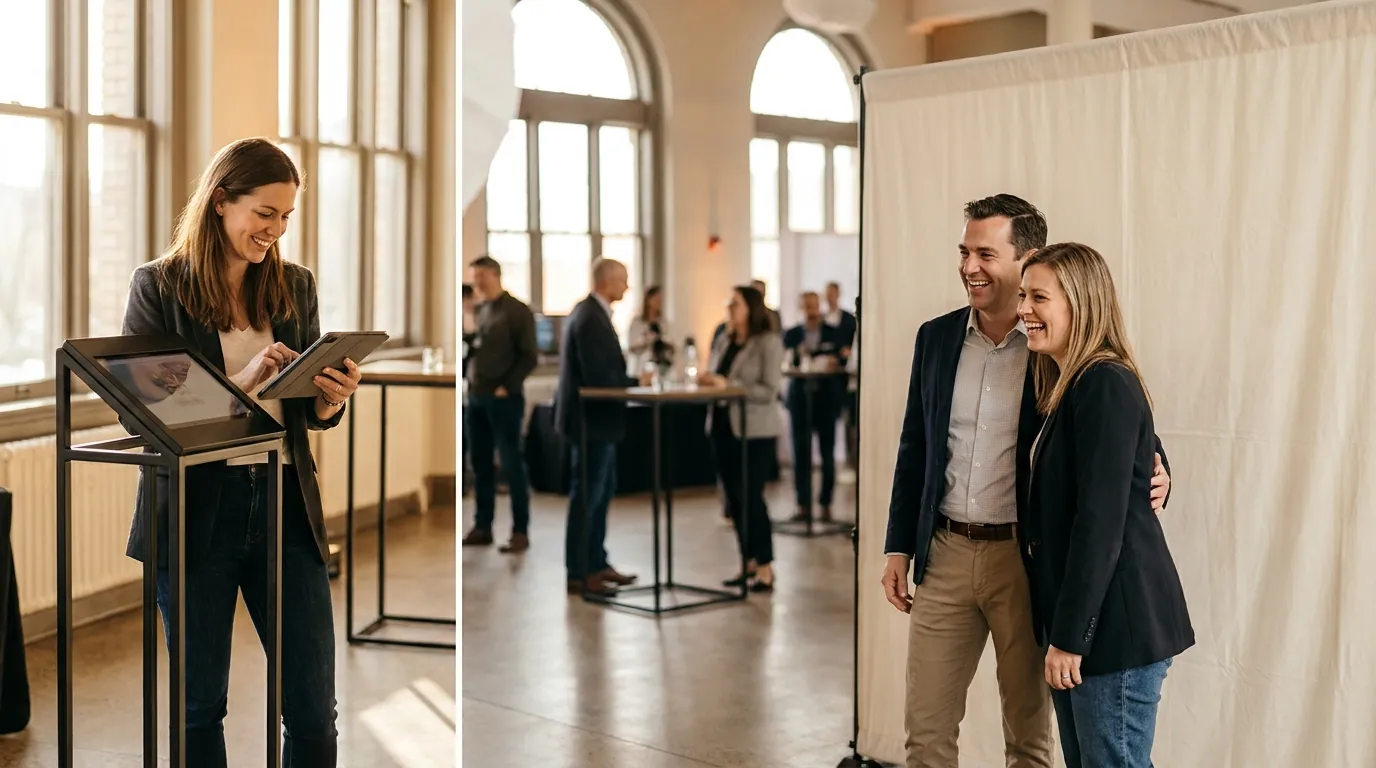
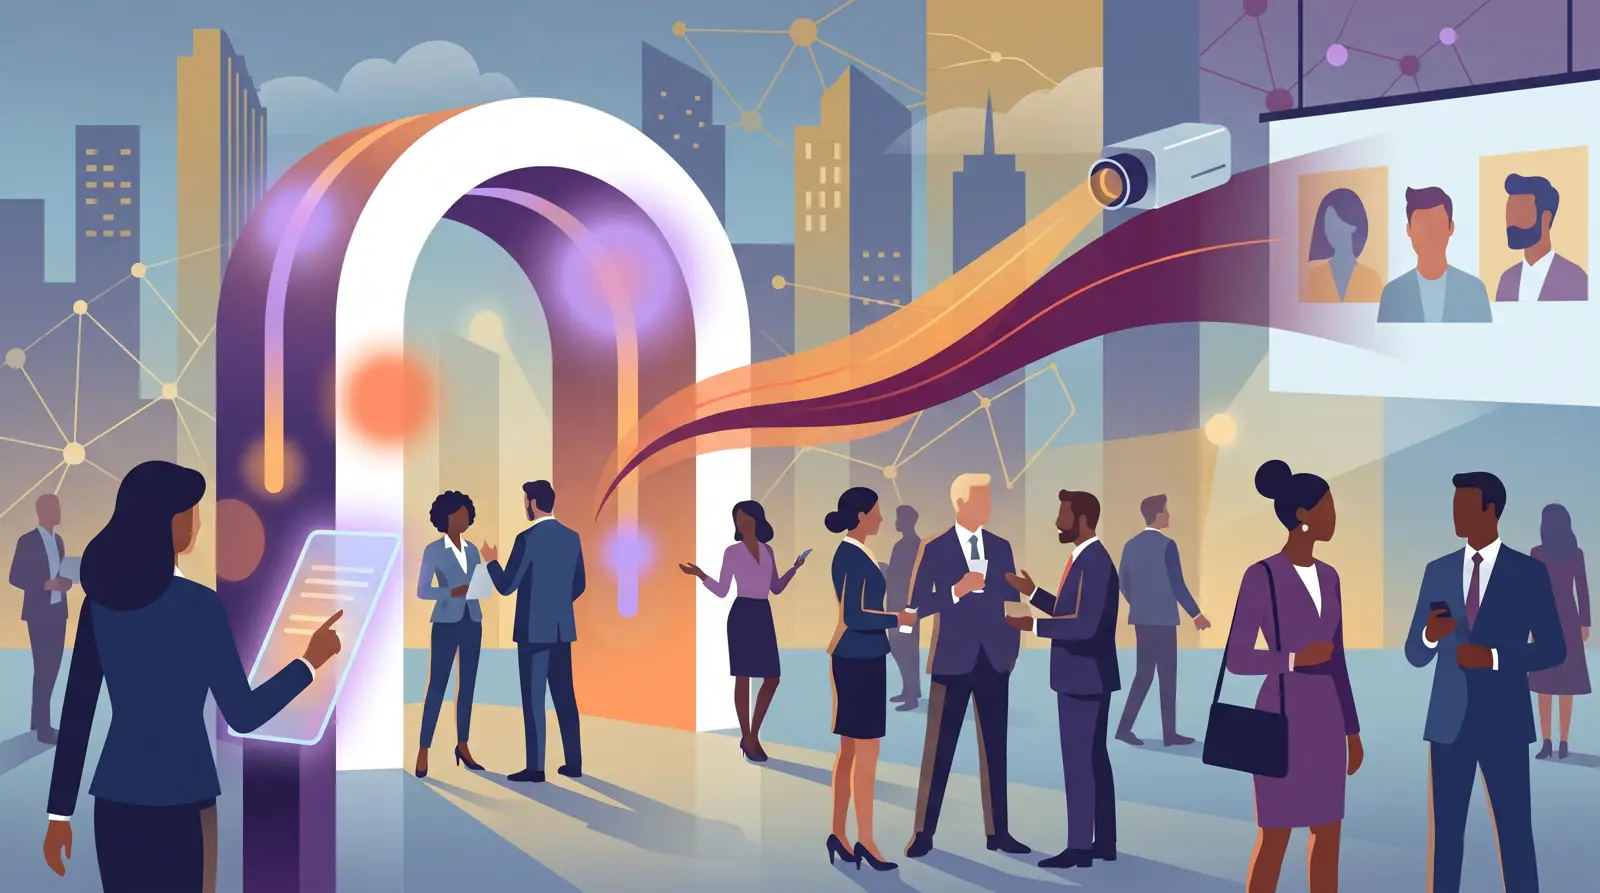
Lead gathering should remain brief and compliant. In Session → Survey, configure required fields such as name, company email, and marketing opt-ins. Set the form on the start screen or right after capture. Combine this with the Session → Disclaimer screen to show required privacy and data collection notices. If someone declines consent, the system discards the session, safeguarding personal data compliance.
For high-traffic exhibits, hardware durability matters as much as software stability. Deploying an integrated setup like the AK Photo Booth Pro 32″ keeps cables protected, pairs a clean mirror housing with a DSLR, and creates a polished focal point on busy trade show floors.
Start an AI Photo Booth Pro 14-day trial
The active catalog lists a 14-day trial. Review the software page for current details.
Start FreeDelivery Channels: ActivationShare and Microsites
Clients invest in activations to extend their digital visibility beyond the venue hall. Under Sharing → Activation Share, present an instant on-screen QR code so guests download their artwork immediately to their mobile browsers. You can also provide email dispatch through Gmail, Outlook, or custom SMTP, or enable SMS links via Twilio under Sharing → SMS.
Agencies utilizing the White Label tier can leverage full white-label settings. In the White Labeling menu, connect the sponsor's custom domain with DNS verification records, replacing generic URLs. Match microsite colors, logos, and banners to the brand style guide. When attendees share portraits to social channels, every download link directly reflects the client's web identity.

Live Troubleshooting Checklist
When operating live, fast diagnosis prevents line delays. Keep these practical troubleshooting steps in mind:
- Camera Drops Connection: Inspect USB cables and confirm power profiles prevent USB Selective Suspend. In Event Settings → Camera, verify device detection and recheck the live feed.
- Intermittent Internet: Sessions save locally first. Captures and participant records queue securely on the device and push to online galleries once connection returns.
- Kiosk Security: Set a 4-digit Dashboard PIN under Event Settings → Kiosk. This prevents guests or passersby from accidentally closing the live experience.
Ready to see the current plans?
AI Photo Booth Pro monthly plans start at $79/mo in the active catalog.
See Plans and Pricing