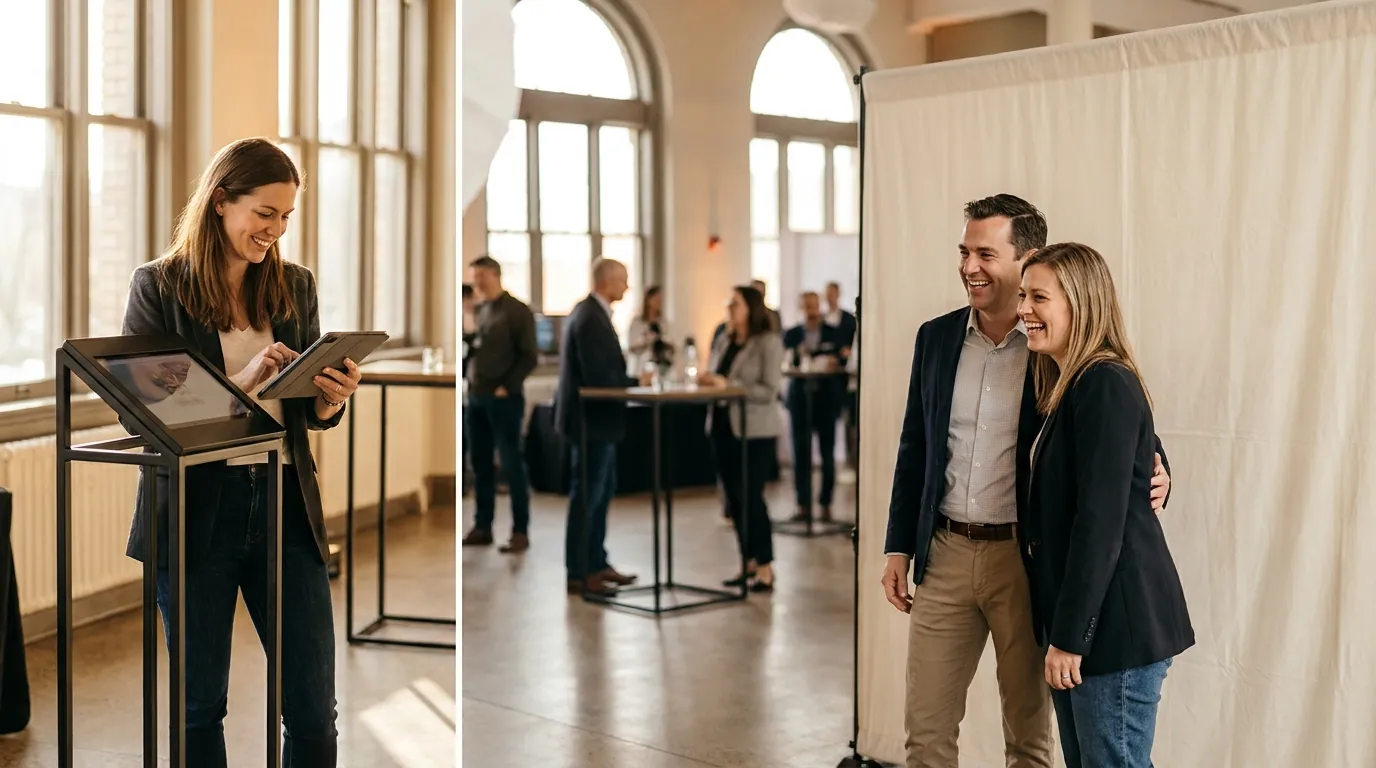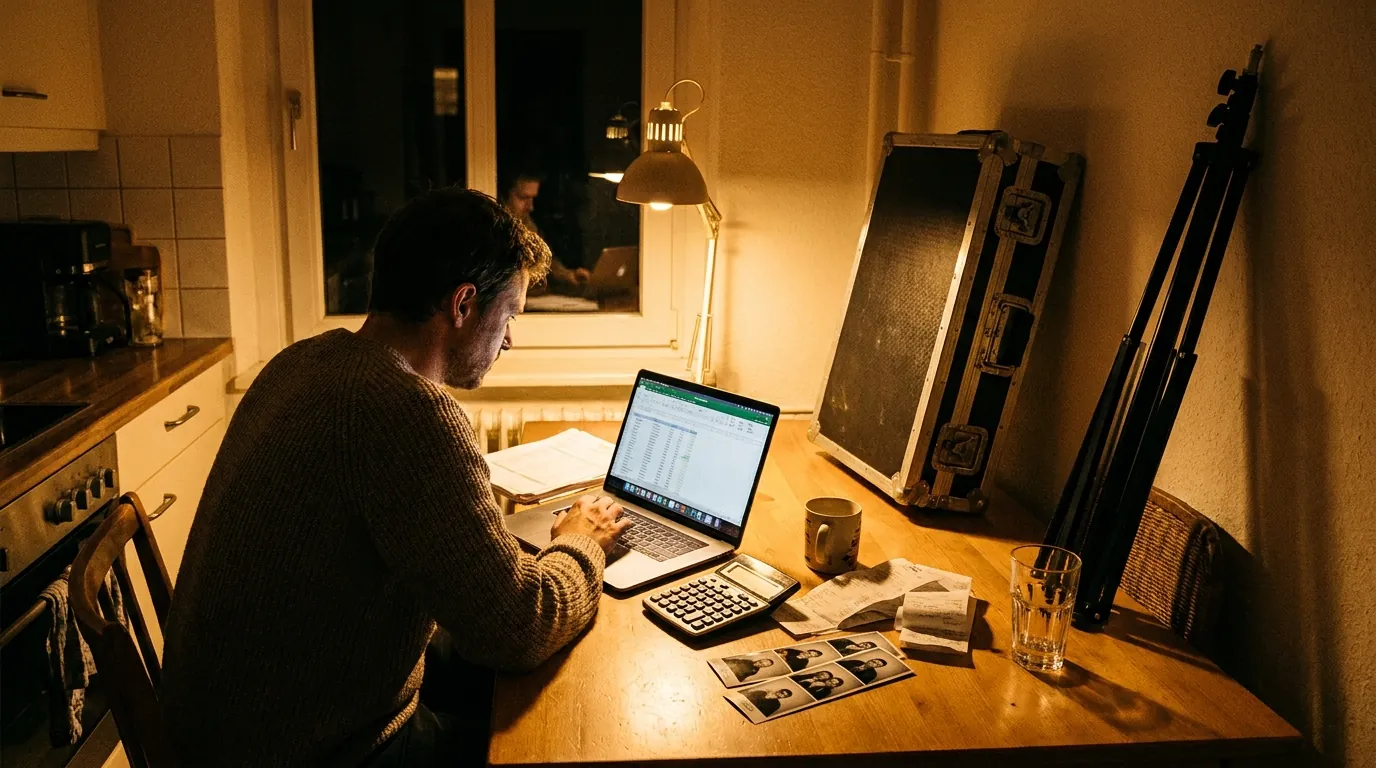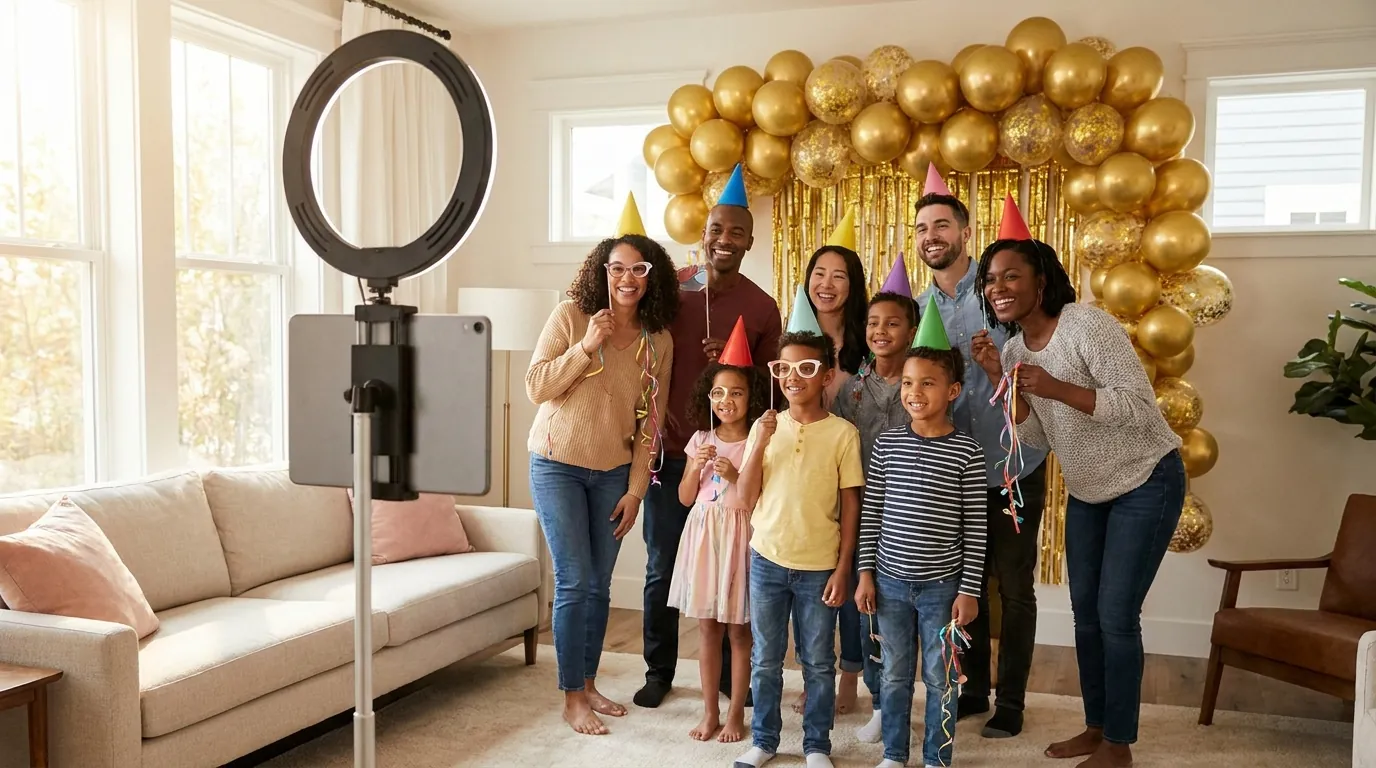


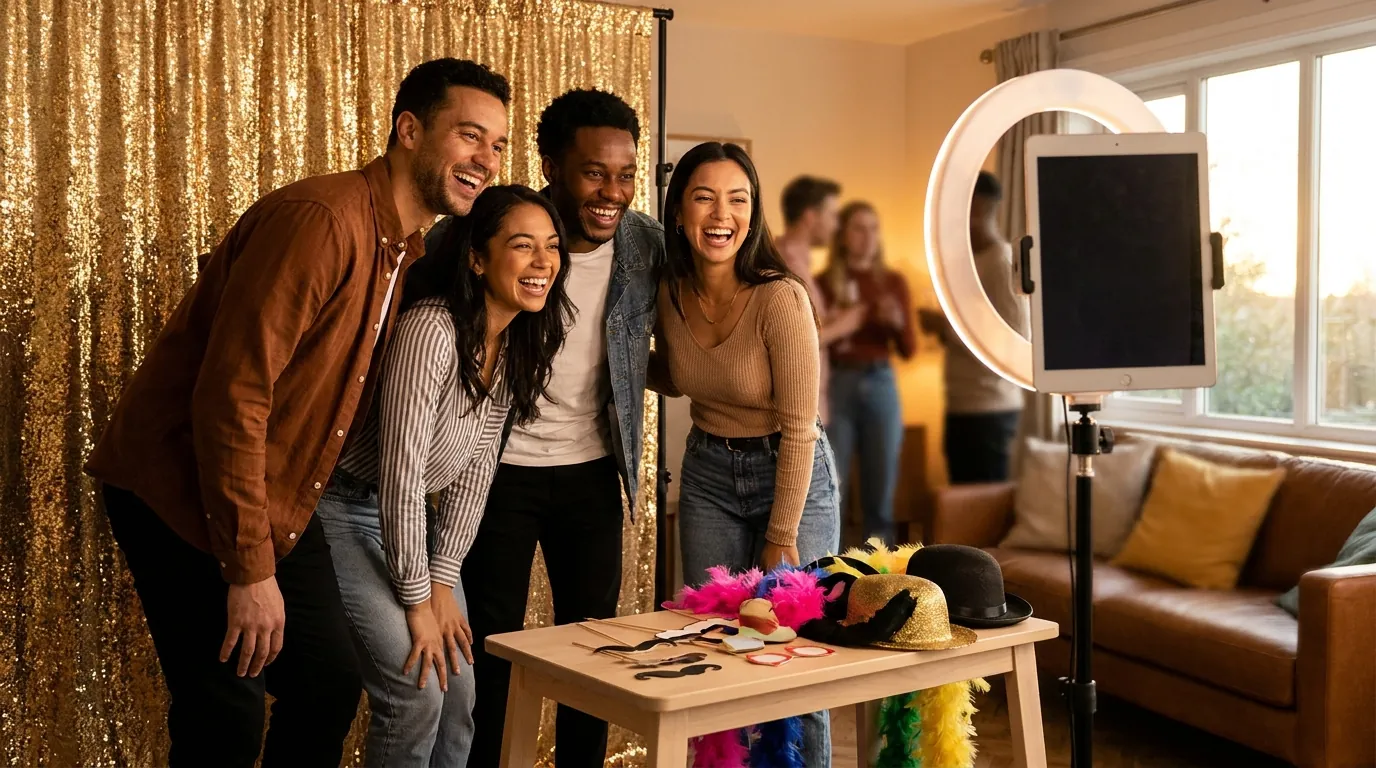
To make a DIY photo booth, you need four things: a device with a camera (a laptop, an iPad or a phone), something that holds it steady at eye level, a soft light facing your guests, and a plain or decorated backdrop. Add photo booth software that turns the device into a self-service booth with a countdown, a branded frame and instant sharing, and you have a working booth for a party, a school event or a small business launch.
This guide covers the gear, a step-by-step setup, framing and lighting, templates and sharing, typical costs, and the point where a dedicated kiosk makes more sense. It works for any occasion and assumes no photography experience.
What you need for a DIY photo booth
- A device with a camera. A laptop with a webcam, an iPad or tablet, or a phone. You may already own everything you need.
- A stand or tripod. A tablet floor stand, a phone tripod or a sturdy table at the right height. The camera lens should sit roughly at the eye level of a standing adult.
- A ring light or soft LED panel. One light placed just behind the device, facing the guests, removes most harsh shadows.
- A backdrop. A sequin wall, a fabric curtain, a balloon arch or a clean painted wall.
- Power. An extension cord or power strip so the device and light stay charged all night.
- Props and a small sign. Hats, glasses and a printed "Tap to start" sign help shy guests begin.
- A printer (optional). Only if you want physical prints. Many hosts start with digital sharing only.
Choosing your device: laptop, iPad or phone
Each option works. Pick the one that fits your space and your guests.
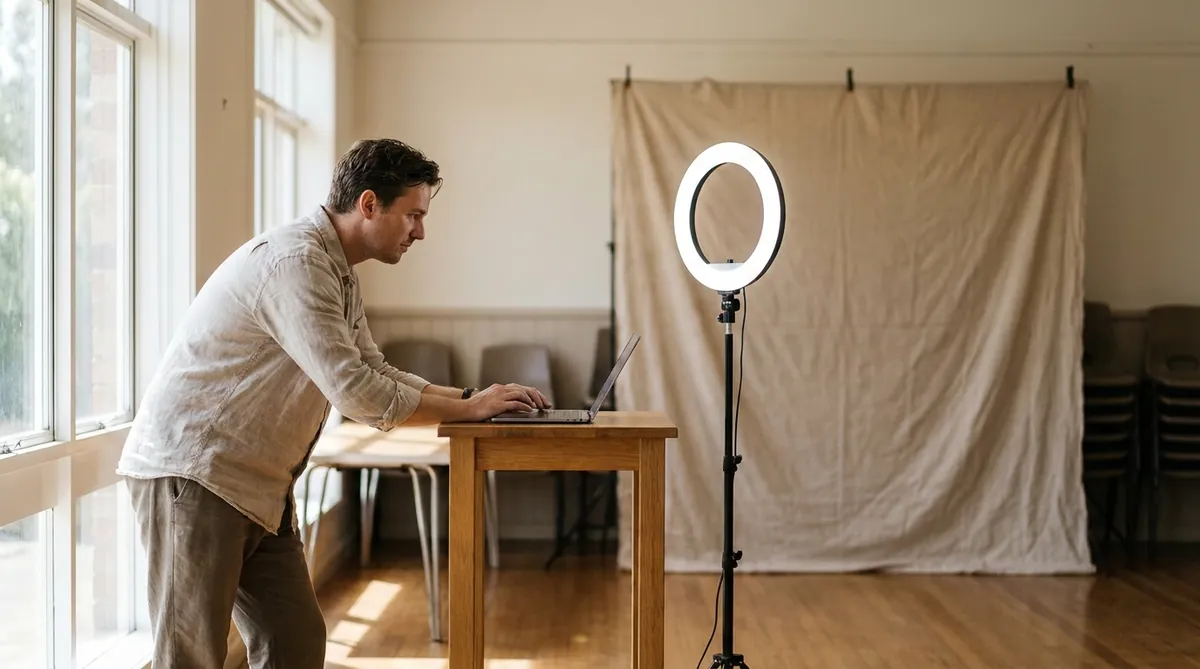
Step-by-step setup with photo booth software
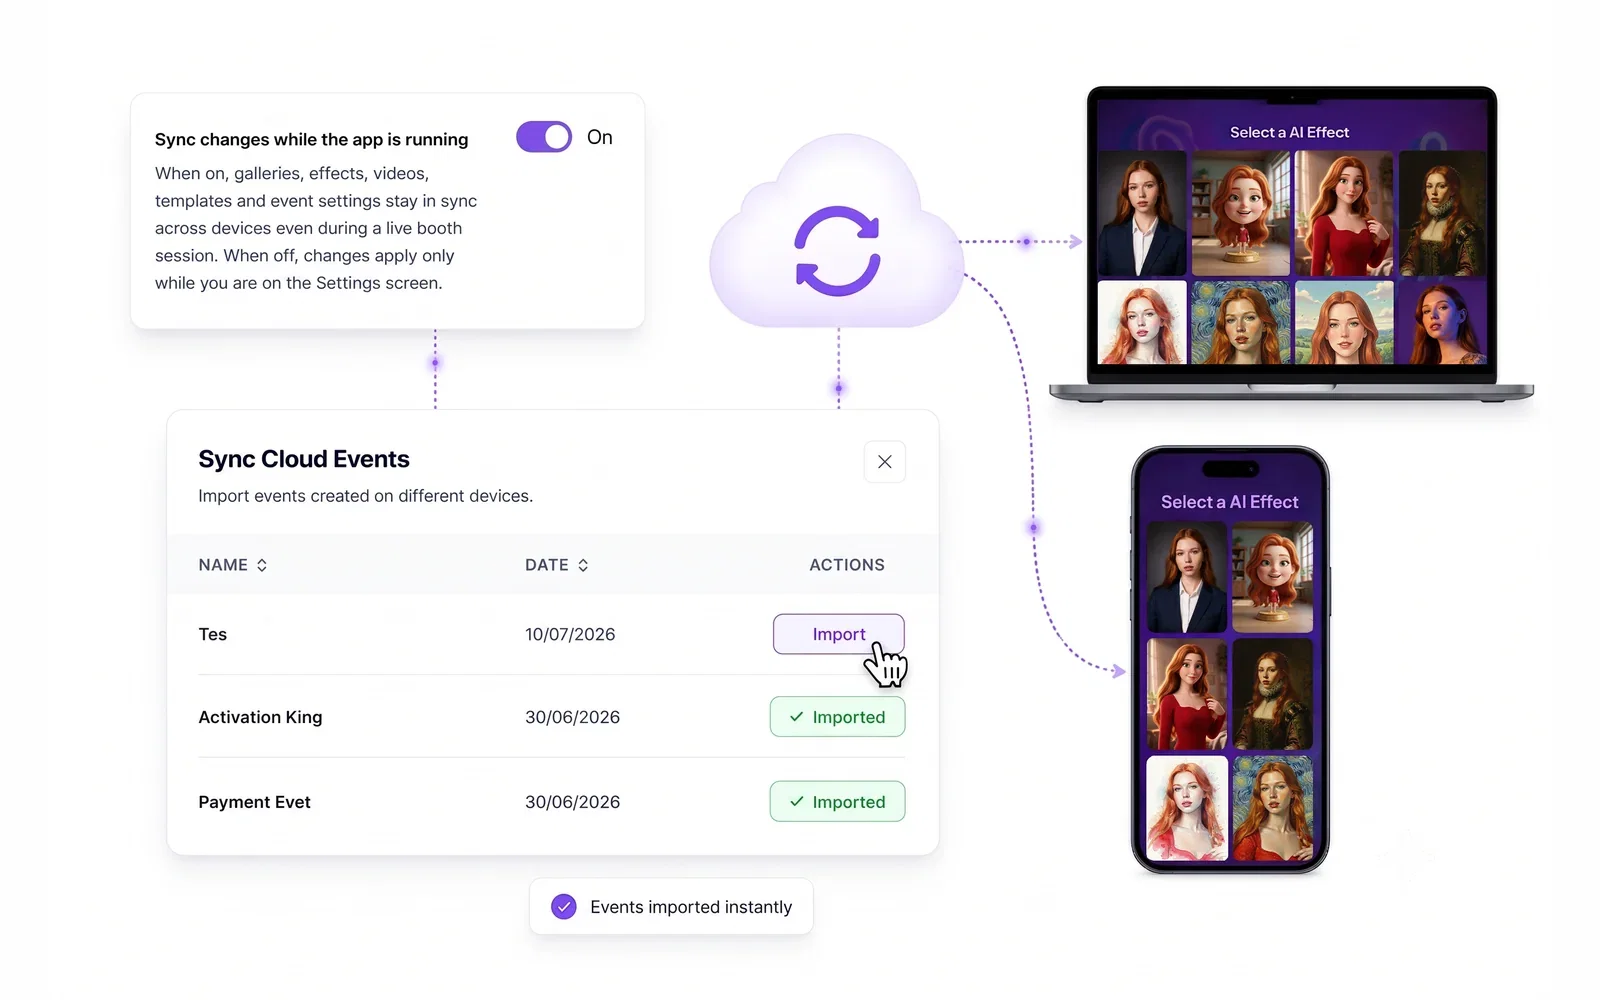
A camera app alone is not a photo booth. Guests need a big start button, a countdown, a frame and a way to get their photo. Photo booth software handles all of that. Here is the setup with AI Photo Booth Pro, which runs on Windows, macOS, iPad, iPhone and Android.
The tutorial below walks through creating and running a first event in the app.
Try AI Photo Booth Pro free for 14 days
No credit card needed. Set up your first event in minutes.
Start Free TrialFraming and lighting basics
Most DIY booths look amateur for two reasons: the camera is too low and the light comes from behind the guests. Fix both and your photos improve right away.
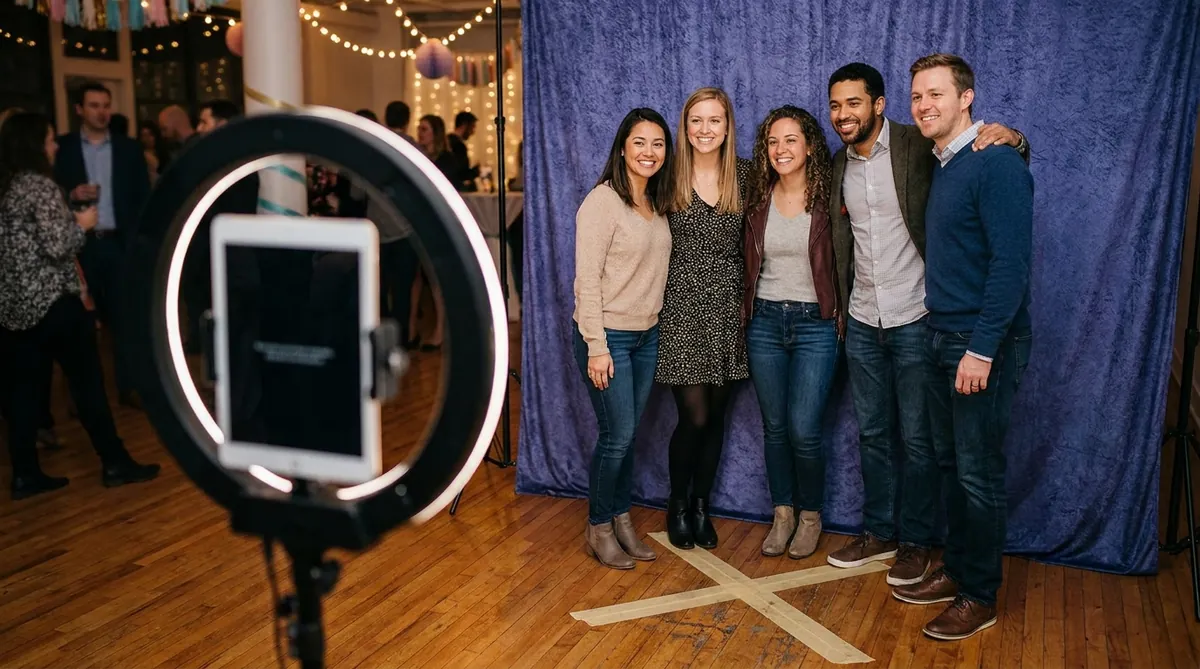
- Camera height. Set the lens slightly above eye level and tilt it down a little. Low cameras show nostrils and ceilings.
- Distance. Mark a spot on the floor with tape about 4 to 6 feet from the camera, so groups of three or four fit without cutting off shoulders.
- Light in front. Put the ring light directly behind the device, at face height. Never place the booth with a bright window behind the guests.
- Backdrop distance. Leave a few feet between guests and the backdrop to reduce shadows on it.
- Orientation. Portrait suits single guests and phone sharing. Landscape suits big groups.
Need ideas for the wall itself? Our list of photo booth backdrop ideas for every budget has options from free to premium.
Templates, sharing and printing
The template is what makes a photo feel like part of your event. Keep it simple: a thin border, the event name or a logo, and the date. Leave the center clear so faces stay the focus.
For sharing, a QR code on screen is the fastest option because guests already have their phones out. If you also collect email addresses, ask for consent and keep the form short.
Printing adds a physical keepsake but also adds cost, setup and a station to watch. If you want prints, read our photo booth strip printing guide before buying a printer. Classic capture and printing can work offline with a compatible setup, while online sharing needs internet.
What a DIY photo booth typically costs
If you already own the device, a DIY booth can be inexpensive. The ranges below are typical retail prices and vary by brand and country:
- Tablet floor stand or phone tripod: typically $20 to $100.
- Ring light or LED panel: typically $25 to $120.
- Backdrop: from free (a clean wall) to typically $30 to $200 for fabric, sequin or balloon setups.
- Props and signage: typically $10 to $50.
- Event photo printer and media: optional, and typically several hundred dollars or more, plus paper for each print.
- Software: AI Photo Booth Pro offers a 14-day free trial. The Pro plan is {{price:aipb.pro.month}} per month or {{price:aipb.pro.year}} per year, with unlimited events and use on 2 devices at the same time.
When to upgrade to a photo booth kiosk
A DIY setup is perfect for one-off parties and learning the ropes. Consider a dedicated kiosk when:
- You run events every week and setup time starts to cost you bookings.
- Corporate or brand clients expect a polished, enclosed unit rather than a stand and a light.
- The booth runs unattended for hours and needs to feel sturdy in a crowd.
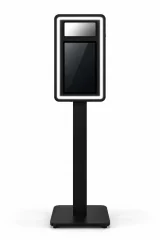
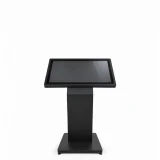
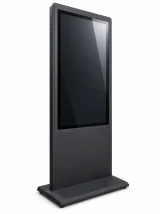
- You want a large touchscreen and built-in lighting in one piece of hardware.
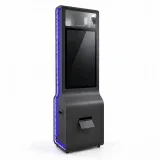
The AK Photo Booth Pro 32″ kiosk is built for that step.
One plan, unlimited events
Pro is {{price:aipb.pro.month}}/month or {{price:aipb.pro.year}}/year, for 2 devices with AI effects, face swap and AI video.
View pricing