

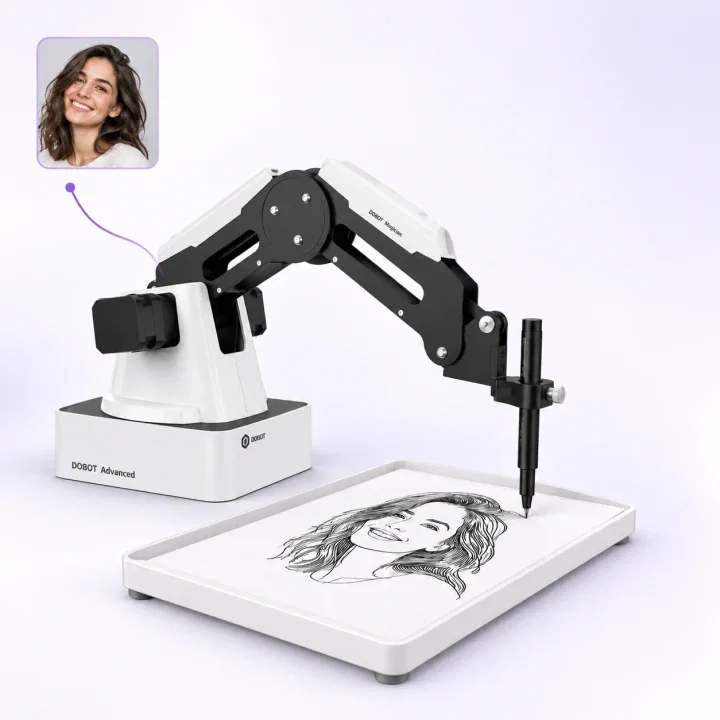
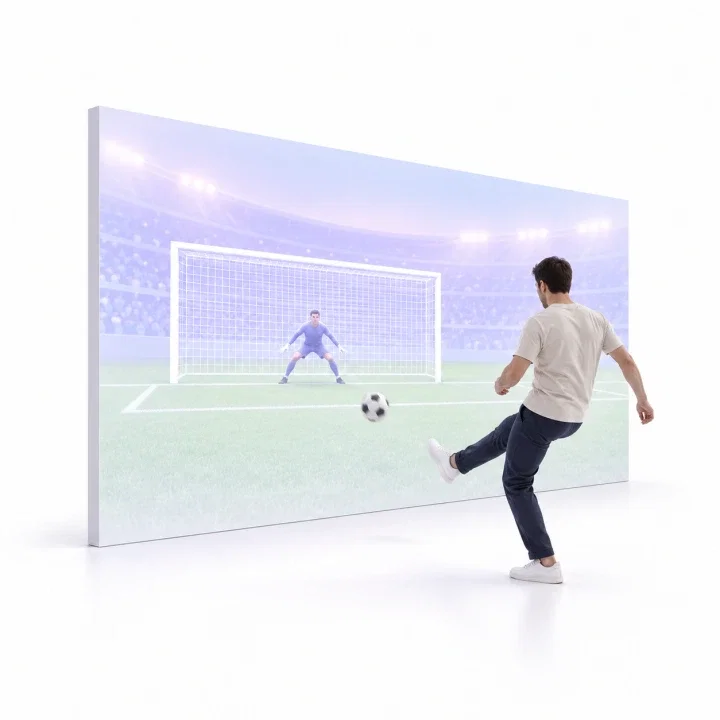
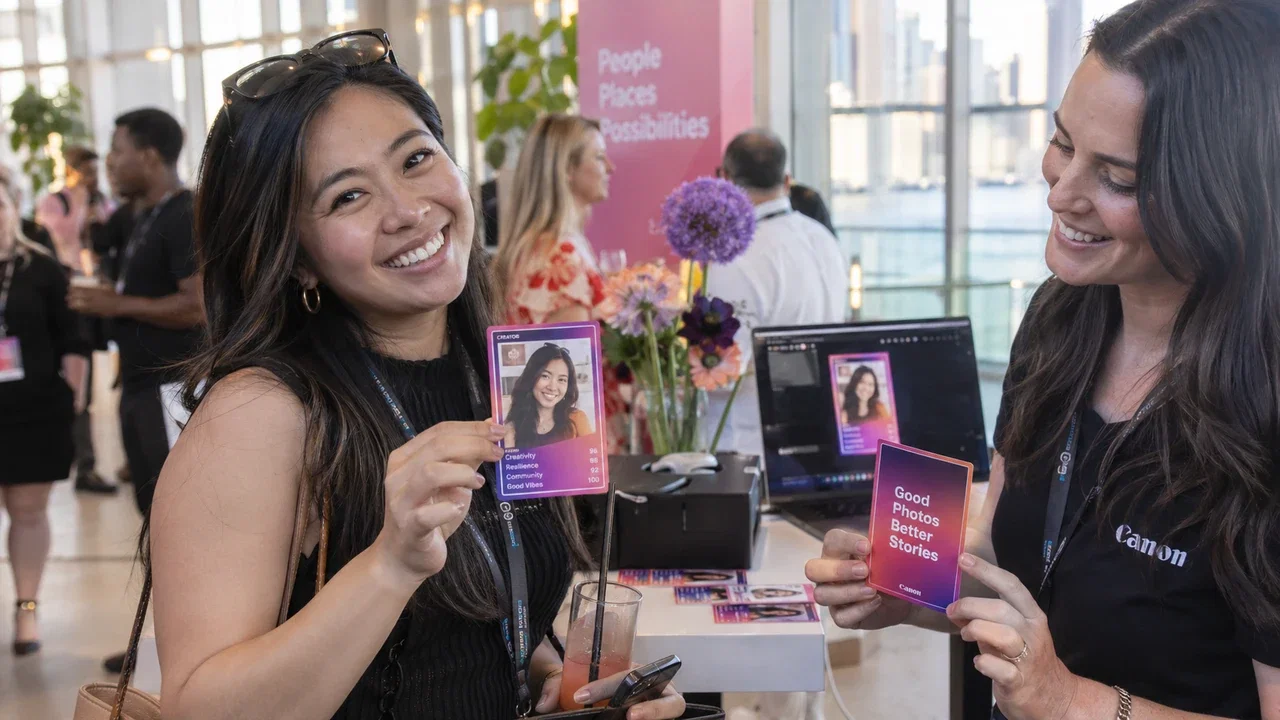
Your guest does not have to leave with another ordinary portrait. They can become the subject of a holographic collectible: one face, a distinctive visual world and a card worth keeping.
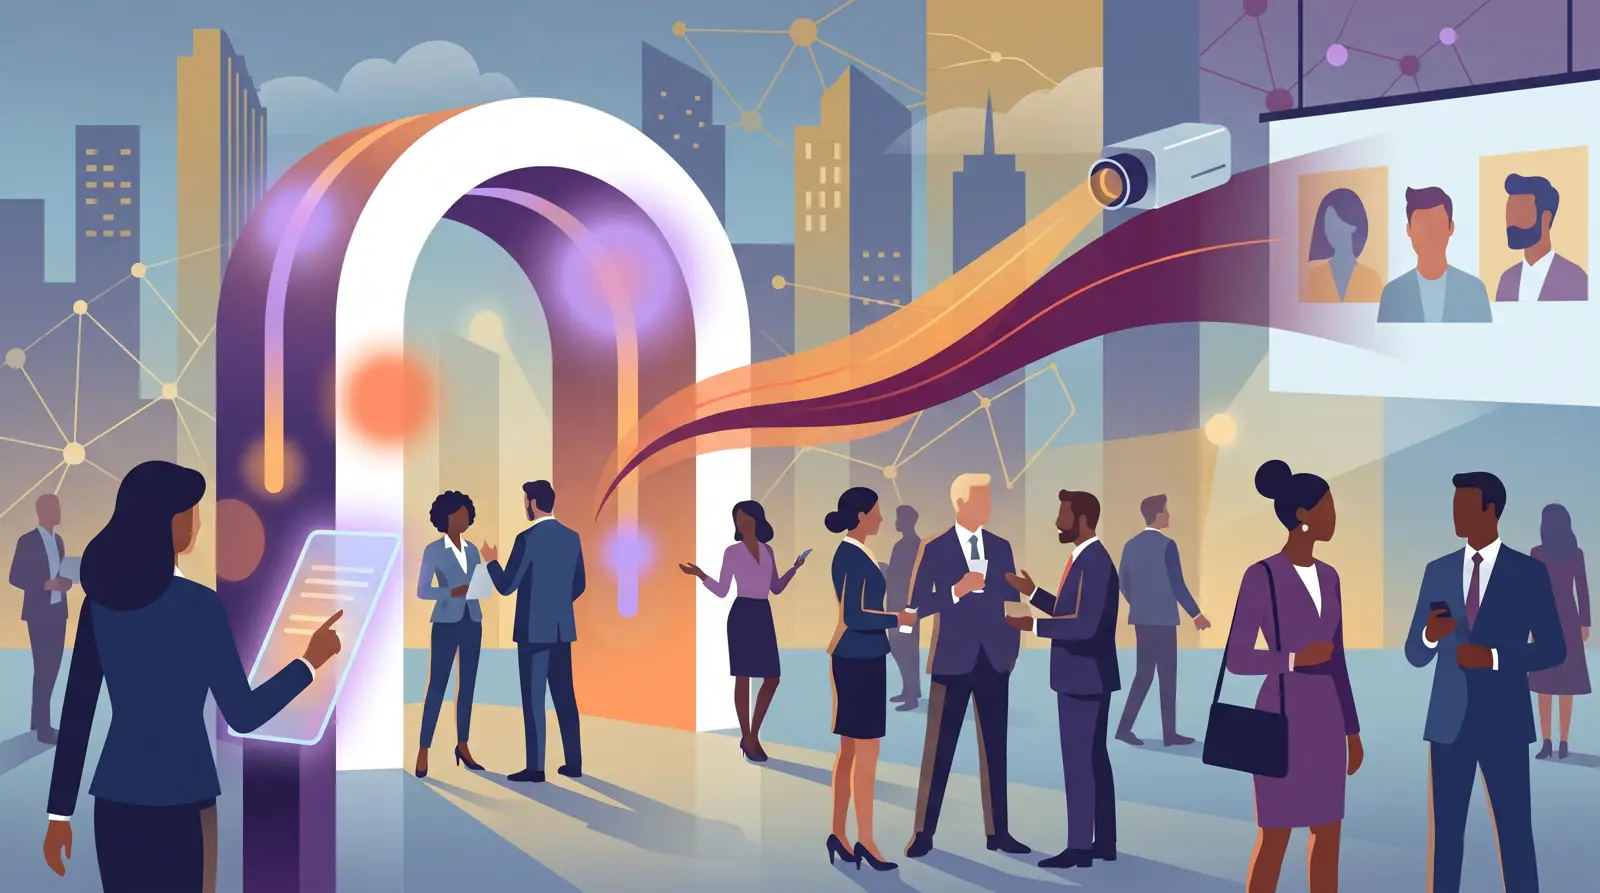
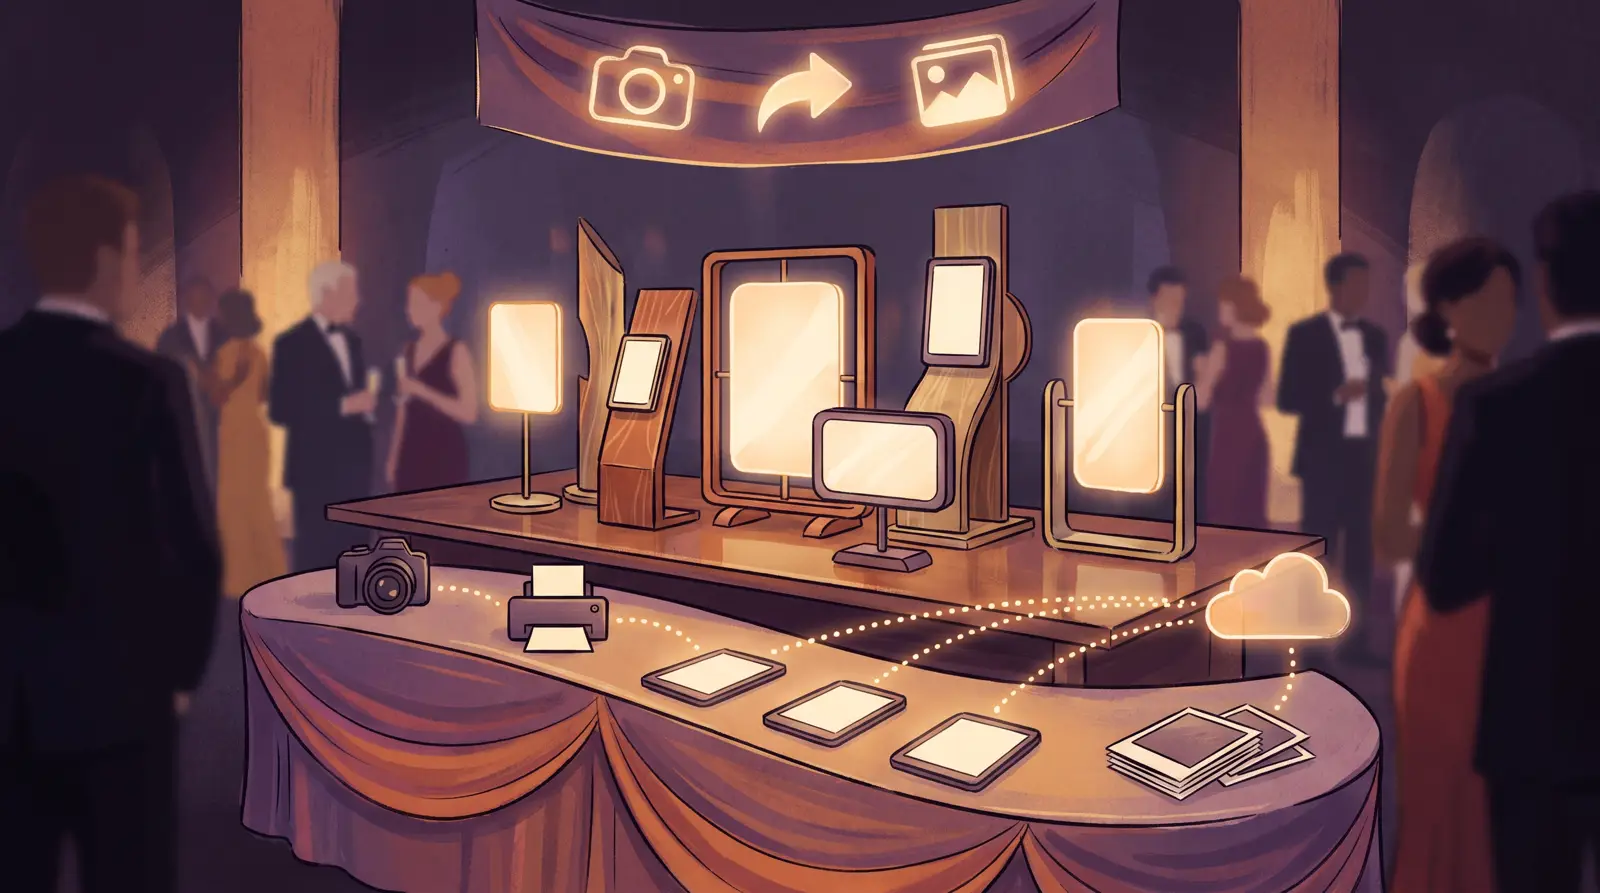
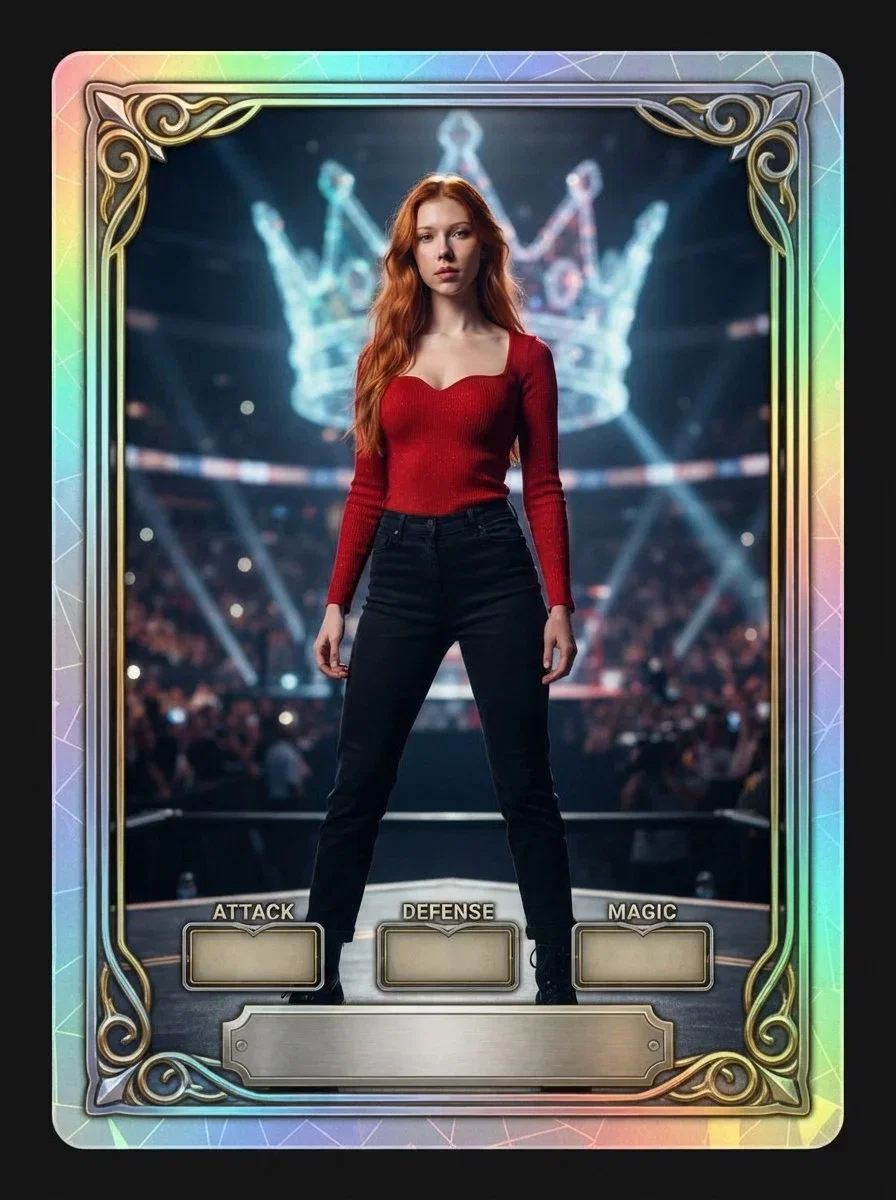
This guide shows how to configure that idea as a photo-based AI Effect in AI Photo Booth Pro V3. We use the documented application controls and an existing Activation King product test output. The cover is a separate AI-generated editorial illustration; it is not a screenshot or a promise of identical results.
Before you begin
- Sign in to AI Photo Booth Pro V3 with access to AI features and sufficient credits. Check the current entitlement and credit cost shown in your app; this guide does not quote a fixed generation price.
- Use a supported, connected camera with a working preview and a stable internet connection. AI processing requires Online Mode.
- Prepare a well-lit portrait you have permission to use for testing. Avoid an obstructed face or an unnecessarily busy background.
- Choose an original card theme. Use only branding and reference artwork you are entitled to use.
1. Create a portrait AI Effect event
Open Event Management → Create New Event. Enter an event name, such as Collectible Card Test, then choose a new blank event. Select Portrait for the template format and AI Effect for the event type. Complete the wizard with Create an Event.
The new event becomes the current event and opens Guided Setup. Make sure you are configuring this event before changing its camera, effects or output settings. If your interface differs, follow the current V3 event-creation guide.
2. Check the capture mode and camera
In Event Settings → Event Mode, choose Online Mode and Classic Photo & Video Booth. Keep Photo enabled under Capture modes. A still-image trading card does not require a rotating platform or a robotic arm.
Open Event Settings → Camera → Select Camera, select your connected camera and confirm a working live preview. Use the camera setup guide for device-specific controls. Do not assume a camera name appearing in the list proves that frames are arriving.
3. Create your card effect
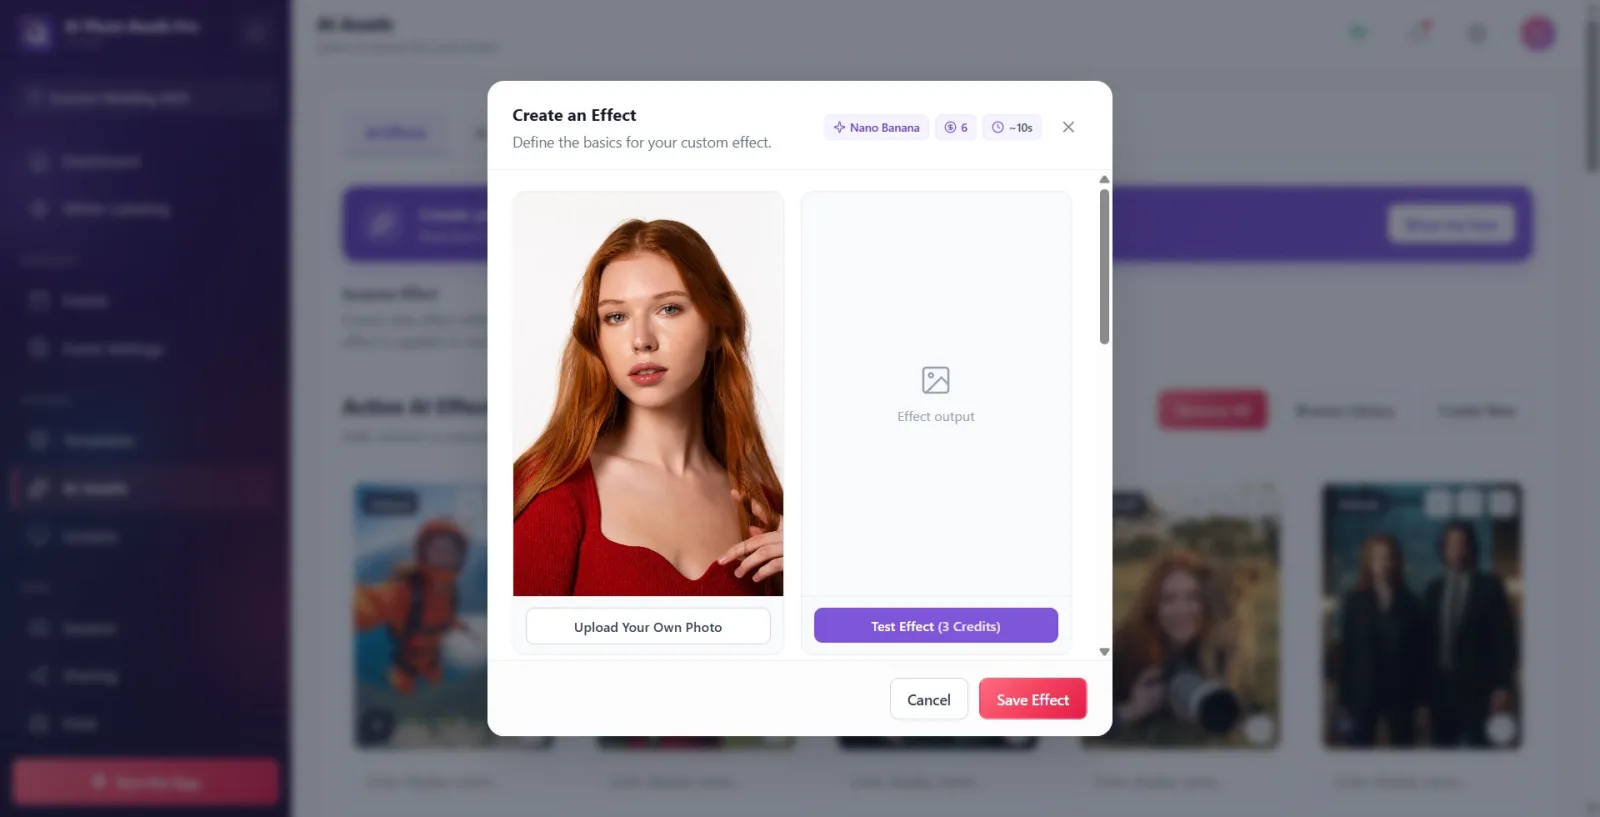
Go to AI Assets → AI Effects → Create New. In the Create an Effect window, enter an Effect Name and select the AI Model. Nano Banana Pro is a useful quality-first option to test for a detailed border and controlled art direction. Treat that as a starting choice, not a guarantee: judge the actual output and generation time on your setup.
For Nano Banana Pro, the documented Resolution controls include 1K, 2K and 4K. Start at 1K for the first composition test, then compare a higher-resolution result if your delivery format benefits from it. Check the changing credit badges before each test.
4. Give the model a clear visual brief
Use the Prompt field to describe the subject, card composition, material and exclusions. Start without generated names or statistics so you can evaluate the visual treatment first. Here is an original prompt to adapt, not a claim that it reproduces the example above exactly:
Transform the person in the input portrait into the central subject of an original holographic collectible card. Preserve recognizable facial features and natural skin texture. Use one person, a portrait composition, an elegant metallic border and restrained rainbow foil reflections. Place the subject in a cinematic arena-inspired environment with soft background detail. Keep the face unobstructed and the hands natural. Leave comfortable space between the subject and the card edge. Use a complete decorative border with no empty nameplates or attribute panels. Do not add writing, numbers, logos, licensed team branding, signatures, watermarks or extra people.
The no-empty-panels instruction addresses a weakness visible in our earlier test output. A test should improve the brief, not merely confirm that an image was generated.
Optional Reference Images can guide style and composition. Supply your own approved visual reference; the test input portrait and the style reference serve different purposes. See the custom AI Effect guide for the current reference controls and personalization variables.
5. Test, inspect and save
Use Upload Your Own Photo in the input preview, then press Test Effect. The button displays the test credit cost. When the result appears, inspect the face, hands, border, crop and unwanted writing. Use the download icon to keep the test result; use Use as Cover only if you want it to represent the effect in the selection gallery.
Change one part of the prompt at a time if the output needs work. Once you are satisfied, choose Save Effect. Saving the configuration does not itself generate a new photo. Confirm that the card appears under Active AI Effects for the current event.
6. Run the guest journey before using it at an event
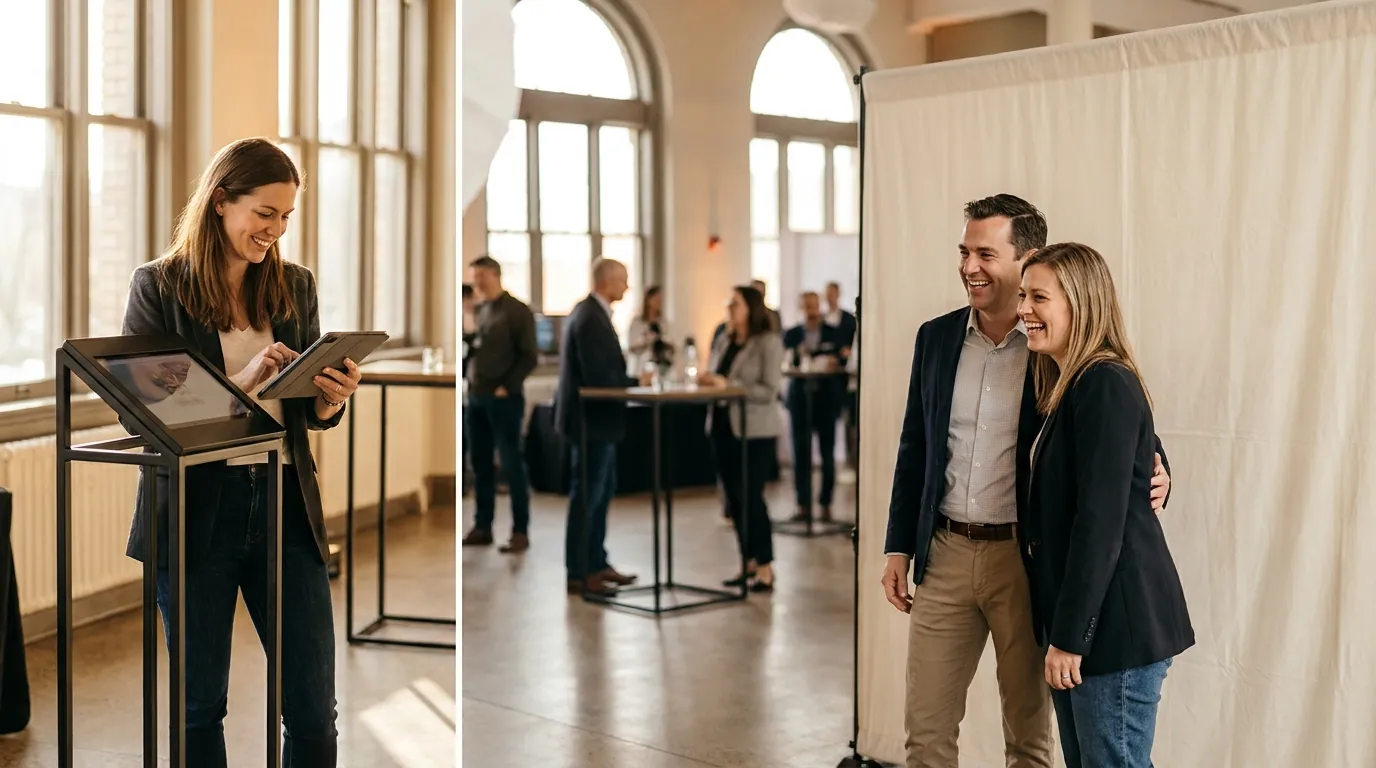
Keep Surprise Effect off if guests should deliberately select the trading card. Then open Run the App and complete the guest capture flow with the chosen effect. Check the generated result and the actual delivery method you intend to offer. An effect-editor test does not, by itself, prove that camera capture, the kiosk and delivery all work together.
Repeat with different consenting test subjects and framing. Record the observed processing time and any retries. For printing, validate the selected layout, aspect ratio and safe border with the actual printer before advertising a printed collectible.
Common mistakes to catch early
- The effect is missing: verify the current event and its Active AI Effects gallery. When using Browse Library, selecting a card is not enough: press Add Selected (N). Marking a favorite does not add it to an event.
- A different effect runs: check Surprise Effect and the guest's selection.
- AI does not run: check Online Mode, connectivity, AI access and credits before changing the artwork.
- The border looks good but the person does not: improve the source portrait and simplify the brief before raising resolution.
- Text is missing or wrong: validate any personalization separately. Do not promise exact names, numbers or logos based on an unreviewed sample.
Ready to build your first collectible experience? Explore AI Photo Booth Pro and Start Free.