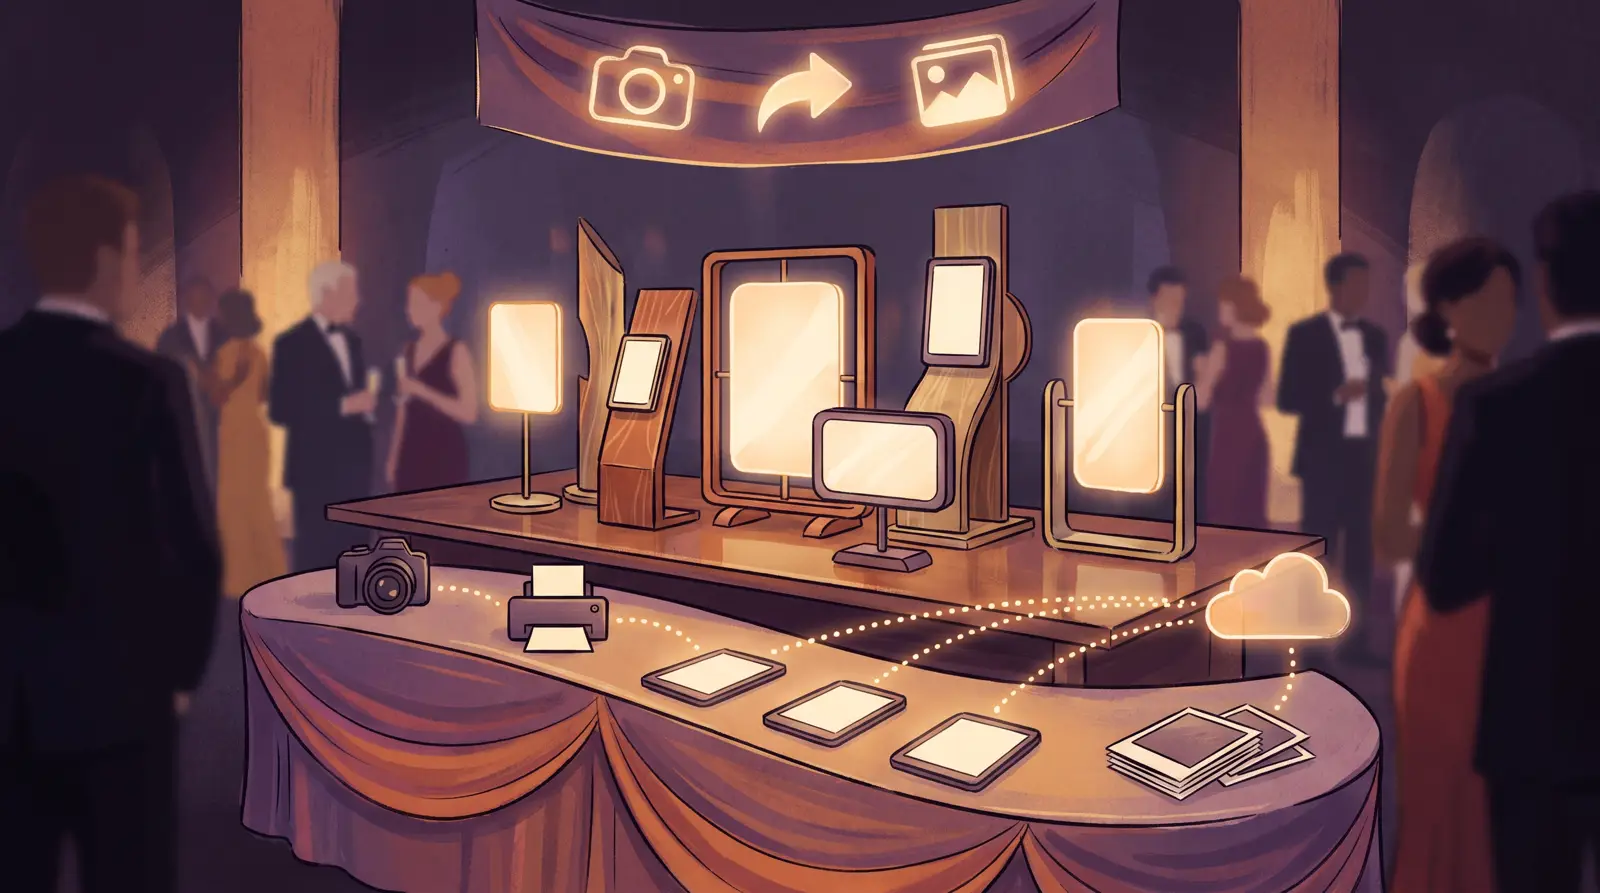


A long line in front of your photo booth slows down throughput and frustrates guests. When attendees spend time typing emails or browsing galleries, your capture station sits idle. Splitting your setup into a primary capture kiosk and a dedicated iPad sharing station keeps the camera firing continuously.
To build this setup, you need two devices running AI Photo Booth Pro, a local Wi-Fi router or hotspot, a supported Canon or Nikon DSLR, and an optional dye-sublimation printer. Because every subscription covers 2 devices simultaneously across Windows, Mac, iOS, and Android, you can deploy both stations under a single plan without purchasing extra seats.
The 2-Device Workflow: Why Splitting Boosts Event Throughput
In a single-device configuration, every session requires capture, rendering, and sharing interactions at the exact same screen. This limits operational throughput during busy hours.
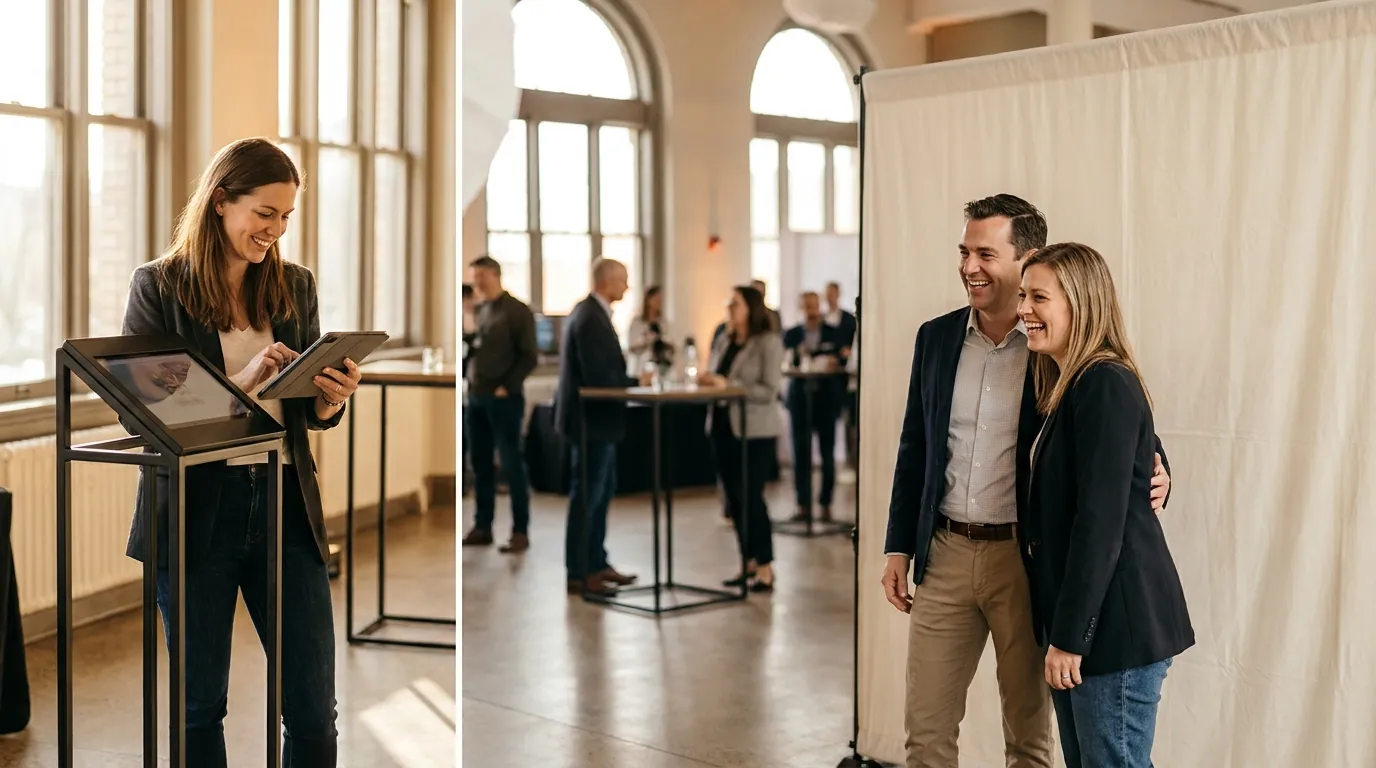
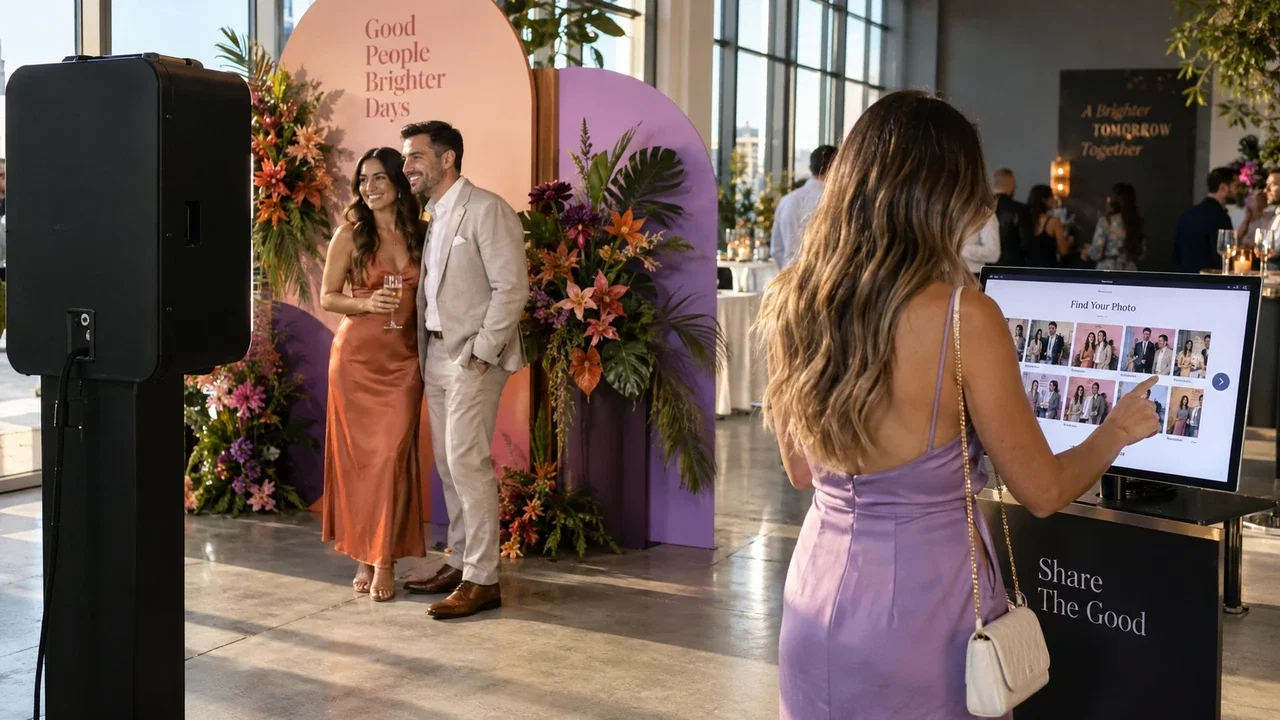
A dual-station workflow separates these roles. The main capture kiosk handles camera controls, countdowns, and automated rendering. Guests immediately step away to a tablet station to browse the gallery, enter phone numbers, send emails, or trigger prints.
Clearing the capture area immediately after shooting maximizes operational capacity. This workflow is ideal for high-volume brand activations, corporate galas, and fast-paced weddings.
Essential Hardware: Main Capture Kiosk vs. Dedicated iPad Station
Building a stable multi-device rig requires matching your hardware to the task of each station:
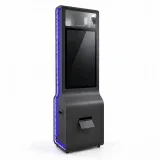
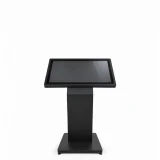
- Capture Kiosk (Main Unit): A Windows PC running at least an Intel Core i5 with 8GB RAM, connected to your DSLR (such as a Canon EOS R5 Mark II, EOS R50 V, or standard Canon DSLR) via a high-quality USB cable. An integrated unit like the AK Photo Booth Pro 32″ provides the aluminum chassis, touch panel, and camera mounting in one footprint.
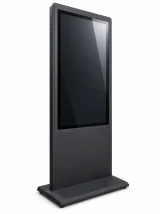
- Sharing Station: An iPad or Android tablet mounted securely on a stand. This unit handles guest interactions without putting processing strain on the capture PC.
- Networking: A dedicated dual-band Wi-Fi router. Even without an active uplink, local network routing maintains peer-to-peer data transfers between stations.
Start an AI Photo Booth Pro 14-day trial
The active catalog lists a 14-day trial. Review the software page for current details.
Start FreeStep-by-Step Setup: Linking 2 Devices and Enabling Cloud Sync
Setting up your multi-device photo booth setup takes only a few minutes when following these steps:
- Sign In to Both Devices: Open AI Photo Booth Pro on your capture PC and your iPad. Sign in using your Activation King account. Your active subscription seat is detected automatically on both units.
- Prepare the Event on the Capture PC: Create your event under Event Management. Configure templates, camera settings, and AI assets if using Pro or White Label plans. Review our guide on starting an AI photo booth business for template ideas.
- Enable Live Synchronization: Navigate to Event Settings > Kiosk on your capture unit. Toggle on Sync changes while the app is running.
- Pull the Event to the iPad: On your iPad sharing station, go to Event Management and pull the event from your account via cloud event synchronization. All designs, galleries, and layout assets download directly to the tablet.
- Launch the Sharing Kiosk Mode: On the iPad, switch the app interface to the dedicated Sharing Station view so guests only see media playback, QR codes, SMS, and email sharing options.
Managing Printers and Sharing: Wireless Printing vs. Station-Managed Queues
Printing in a dual-device rig depends on where your physical dye-sublimation printer is connected. Because iPads do not manage native USB printer drivers directly, your primary Windows machine acts as the print server.
Connect your printer via USB to the Windows capture machine. Under the Run > Print settings tab, confirm the printer is selected and functional. The tablet sharing station communicates with the Windows print queue over your shared local network.
When guests select "Print" at the iPad station, the command routes back to the capture computer. For 2×6 photo strips, ensure the 2 Inch Cut option is enabled inside the template settings on your main event profile.
For digital delivery, configure your channels under Sharing Settings. Activation King allows you to enable QR codes, send emails via Gmail/Outlook or custom SMTP, and route text messages using connected Twilio credentials.
Field-Tested Best Practices to Prevent Disconnections and Speed Up Guest Flow
Follow these operational rules to prevent hardware disconnects and maintain steady guest flow:
- Disable USB Selective Suspend: In Windows Power Options, set your plan to High Performance and disable USB Selective Suspend. This prevents Windows from cutting power to the DSLR.
- Lock Down Kiosk Exits: Set a 4-digit Dashboard PIN inside Event Settings > Kiosk on both devices to prevent unintended navigation away from the active screen.
- Position Hardware for Traffic: Place the sharing iPad 6 to 10 feet away from the capture backdrop toward the exit path so finished groups move naturally away from incoming guests.
- Test Your Queue: Run test sessions before opening doors to verify that photos appear promptly on the tablet and print jobs process without sizing errors.
Ready to see the current plans?
AI Photo Booth Pro monthly plans start at $79/mo in the active catalog.
See Plans and Pricing