


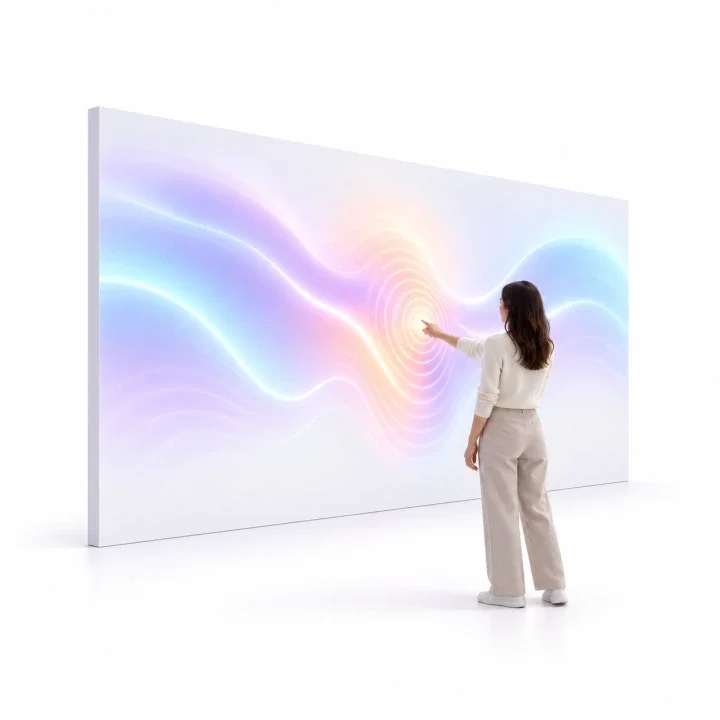
Setting up an interactive wall takes three steps: measure the wall, place and connect the sensors, then calibrate and launch.
Steps
- Show the image. Connect your computer to the projector or LED screen and show the image on the surface.
- Measure the wall. In RPLidar Controller, enter the active width, height and physical installation boundaries of the surface.
- Place and connect. The app tells you where to place each sensor. Follow the calculated positions, fix each sensor on its mount and connect it to the computer.
- Calibrate. Align the projected content with the sensing plane.
- Verify. Use the live diagnostics to check connections, coordinates and edge accuracy, and test touches across the whole surface, including the edges.
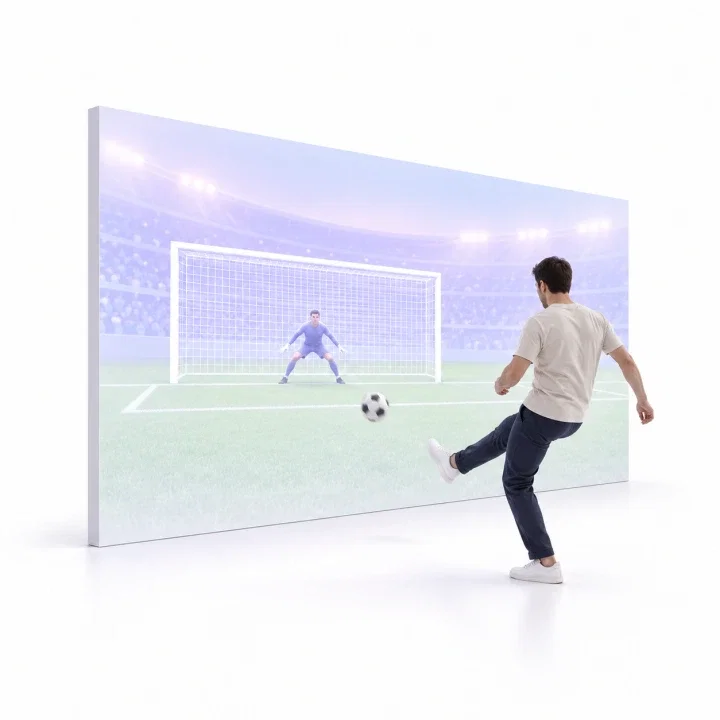
- Launch your content. Open the game or software you want to use, for example Interactive Penalty Game. It now works by touch.
Good to know
- The calibration is saved, so you keep a reliable relationship between sensors, projection and surface.
- Plan sensors by width: 2 sensors cover 3 m, 3 cover 5 m and 4 cover 7 m.
- Do the full test with the final equipment before guests arrive.