

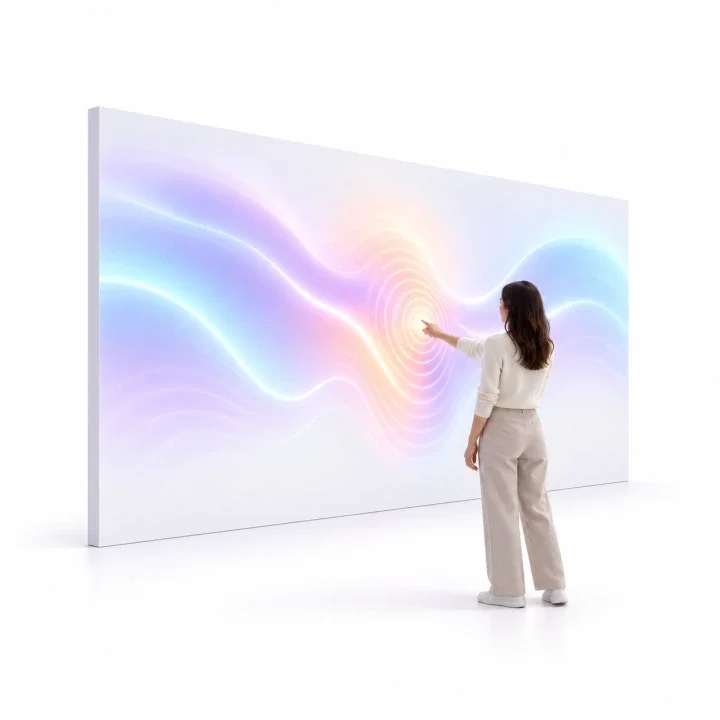
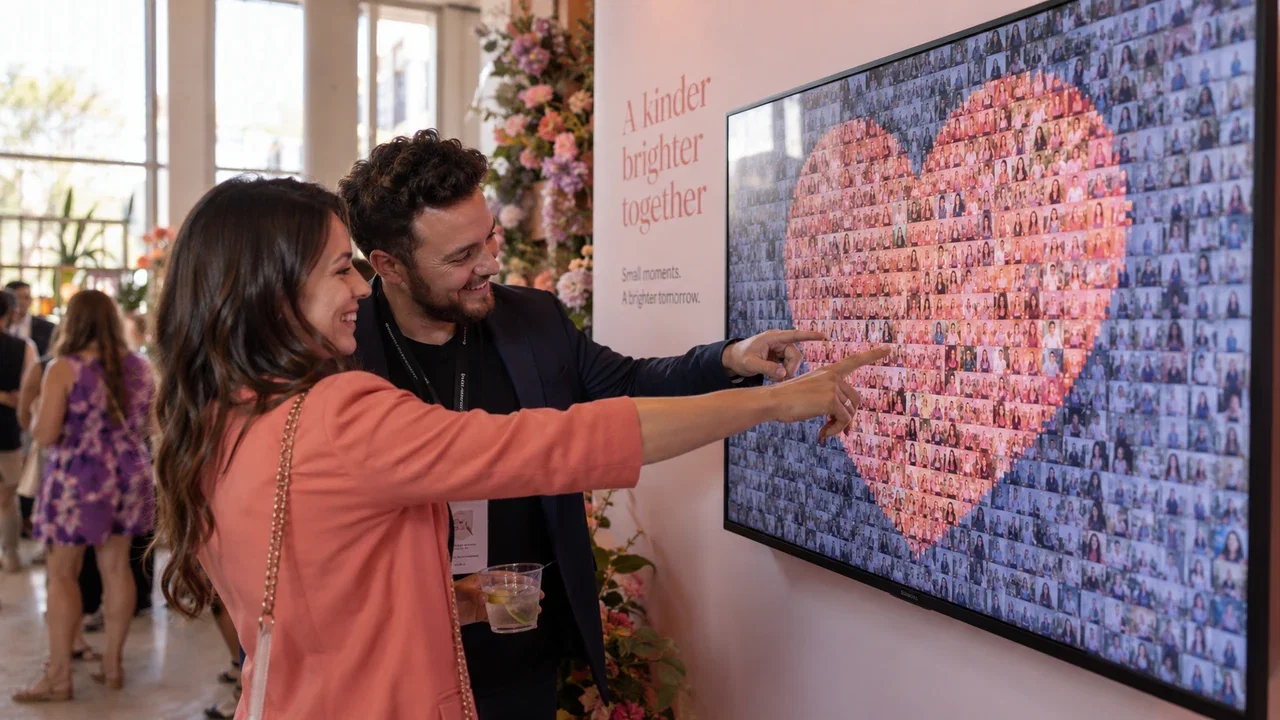
A live photo mosaic wall turns every attendee into an active contributor to a high-impact art installation. Instead of walking away with an isolated snapshot, guests watch their individual faces assemble into a massive brand logo or hero image in real time. For corporate activations, conferences, and high-end celebrations, this collective visual is unmatched for driving foot traffic and social engagement.
Running a seamless mosaic activation requires the right operational workflow and rock-solid software. In this guide, we will walk step-by-step through configuring your source files, routing camera and mobile uploads, managing on-site moderation, and displaying the evolving canvas.
Understanding Live Photo Mosaic Walls: Digital vs. Physical Installations
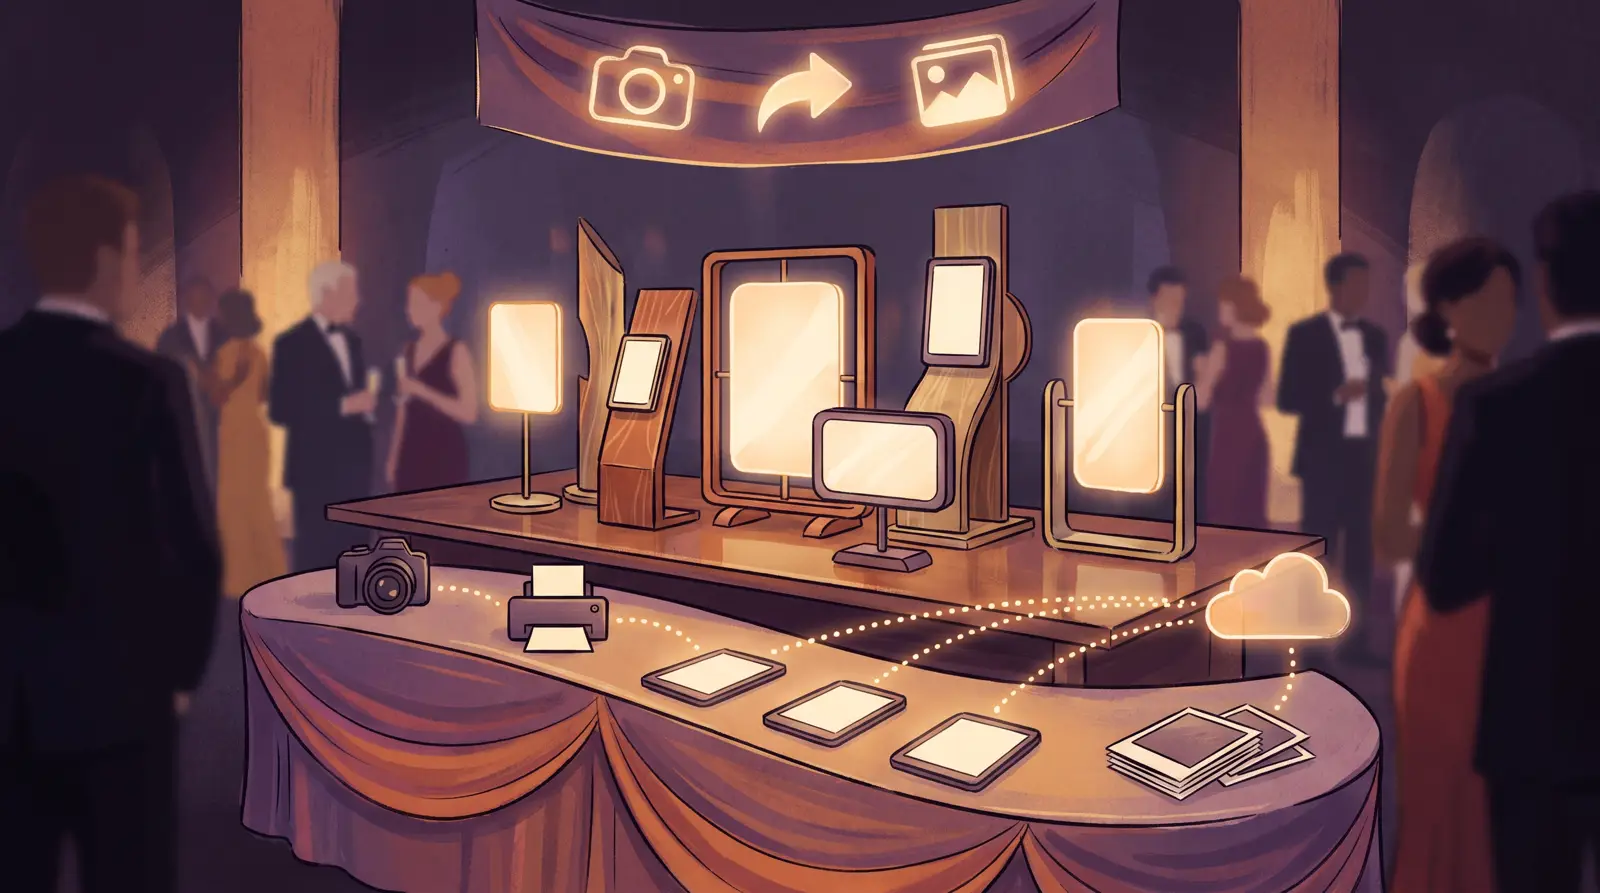
Before touching your software settings, decide whether your activation calls for a digital mosaic, a physical sticker mosaic, or a hybrid of both. Each serves different venue layouts and client goals.
A digital mosaic renders directly onto large LED walls, projection surfaces, or interactive touch displays. As new photos arrive, animations highlight incoming tiles before placing them into their mapped coordinates. This setup requires minimal footprint and provides endless movement on the event floor.
A physical installation relies on an on-site photo printer outputting numbered, adhesive-backed tiles. Guests take their printed square, find the corresponding coordinate on a grid board (such as C-42), and place it by hand. This physical engagement creates a tangible centerpiece that attendees gather around throughout the night.
Required Hardware and Software Setup for Mosaic Activations
To run a reliable activation, prepare your hardware ecosystem ahead of time. Our specialized photo mosaic wall software is native to Windows desktop systems and handles real-time color mapping and multi-screen output efficiently.
- Operator PC: A reliable Windows laptop or desktop with multi-display output capability.
- Display Infrastructure: An external monitor, large TV, or LED video wall processor connected as Screen 2 for the live presentation.
- Operator Screen: Screen 1 functions as the moderation interface where you review, approve, and manage incoming images.
- Capture Gear: A DSLR station, an existing photo kiosk such as the AK Photo Booth Pro 32″, or a branded QR station for direct guest uploads.
- Sub-Dye Printer (Physical Walls): A fast dye-sublimation printer loaded with perforated sticker media if you are building a physical grid board.
Step-by-Step: Creating and Configuring Your Mosaic Event in Software
Setting up your canvas correctly inside the application ensures optimal tile rendering and prevents color distortion on the final board. Review our support documentation on using Photo Mosaic Wall for digital displays and follow these actionable configuration steps:
1. Create the Event: Open the Photo Mosaic Wall software on your Windows computer. Navigate to Event Management, enter your event name, and click Create.
2. Upload the Master Target Image: Import a high-resolution version of your client's hero visual. Logos with clear contrasts, bold graphics, or clean portraits work best for mosaic algorithms.
3. Configure Grid Dimensions: Define the total number of columns and rows based on expected guest volume. A 1,000-tile board (e.g., 40×25) is standard for medium-sized trade shows and corporate gatherings.
4. Set Color Blending: Adjust the target overlay percentage. Blending helps the master image stay recognizable during early event hours when tile counts are still low.
Start an AI Photo Booth Pro 14-day trial
The active catalog lists a 14-day trial. Review the software page for current details.
Start FreeManaging Photo Capture Sources: DSLR, QR Guest Uploads & Moderation
A successful mosaic depends on a steady stream of incoming images. You can combine dedicated photo booths running AI Photo Booth Pro with roaming photographers and mobile QR uploads.
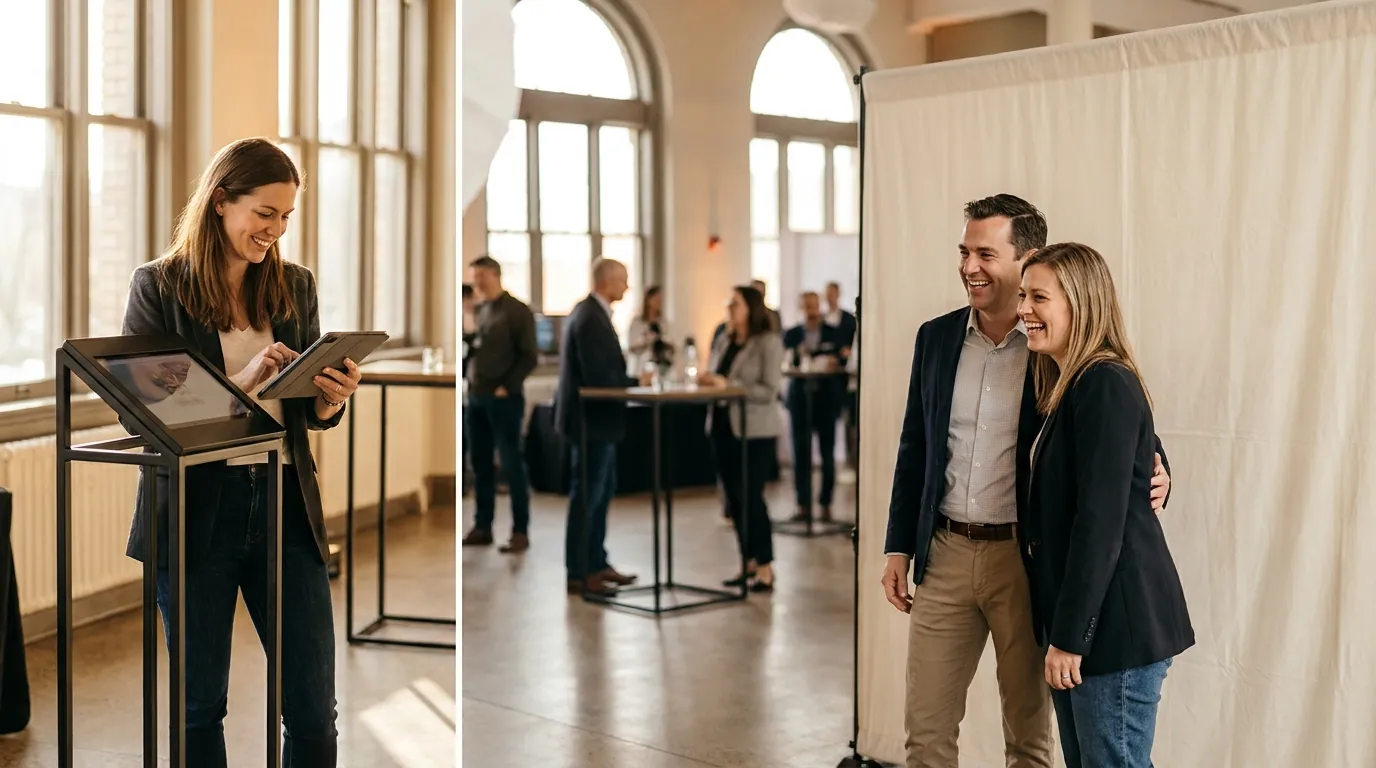
Guests can simply scan a branded QR code on signage around the venue to open an upload page on their mobile phones. This allows attendees anywhere in the room to snap selfies and submit them straight to the mosaic queue.
All incoming photos arrive on Screen 1 in your operator moderation queue. As the operator, you review photos before they appear on the digital screen or print as stickers. This moderation step protects your client against inappropriate submissions, duplicate frames, or poorly lit captures.

Best Practices for Live Display and Maximizing Guest Engagement
To keep energy high across multi-day trade shows or evening galas, position the live mosaic display where foot traffic naturally congregates. Pair digital screens with clear audio or visual cues that spotlight newly added tiles.
If you are deploying a physical sticker wall, assign an on-site brand ambassador next to the grid. The host guides guests to their specific coordinates, assists with straight sticker application, and encourages attendees to photograph their tile in place.
Always test your complete dual-screen display, printer drivers, and local network before the doors open. Having your master artwork approved and your moderation queue verified ensures a stress-free launch.
Ready to see the current plans?
AI Photo Booth Pro monthly plans start at $79/mo in the active catalog.
See Plans and Pricing