Step 1 : Event Management
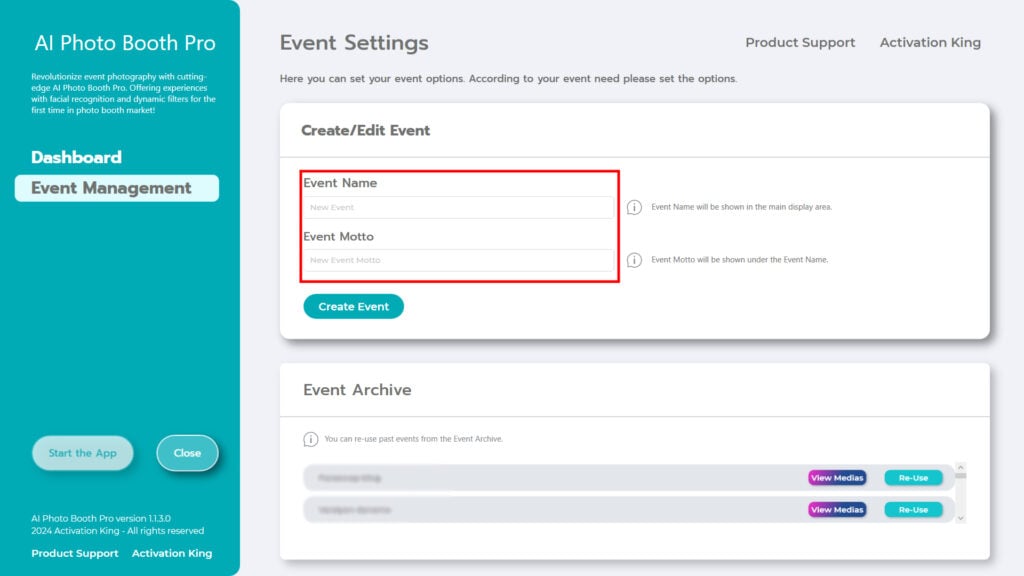
“Event Management” is the page where you can check your current events and create new events. Type an event name in the Event Name box. The event slogan section is completely optional and you can leave it blank if you wish. Then click the “Create” button.
Step 2: Mode Settings
After creating the event, proceed to the “Main Settings” page.
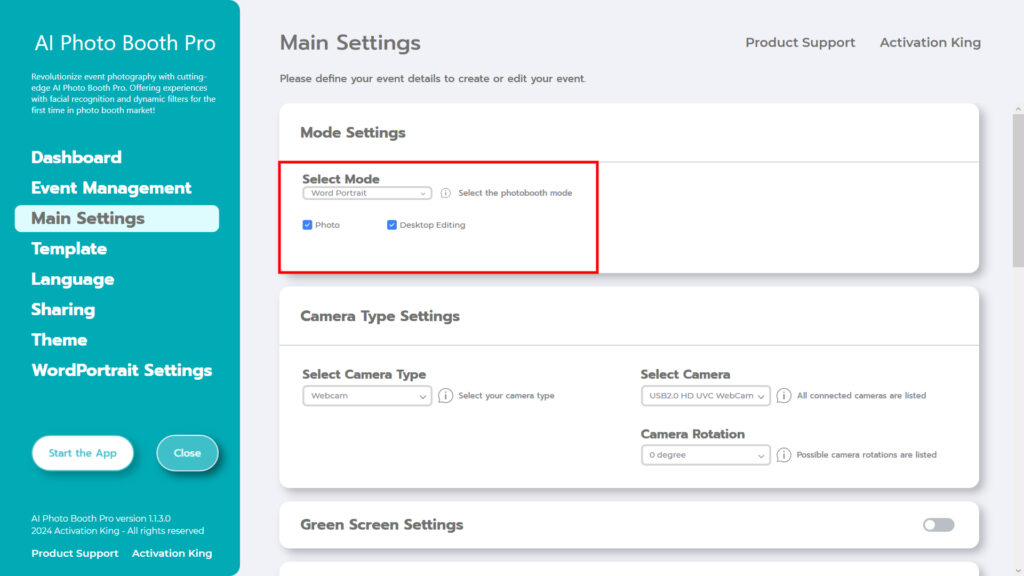
Select “Word Portrait” from the “Select Mode” section. After making your selection, you will see the Photo and desktop editing options at the bottom. “Photo” is for taking and converting snapshots. “Desktop Editing” is for converting an existing image on your computer.
Step 3: Camera Type Settings
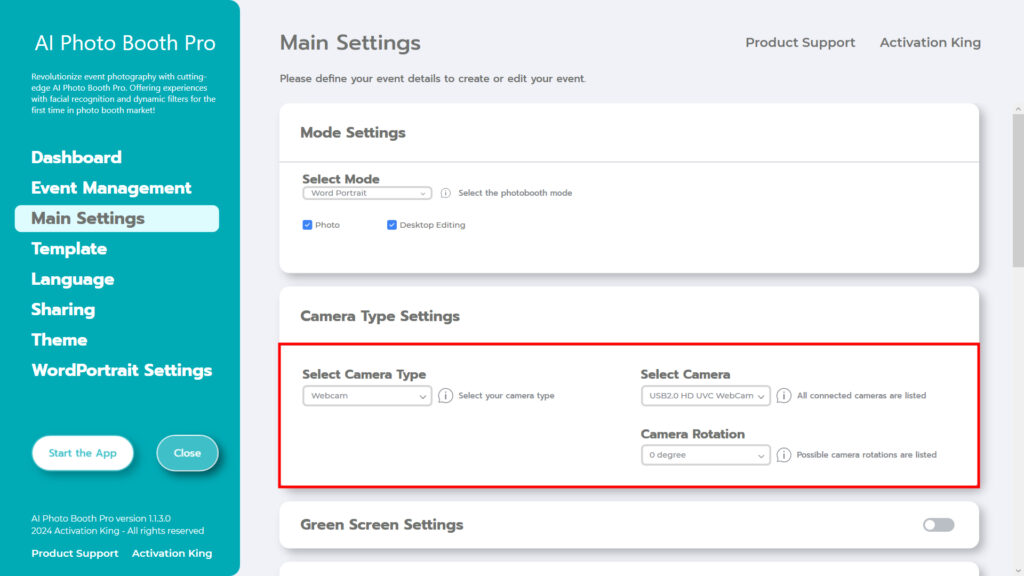
In the “Camera Type Settings” section, select the camera type you want to use from the box in the “Select Camera Type” section. When you connect your camera to your computer, it will appear in the box in the “Select Camera” section. (If it does not appear, check that your camera is on and connected to your computer and try again.) After selecting your camera, you can adjust it according to your horizontal or vertical use from the “Camera Rotation” section.
If you are going to use the “Desktop Editing” feature, you can select the “Only Gallery” option and continue.
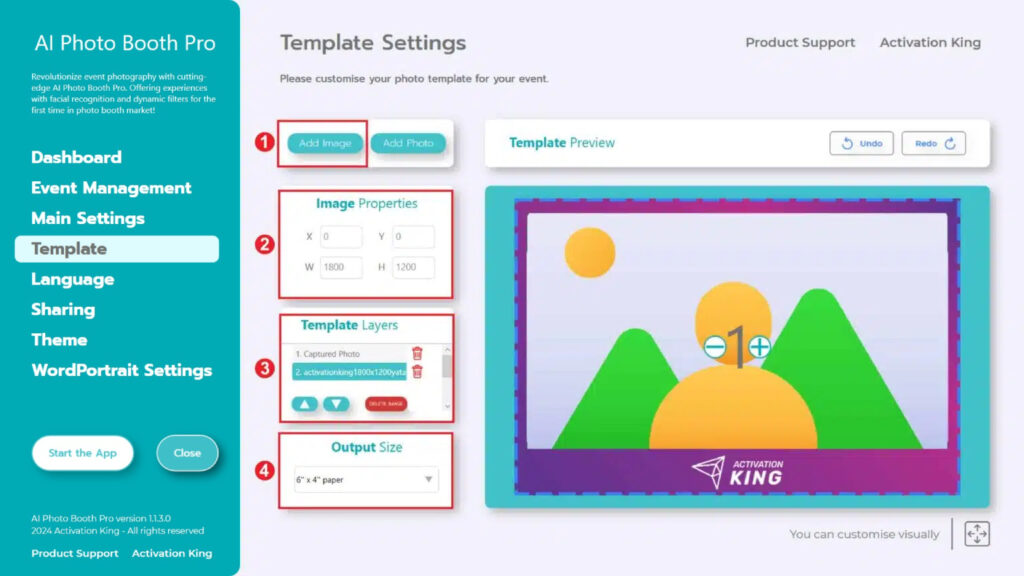
Step 4: Template Settings
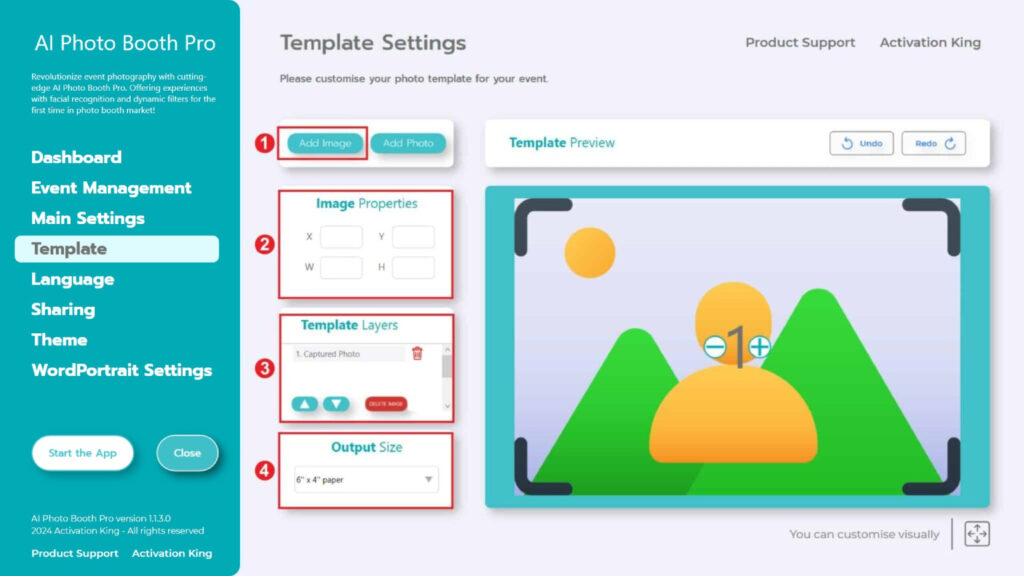
The “Template Settings” section is the interface we use to adjust the size and position of the photos we take, and to add digital frames and stickers.
In the “Output Size” section, you can determine the dimensions of our photo. If you are going to print from a printer, we recommend that you enter the dimensions of your printing paper as 6×4 or 6×8. If you are going to do only digital work, you can also consider the other options of 1280×1280, 1080×1920 or 1280×720.
To add digital frames and stickers to your photos, click on the “Add Image” section above.
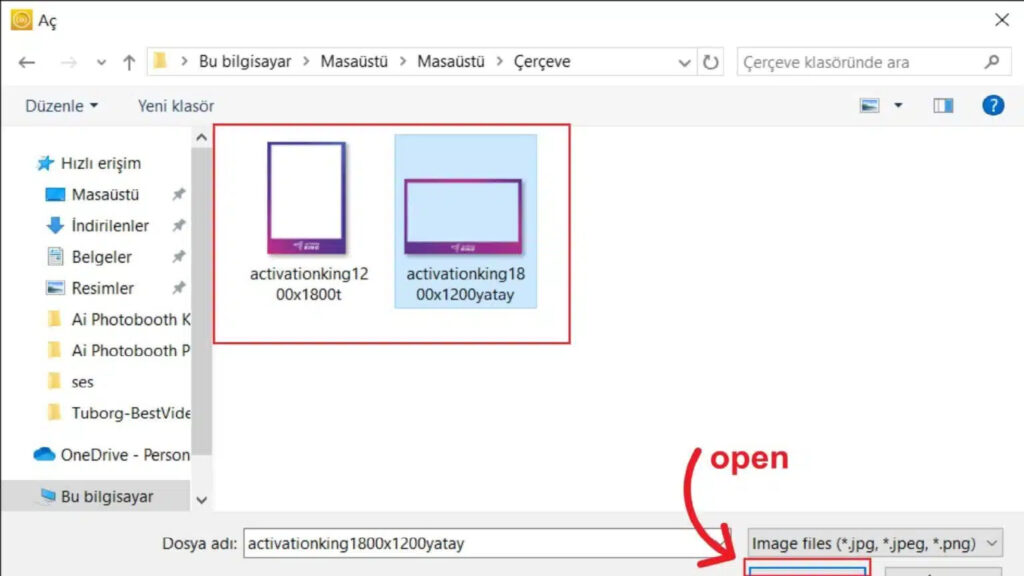
In this section, we select the horizontal or vertical frame we wish to use, then click “open.”
If the dimensions of the frame you added match your “Output Size” settings, it will automatically fit.
Step 5: Word Portrait Settings
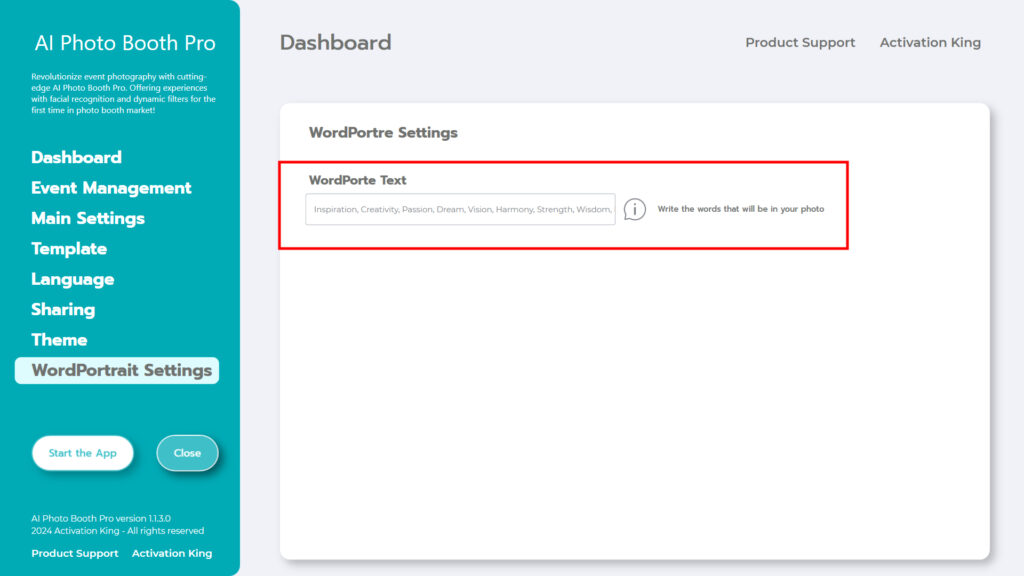
Type the words you want in the “Word Porte Text” section.
Step 6: Start the Apps
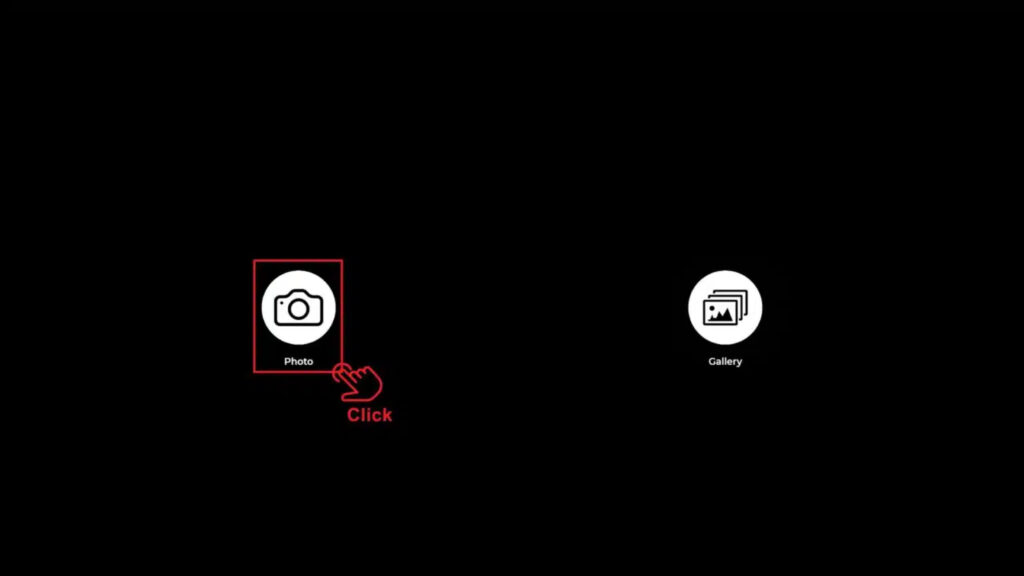
When we enter the “Start the Apps” section, we will see this screen. Click the “Photo” icon once. After the countdown screen, it will take your photo.
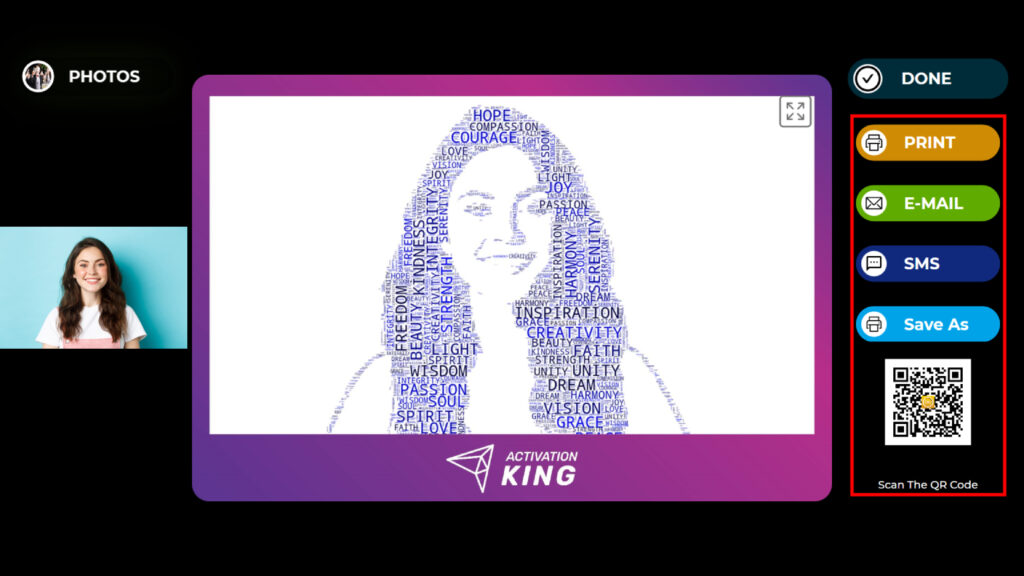
After you take the photo, your image will appear with the added frame. On the right side, you can print, email, text or scan a QR code. Tap the “DONE” icon to return to the capture screen.
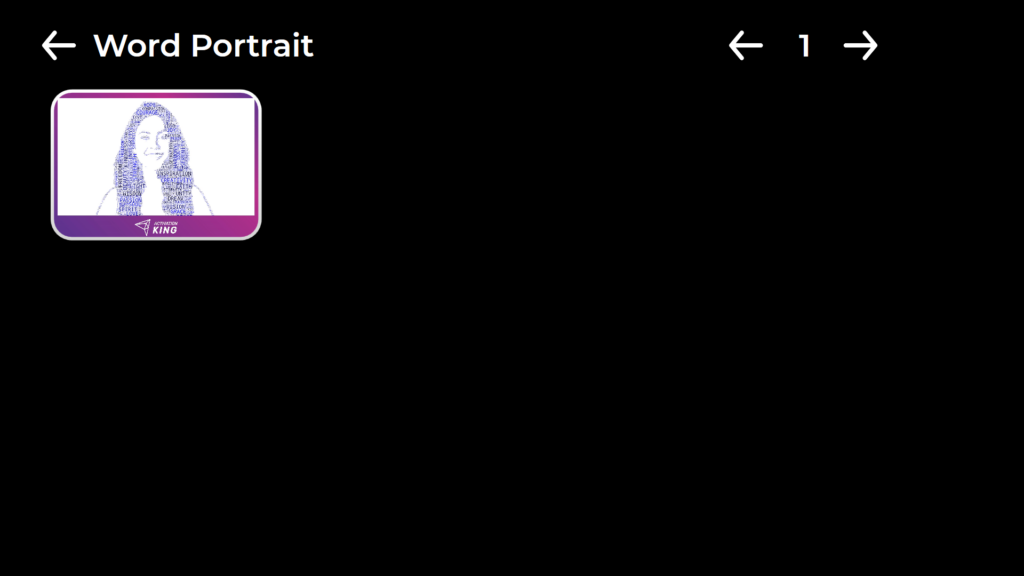
When you press the “Gallery” icon, you access the images you have previously taken. To return to the “Settings Menu,” press the “F11” key, or for users with a touchscreen, simply tap five times consecutively on the upper right corner.


