Proper lighting photo booth is critical to both improving the quality of the shot and the user experience. In order for a photo booth to function at its best, the lighting systems used must be selected and installed correctly. In this guide, we will cover the different types of photo booth lighting, installation steps, advantages and disadvantages in detail.
Lighting Photo Booth Systems and Installation
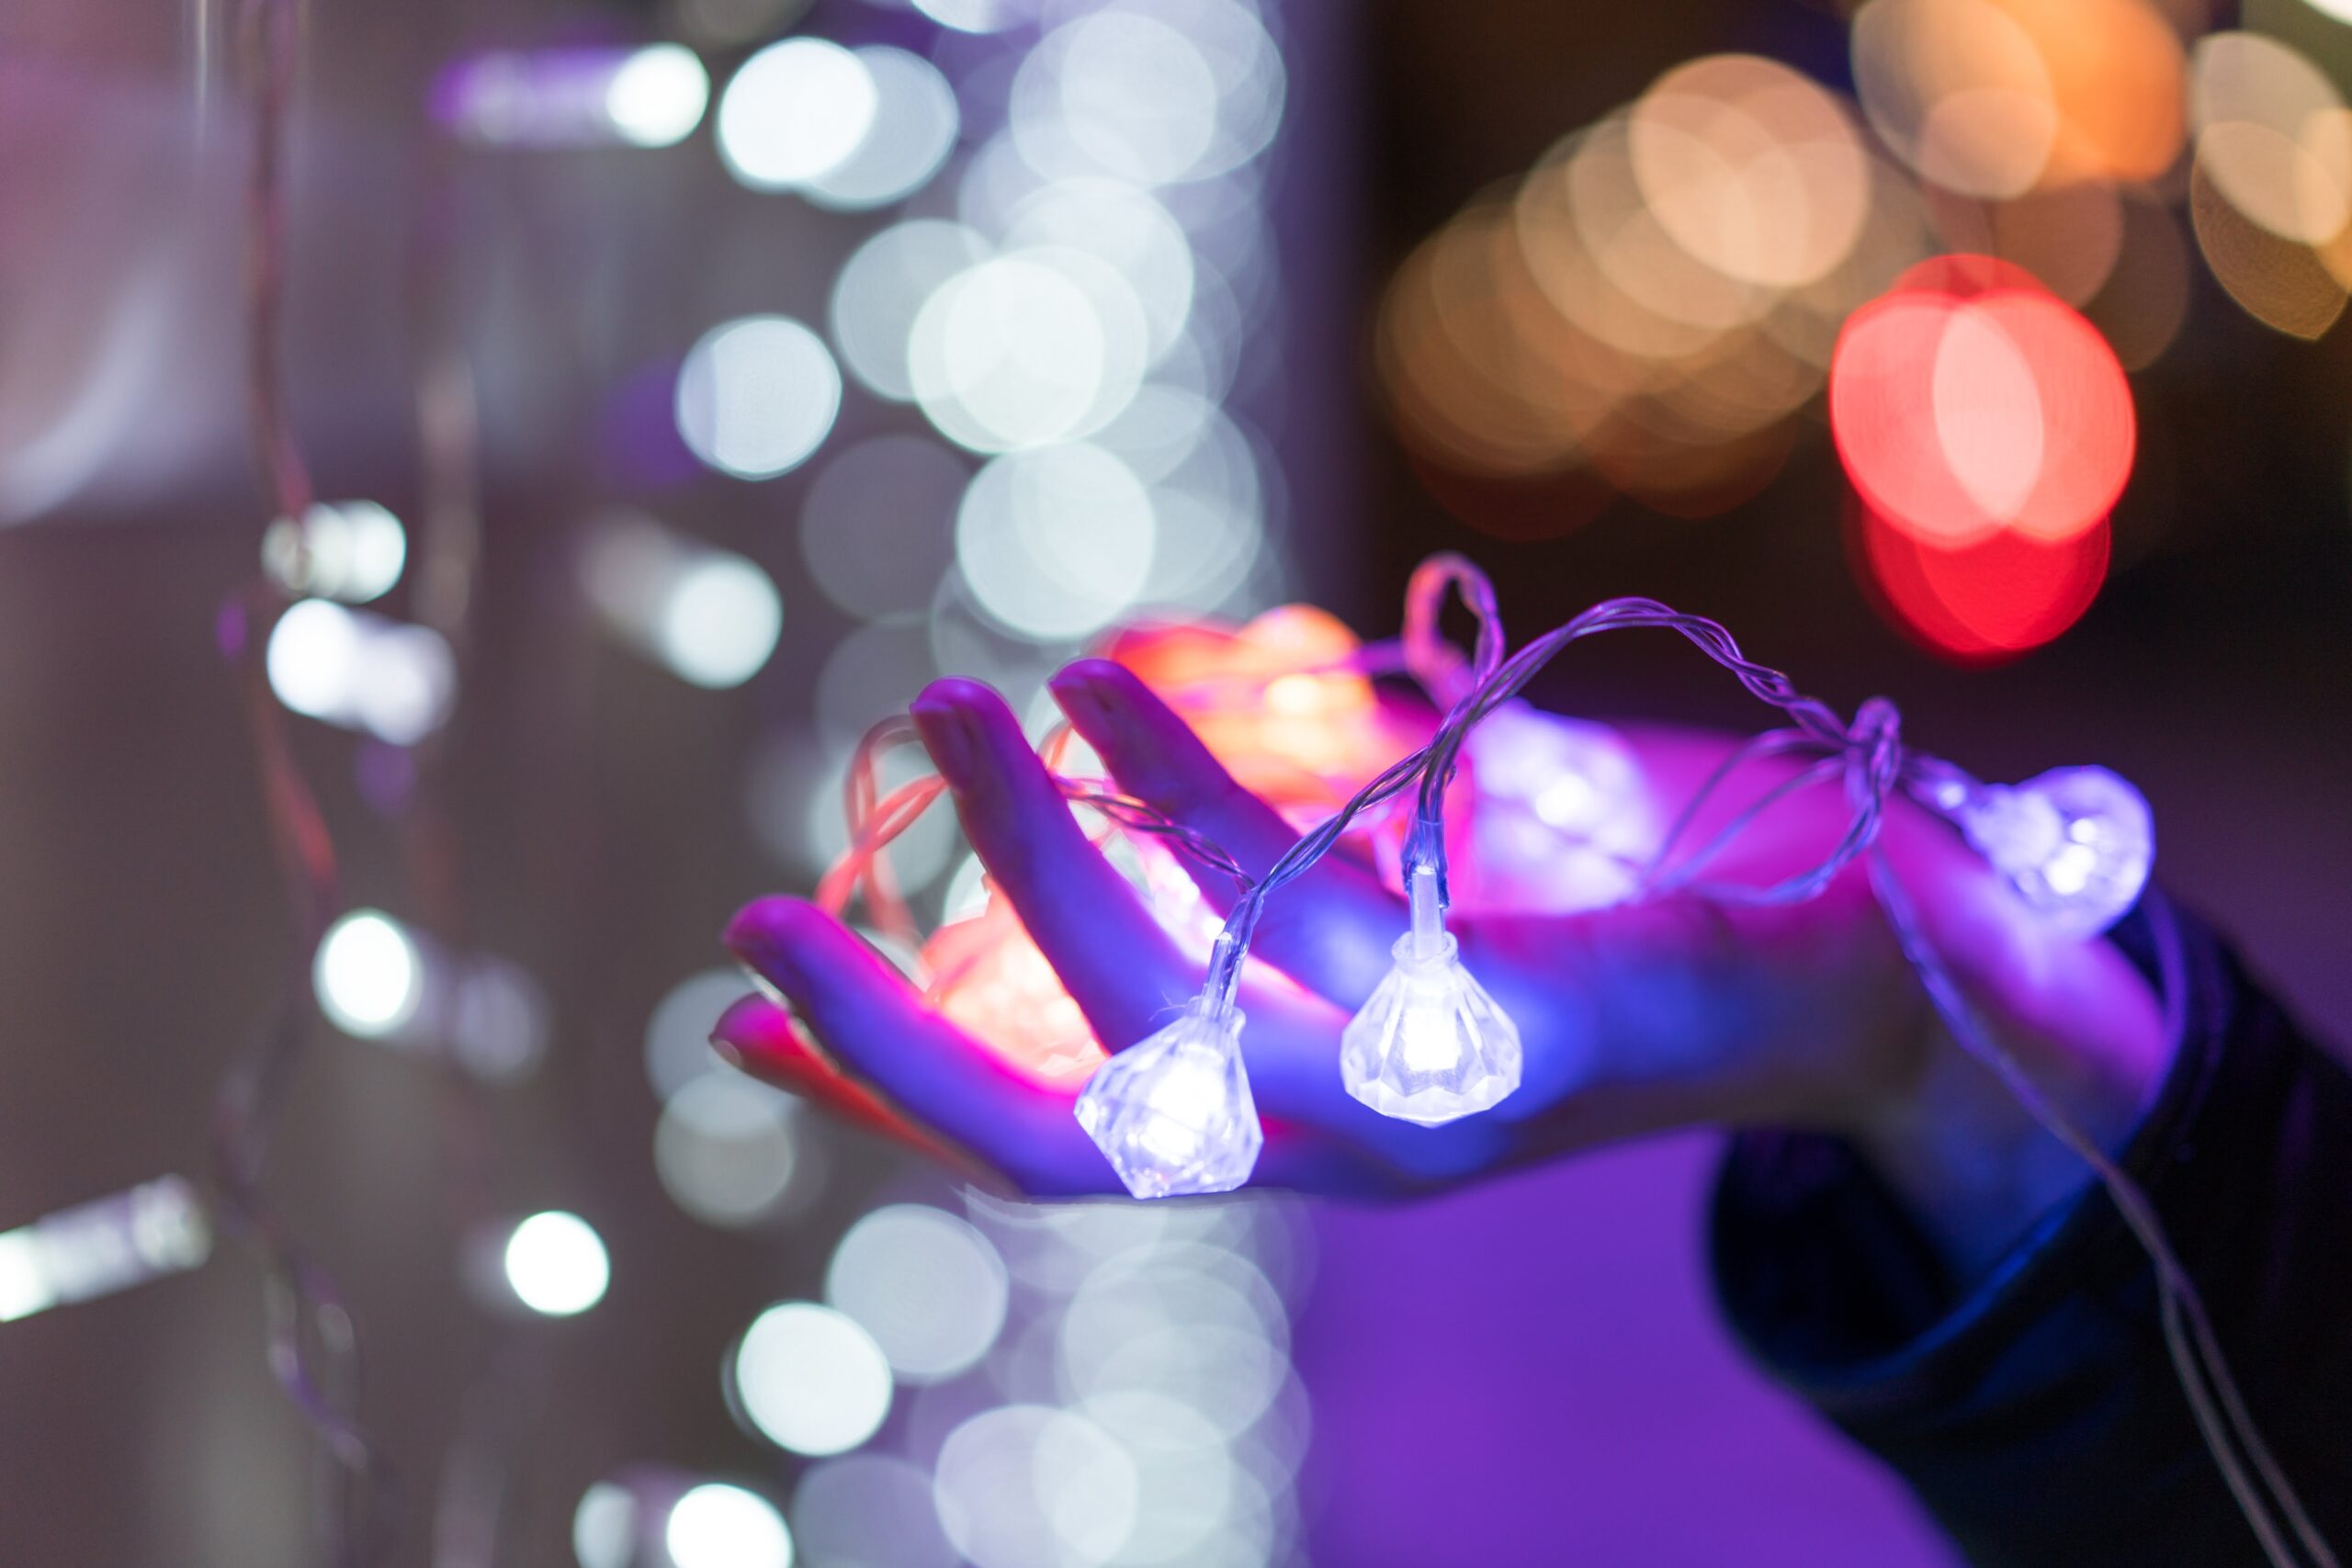
LED Lights
LED lights are one of the most commonly used lighting systems in photo booths. They are preferred because of their low energy consumption, long life and variety of color options.
Advantages:
- Energy Efficiency: LED lights save up to 80% energy compared to traditional bulbs. This means lower energy costs even for long-term events. Energy efficiency also makes it an environmentally friendly option.
- Longevity: LED lights have an average lifespan of 25,000 to 50,000 hours. This eliminates the need for frequent bulb replacement and reduces maintenance costs. Their longevity also means LED lights produce less waste, reducing environmental damage.
- Color Temperature: LED lights usually have adjustable color temperature, providing suitable lighting for different atmospheres and desired effects. Cool white light provides a natural look in daytime shots, while warm white light creates a more intimate atmosphere in evening shots.
- Low Heating: LEDs do not overheat inside the cabinet even during long periods of use, thanks to their low heat generation. This is important for the safety of both the equipment and the users.
Disadvantages:
- Initial Cost: The initial cost of LED lights is higher than other types of lights. However, this cost is offset over time by their longevity and energy savings.
- Color Accuracy: LED lights typically provide directional lighting. This may require the use of multiple LED lights to uniformly illuminate large areas.
Installation Steps:
- Placement of Lights: Place LED lights in the four corners of the cabinet or in a way that illuminates the user from the front. This ensures that facial details are clearly and evenly illuminated.
- Adjust Light Intensity: Adjust the light intensity according to the shooting area. LED lights can usually be adjusted with a dimmer, which gives you flexibility.
- Adjusting Color Temperature: Adjust the color temperature according to the shooting concept. For example, you can use 3200K for a warmer and more inviting atmosphere, or 5600K for a more natural light.
- Power Supply and Wire Management: Neatly organize the wires of the LED lights and connect them to a safe power source. Disorganized wires are not only aesthetically unpleasing, but can also be a tripping hazard.
Softbox Lights
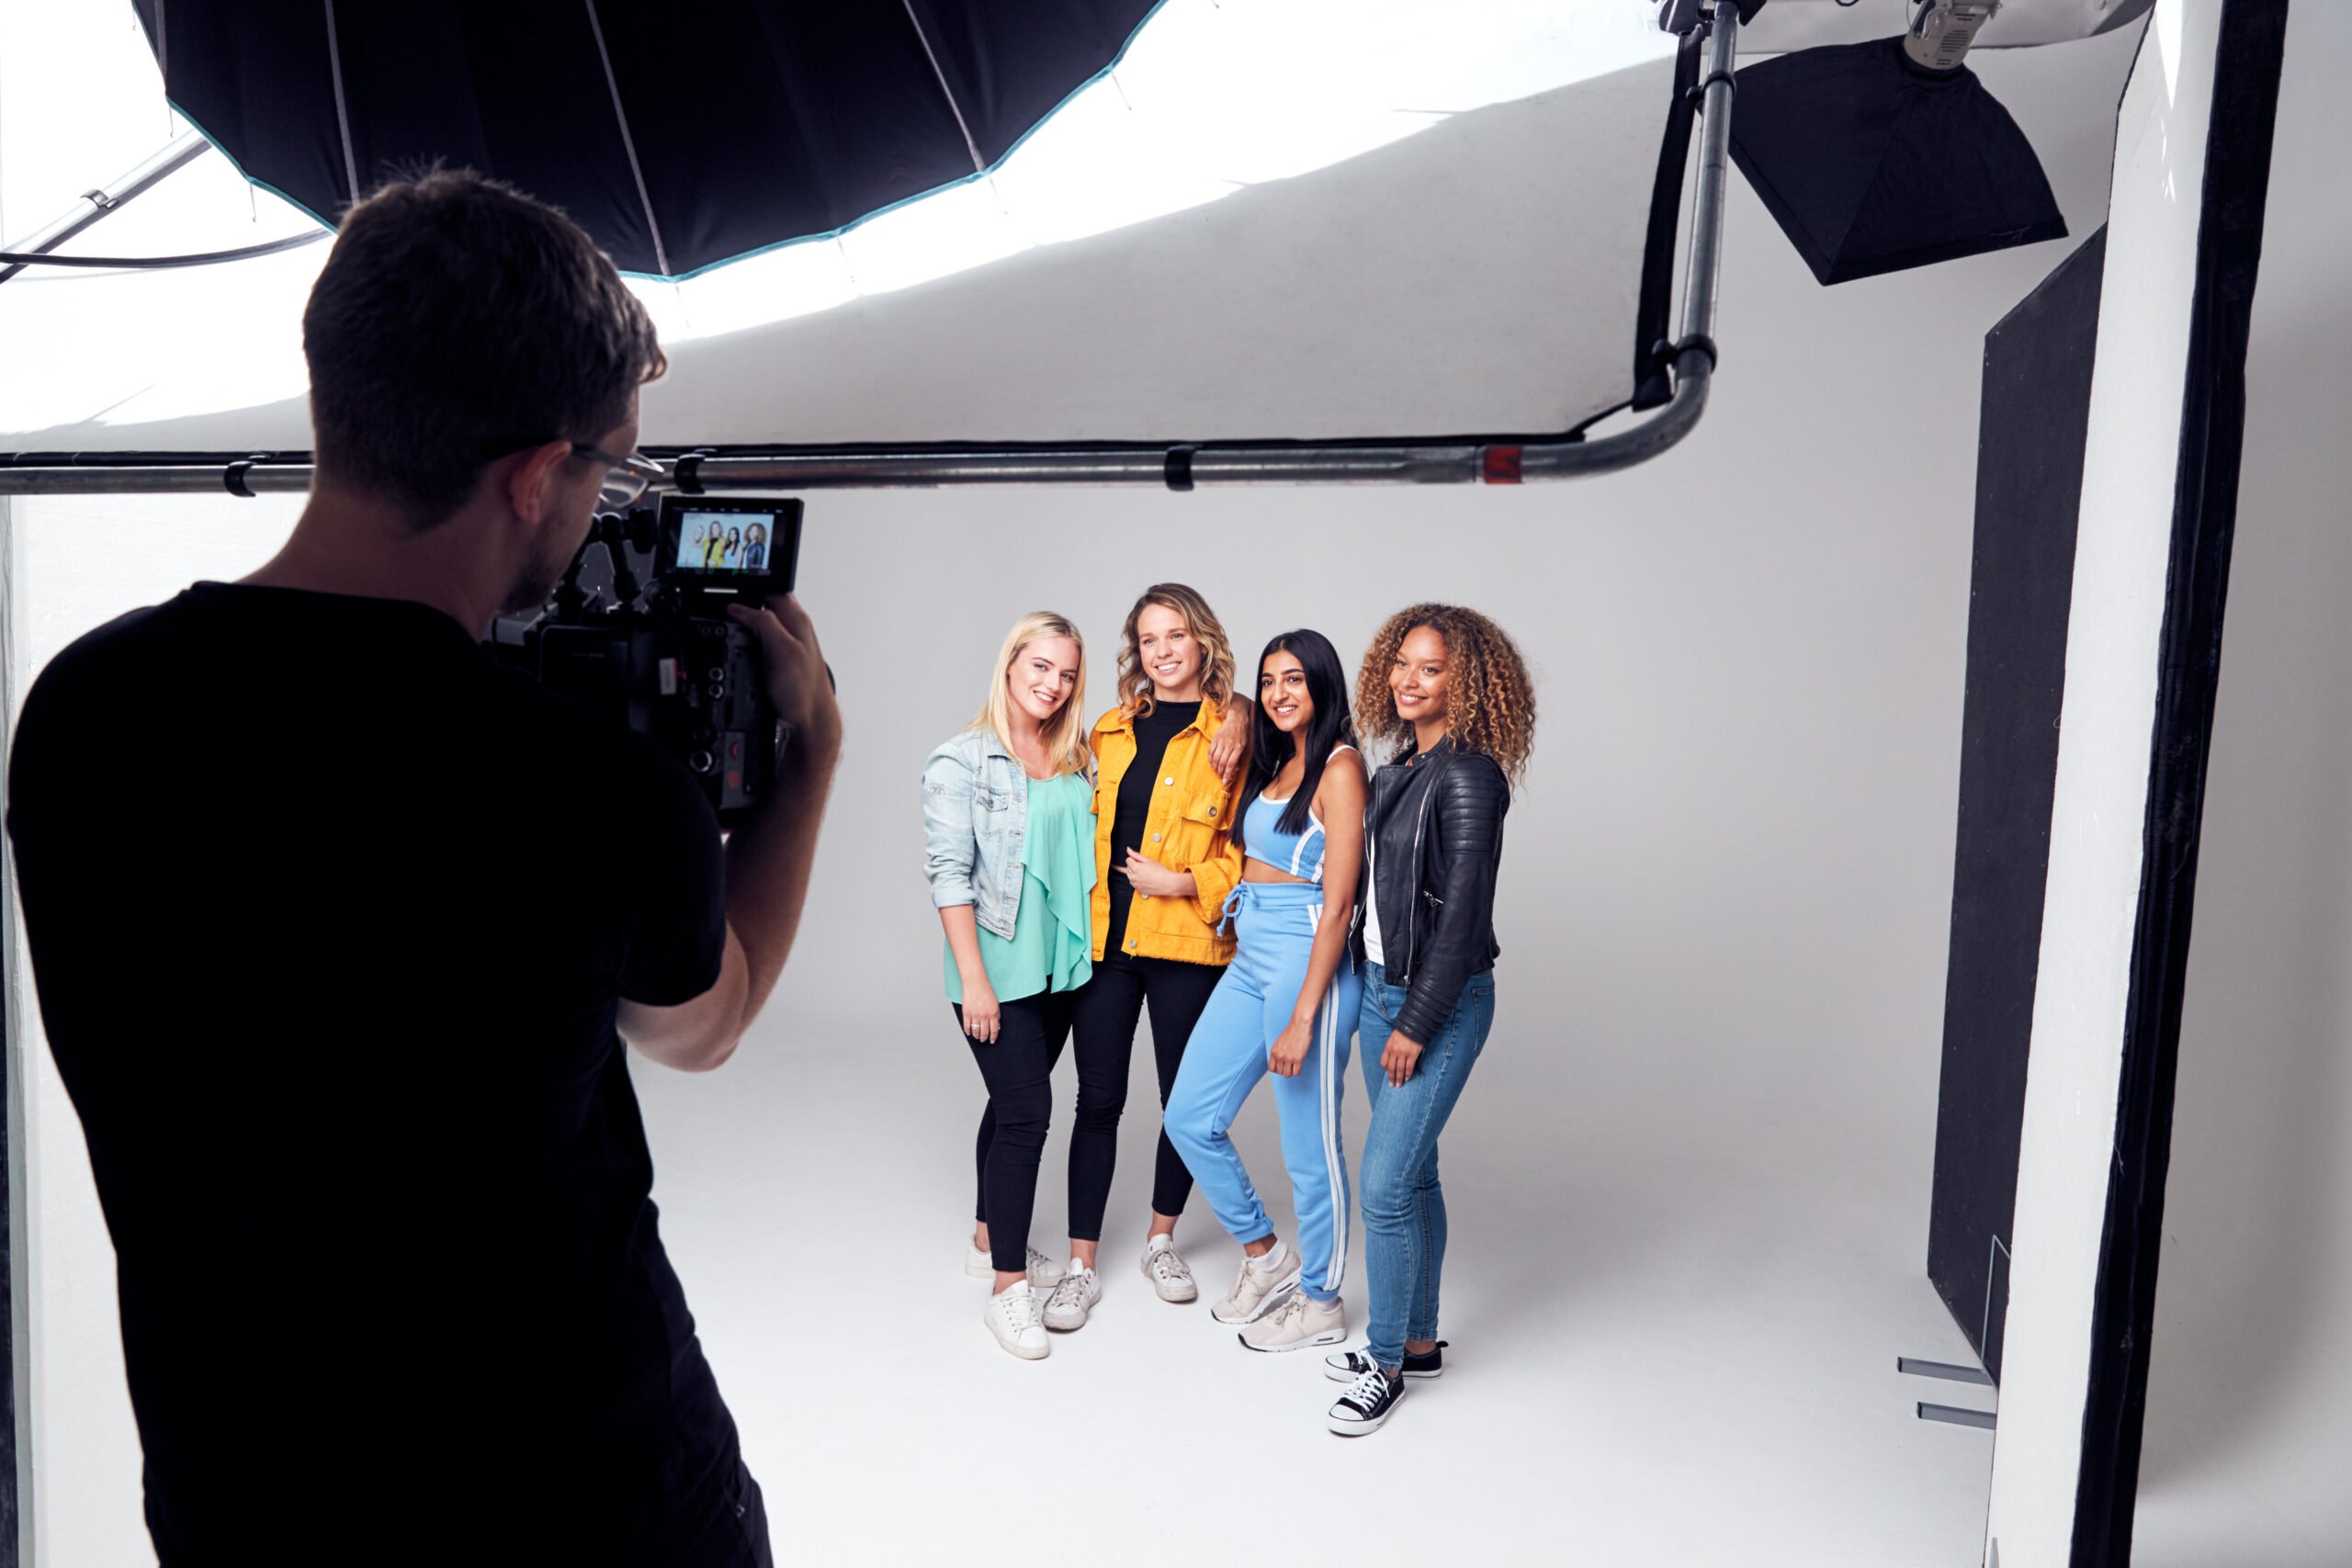
Softbox lights are used to provide soft and even lighting in photo booths. Their large surface allows the light to be distributed over a wider area.
Advantages:
- Soft and Natural Light: Softboxes provide soft, natural-looking light, resulting in soft shadows. This creates a more pleasing look in portraits.
- Wide Area Lighting: Softboxes have a large surface area that can illuminate large areas evenly, making them ideal for group photos or wide-angle shots.
- Professional Image Quality: Diffusers inside softboxes soften the light, reducing glare and harsh shadows. This results in more professional looking photos.
Disadvantages:
- Soft and Natural Light: Softboxes provide soft, natural-looking light, resulting in soft shadows. This creates a more pleasing look in portraits.
- Wide Area Lighting: Softboxes have a large surface area that can illuminate large areas evenly, making them ideal for group photos or wide-angle shots.
- Professional Image Quality: Diffusers inside softboxes soften the light, reducing glare and harsh shadows. This results in more professional looking photos.
Installation Steps:
- Placement of Softboxes: Place softboxes in front and on the sides of the booth. This will ensure the light is soft and even.
- Adjusting Light Angles: Adjust the angle of softboxes so they don’t hit faces directly. This will reduce shadows and create more natural lighting.
- Diffuser Use: If necessary, use a diffuser to soften the light even further.
- Power Supply and Cable Management: Connect the Softbox to a safe power source and organize the cables neatly. Cluttered cables are both visually annoying and a safety hazard.
Halogen Lights
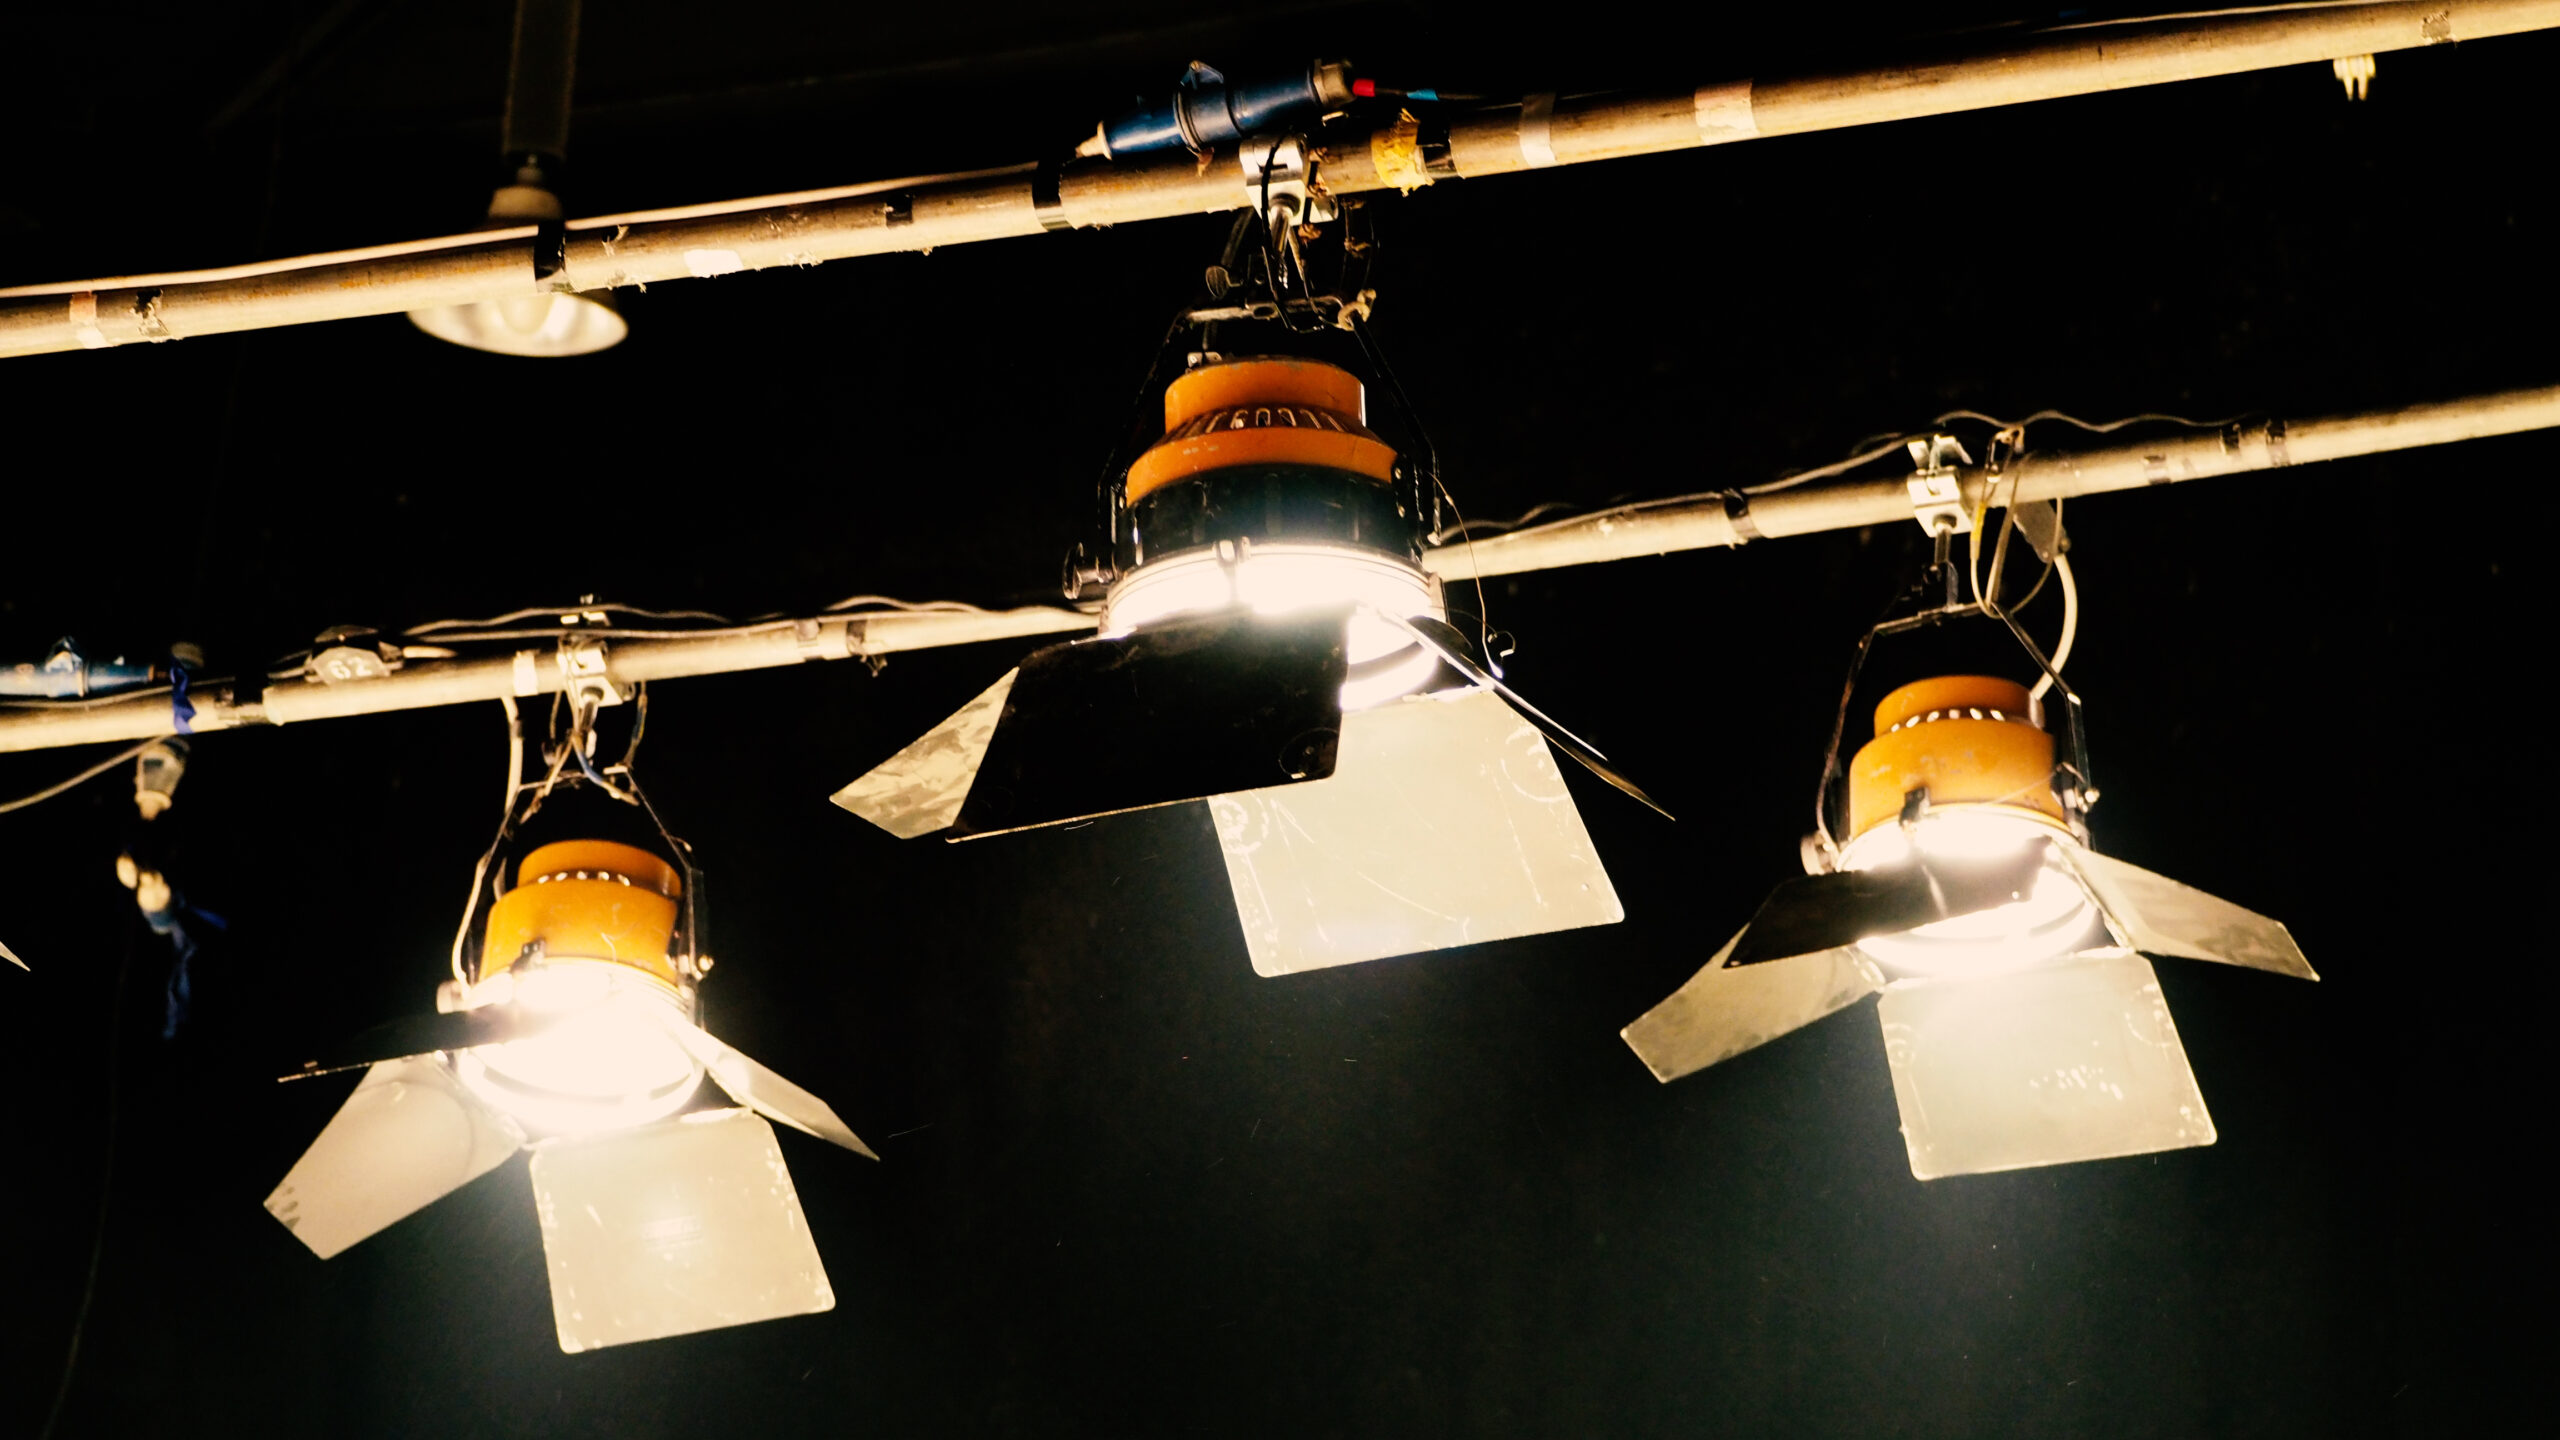
Halogen lights provide strong and bright light. They are often used in outdoor shooting and situations that require strong lighting.
Advantages:
- High Brightness: Halogen lights provide powerful and bright light, effectively illuminating large areas. This is ideal for outdoor events and large venues.
- Outdoor Use: They can be used in outdoor shooting due to their strong light capacity, providing strong illumination against sunlight.
- Natural Colors: Halogen lights offer natural and vibrant colors due to their high color accuracy. This makes colors appear true and vibrant.
- Economical Option: Halogen lights are generally more affordable than other professional lighting options, making them an attractive option for those looking for a budget-friendly solution.
Disadvantages:
- High Heat Generation: Halogen lights produce high heat and caution should be exercised when used for long periods of time. This can cause heat build-up, especially in enclosed spaces.
- Short Lifespan: Halogen bulbs have a shorter lifespan compared to LEDs, meaning the need for frequent bulb replacement.
Installation Steps:
- Installing Lights: Install the halogen lights on the top of the cabinet. This will spread the light over a wide area.
- Adjusting Light Intensity: Adjust the light intensity according to outdoor conditions. Set strong to provide sufficient brightness against sunlight.
- Provide Ventilation: Make sure to provide adequate ventilation to prevent the lights from overheating.
- Power Source and Cable Management: Connect halogen lights to a safe power source and place the cables in an orderly manner. A messy cable can cause problems for both safety and aesthetics.
Ring Led Lights
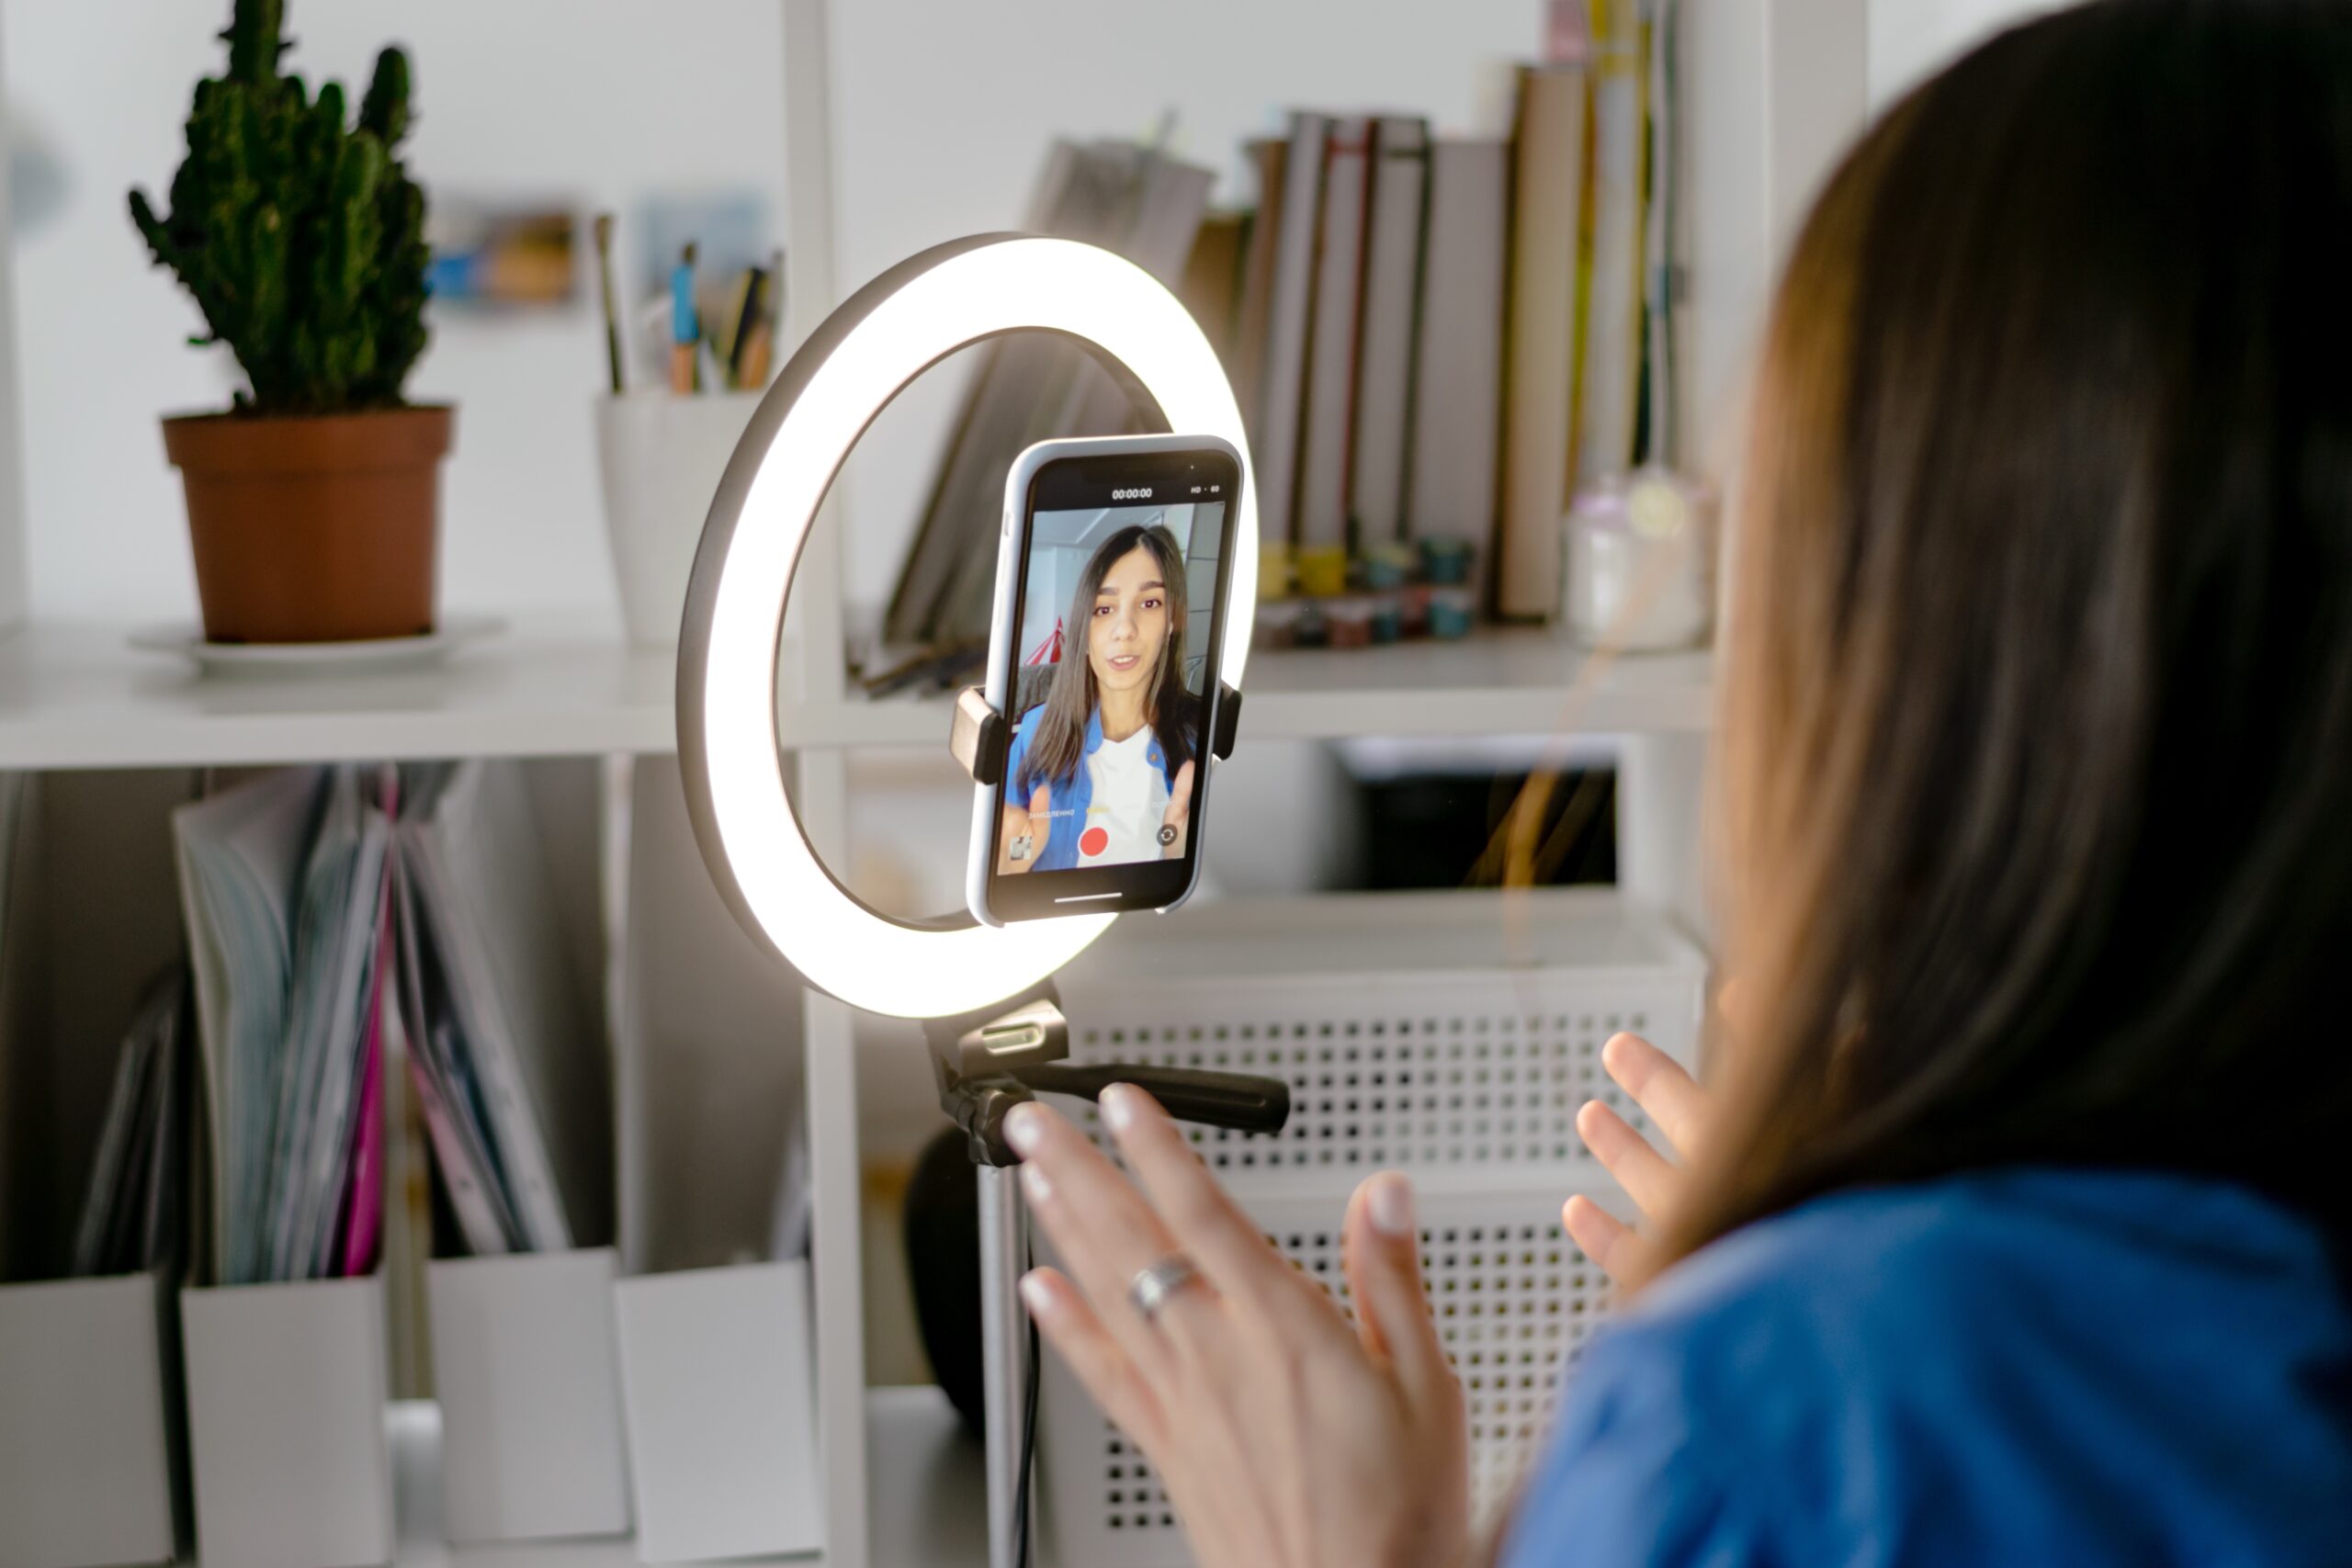
Ring light is used to create an eye-catching effect, especially in facial shots. It provides homogeneous lighting as it is placed around the lens.
Advantages:
- Even and Homogeneous Light: Ring lights minimize shadows by evenly illuminating the subject’s face. This is especially ideal for makeup and portrait shots.
- Accentuate Facial Features: Ring light creates a pleasant glow in the eyes and highlights facial features, making it ideal for portraits.
- Compact and Portable: Ring lights are generally lightweight and portable, which makes them easy to install and carry.
Disadvantages:
- Limited Lighting Area: Ring lights generally illuminate small areas and may be inadequate in large areas.
- Lack of Natural Light: Ring lights may not provide as much natural light as other types of lighting and can create an artificial effect.
Installation Steps:
- Mounting the Ring Light: Mount the ring light around the lens. This ensures that the light hits the face directly and provides uniform illumination.
- Adjust Light Intensity: Adjust the light intensity to suit facial shots. Optimize brightness to highlight facial features.
- Use of Additional Light: If necessary, provide illumination of larger areas by supporting with additional light sources.
Lighting Positioning and Ambient Factors
Lighting Positioning
Correct lighting positioning greatly affects the quality of your shots. Where and how the lighting is positioned determines the uniformity of shadows and light.
Front Lighting: Having the main light source coming directly from the front makes shots clear and bright. This positioning helps highlight facial features and minimize shadows.
- Setup: Place the main light source in front of the cabinet and direct it directly to the shooting area. Adjust the angle of the light to provide natural lighting on faces.
Side Lighting: Light coming from the sides is used to highlight facial features and create depth. This type of lighting provides more dynamic and three-dimensional images.
- Installation: Place the lights on the sides of the cabinet and direct them at a slight angle into the shooting area. Adjust the intensity and angle of the light to prevent shadows from being visible.
Backlighting: Backlighting makes the background of shots stand out more and helps separate the subject from the background. This can be especially effective when used as a fill light.
- Installation: Place the backlight behind or on top of the cabinet. Direct the light towards the background and adjust to create contrast between the subject and the background.
Top Lighting: Lights coming from above provide general illumination to the scene while creating natural shadows. This is especially effective for lighting large areas.
- Installation: Mount the overhead lighting on the ceiling or top of the cabinet. Direct the light directly down and position it to provide even illumination.
Weather and Ambient Light
Lighting positioning and selection may vary depending on the event environment and weather conditions. Choosing the right lighting will ensure that your shots are perfect in all conditions.
- Indoors: Indoors, lighting is completely under control. This allows you to easily use different lighting systems. LED lights and softboxes are ideal for indoor use.
- Advantages: Light control is easier and is not affected by external factors. You can illuminate the environment as you wish by using different light sources.
- Disadvantages: Space can be limited, so placement of lights requires care.
- Outdoors: Natural light is an important factor in outdoor spaces. Halogen lights and LED lights can be used in addition to sunlight.
- Advantages: By using natural light, you may need less artificial lighting. Open spaces offer wider lighting opportunities.
- Disadvantages: Weather and sunlight changes may affect lighting conditions. Factors such as wind and rain may require equipment protection.
- Sunset or Night Shots: Sunset or night shots require special lighting. LED and halogen lights can be effective in these types of shots.
- Advantages: You can achieve more creative and dramatic lighting effects. You can take impressive night shots with special lighting.
- Disadvantages: More artificial lighting may be required due to insufficient natural light. Correct placement and adjustment of light sources may take time.
Things to Consider When Choosing a Lighting System
When choosing the right lighting photo booth system, you should consider factors such as the type of event, the features of the venue, and the expected shooting quality.
- Event Type: Different events such as weddings, birthdays, corporate events may have different lighting requirements. Soft lights can be preferred for portraits, while strong lights can be preferred for large areas.
- Space Features: Indoor and outdoor spaces directly affect your lighting choice. While soft and homogeneous lights are used in indoor spaces, strong and durable lights should be preferred in outdoor spaces.
- Shooting Quality: For professional shooting, it is important to use high-quality and adjustable lighting systems. Factors such as color temperature, light intensity and distribution should be taken into account.
- Organize Cables: Minimize the risk of tripping and falling by organizing cables neatly. When placing cables, prioritize the safety of guests and equipment.
By considering the advantages and disadvantages of each type of lighting, you can choose the one that best suits your needs and take great photos with the right setup. By choosing the most suitable lighting system for your photo booth, you can ensure that users have the best experience. The right lighting will make a big difference in the success of your photo booth and user satisfaction.
Share This Post Now!
Ring light is used to create an eye-catching effect, especially in facial shots. It provides homogeneous lighting as it is placed around the lens.
Discover the World’s Best Photo Booth Software
AI Video, AI Face Swap, AI Prompt, AI Background Removal, Photo Booth, 360 Video, Mirror Booth, Green Screen, GIF Booth, Word Portrait and GLAMBOT!


