Step 1: Theme Settings
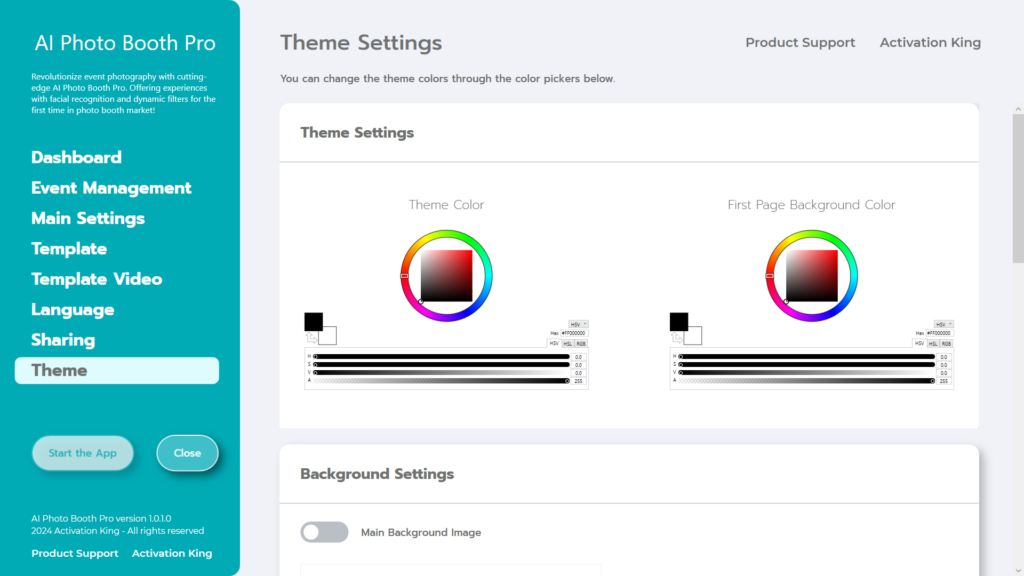
“Theme Settings” is the section where you can customize your screen settings.

In the “Theme Color” section, the color you choose determines the main screen color.
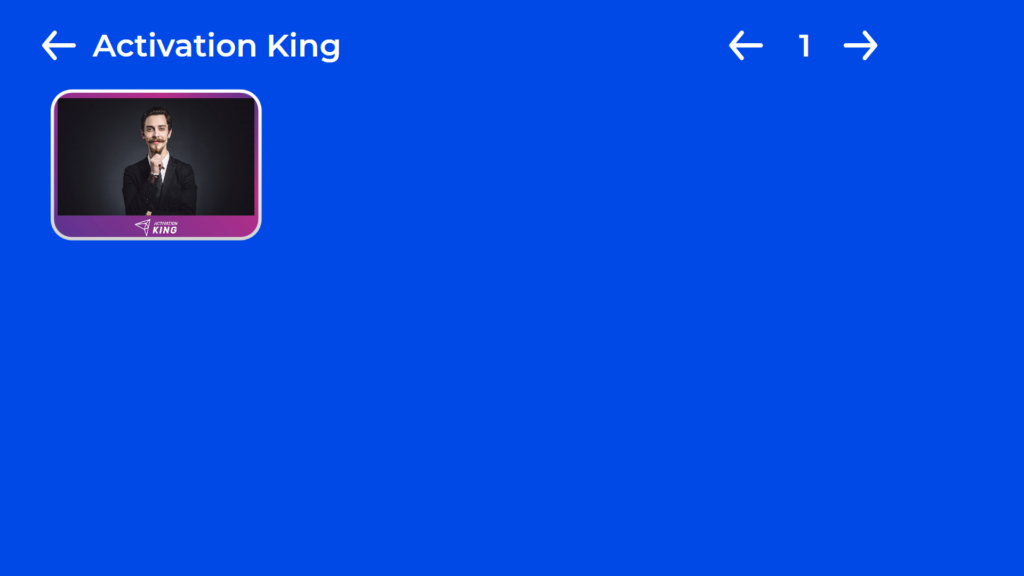
“First Page Background Color” determines the color of your “Gallery” screen.
Step 2: Background Settings
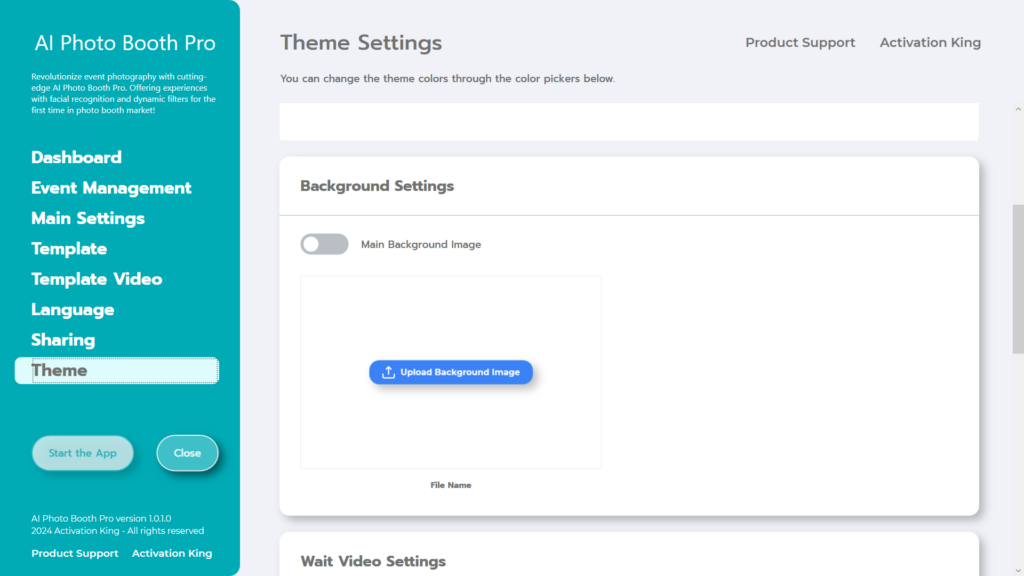
In the “Background Settings” section, you can add a visual to your main screen. In this section, where you can add images that do not exceed 10 MB in size, keep in mind that they will appear below icons such as “photo, video, gallery” on the main screen. Plan your design accordingly, considering these icons during the design process.
To add your image, first press the “Upload Background Image” button.
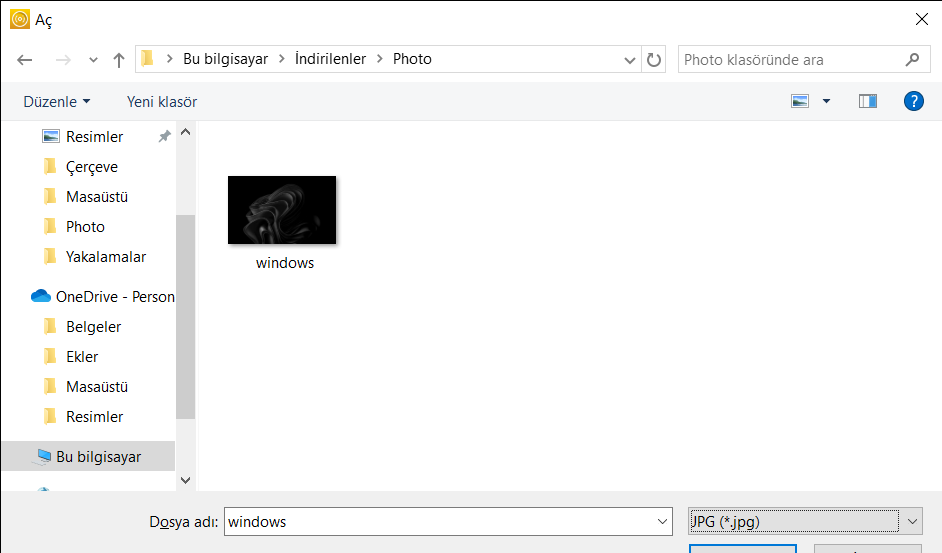
After finding and selecting your image, press the “open” button.
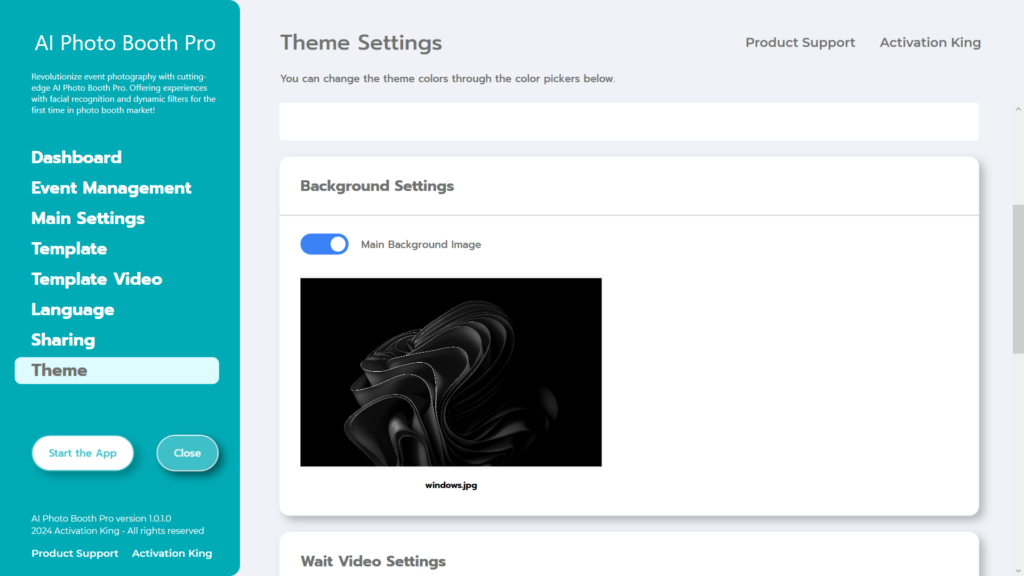
Finally, activate the “Main Background Image” button.
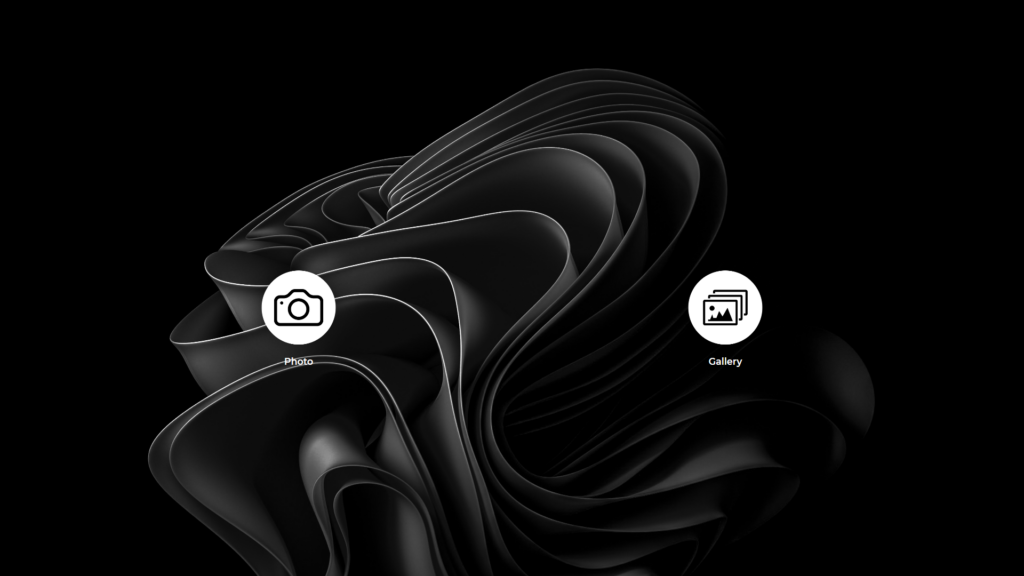
Then, press the “Start the App” button to see how your image looks.
Step 3: Wait Video Settings
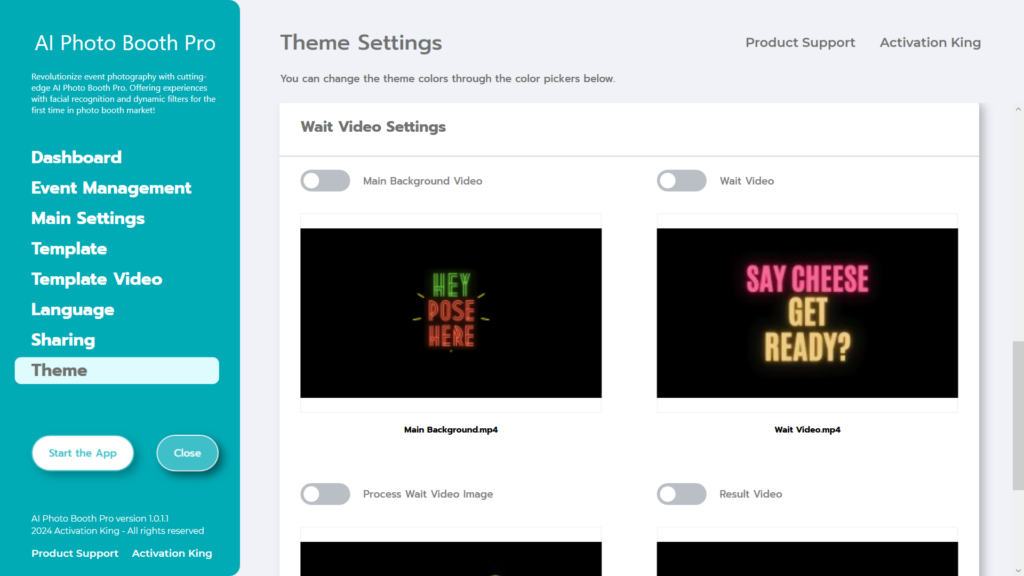
In the “Wait Video Settings” section, you can create an enjoyable process by placing various videos during the waiting parts of the photo shooting process.
If you activate the “Main Background Video” section, the video you placed will play on your main screen.
If you activate the “Wait Video” section, the video you placed will play on the countdown screen.
If you activate the “Process Wait Video Image” section, the video you added here will be shown after the photo shoot.
If you activate the “Result Video” section, the video you added in the section before your photo appears on the screen will be shown after the shooting is finished.
As the default videos in the software are in horizontal format, use them on a horizontal screen. If you’re using a vertical screen, you need to use vertical videos.
