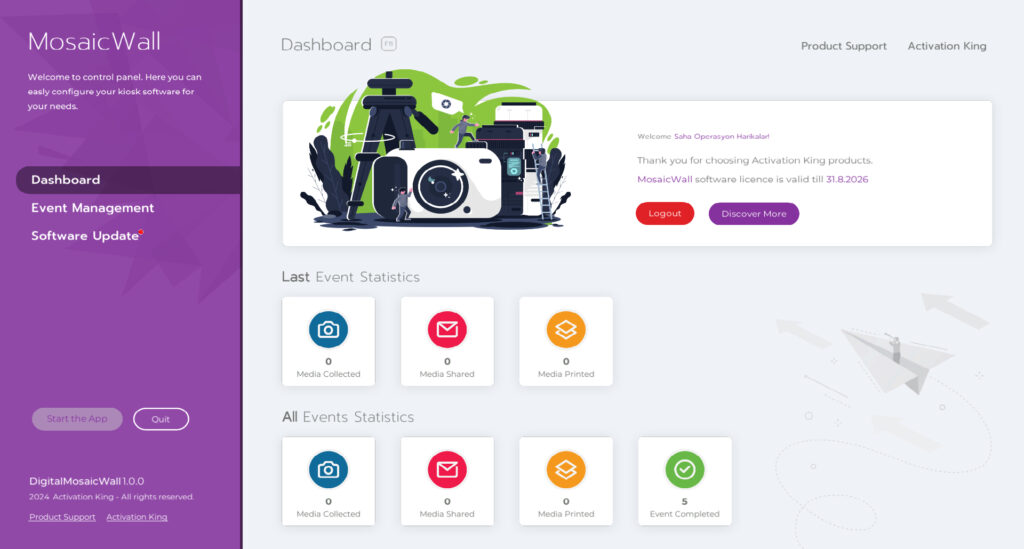
Step 01: Browse Activation King Website
To start your Photo Mosaic Wall journey first you need to download the software installer from activationking.com
Click on “Free Trials” section from the main menu to go the free trial downloads of all Activation King softwares.
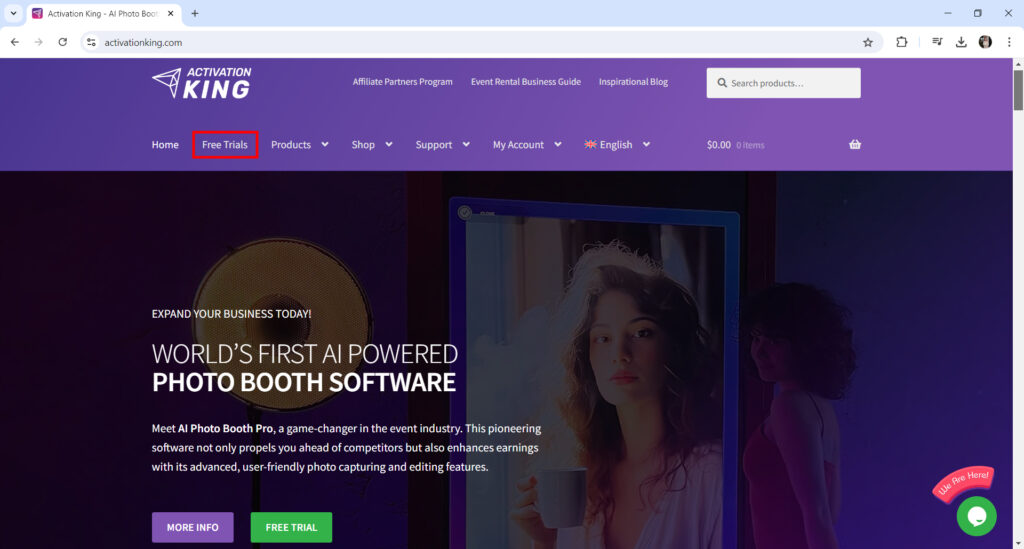
Step 02: Download the Installer
In Trials page find the “Photo Mosaic Wall” section and click on “Download” button. Download will start immediately.
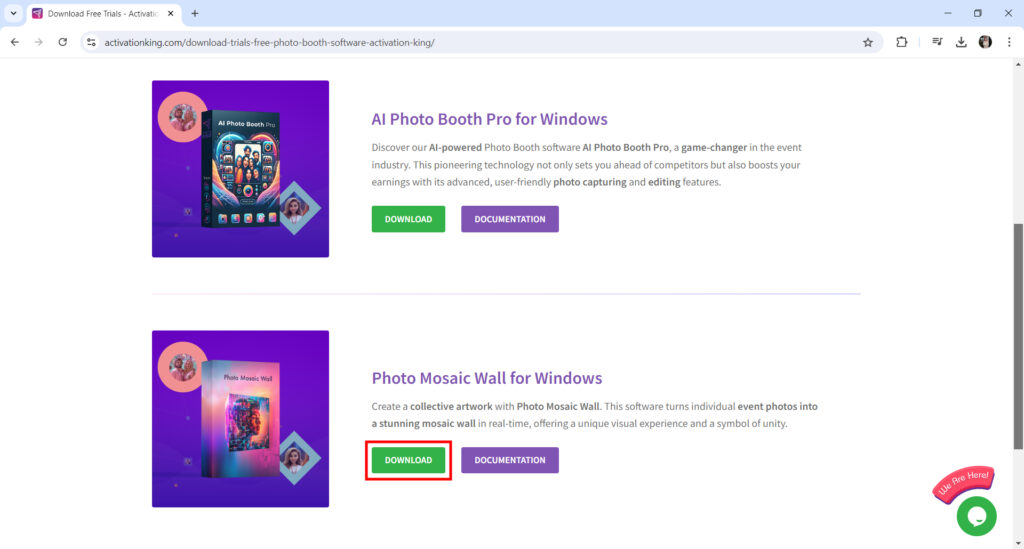
Step 03: Run the Installer
After downloading the software double click on the installer to start the installation.
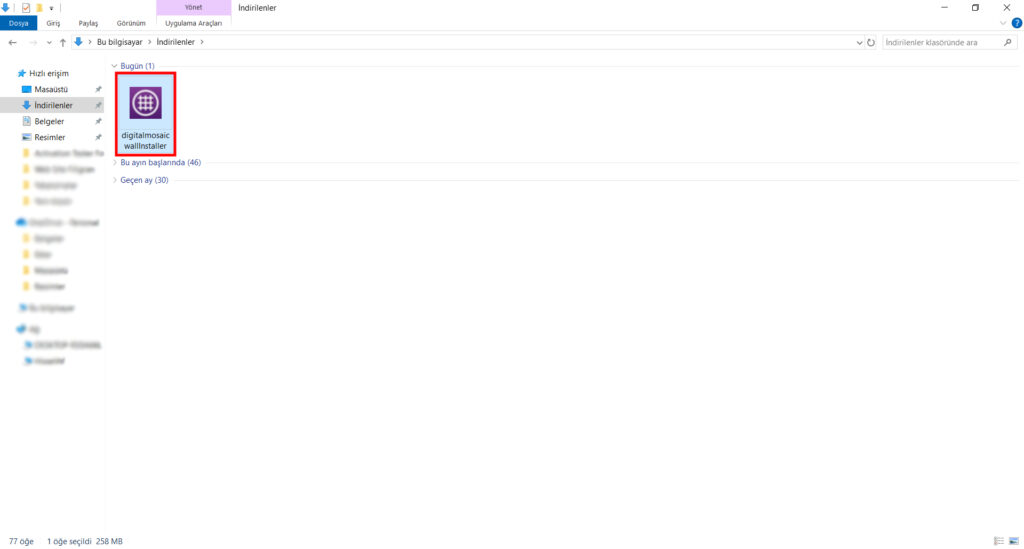
Step 04: Run the Installer
After the installer screen opens, select the installer language and start the installation by clicking the “Next” button.
On the next screen, first confirm the License Agreement and continue the installation by pressing the “INSTALL” button. After this step, the installation will be completed.
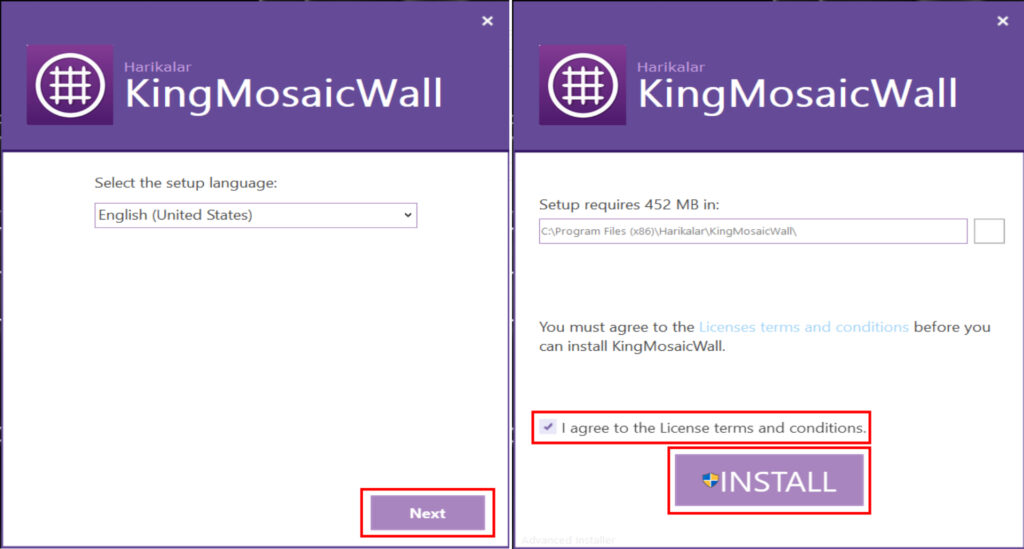
After the installation is completed, you can start the application by pressing the “Run” button or close the installer by pressing the “Finish” button.
After installation, a shortcut will be defined on your desktop to launch the application.
Step 05: Activate Your Subscription the Installer
After opening the application, you will see a screen where you can enter your “Mail Address” and “Lincence Code“.
In these fields, enter the e-mail address you used when subscribing to Photo Mosaic Wall and the license code sent to you by e-mail after your subscription and press the “Sign in” button.
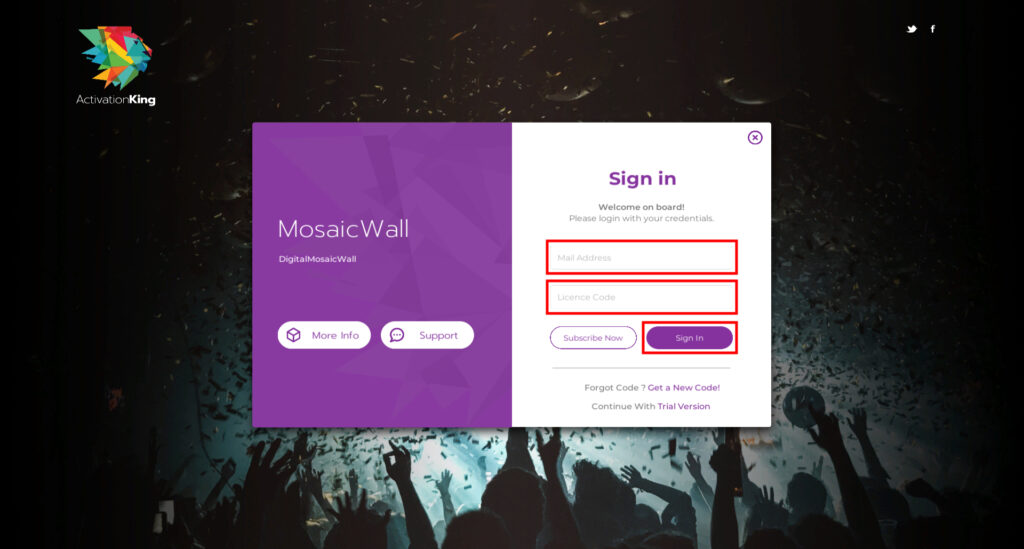
After the system validates your e-mail address and license code, the application will open.
Step 06: Start Your Journey!
After validation of your free trial AI Photo Booth Pro will start automatically.
