Creating an Event with Video / 360
Step 1: Mode Settings
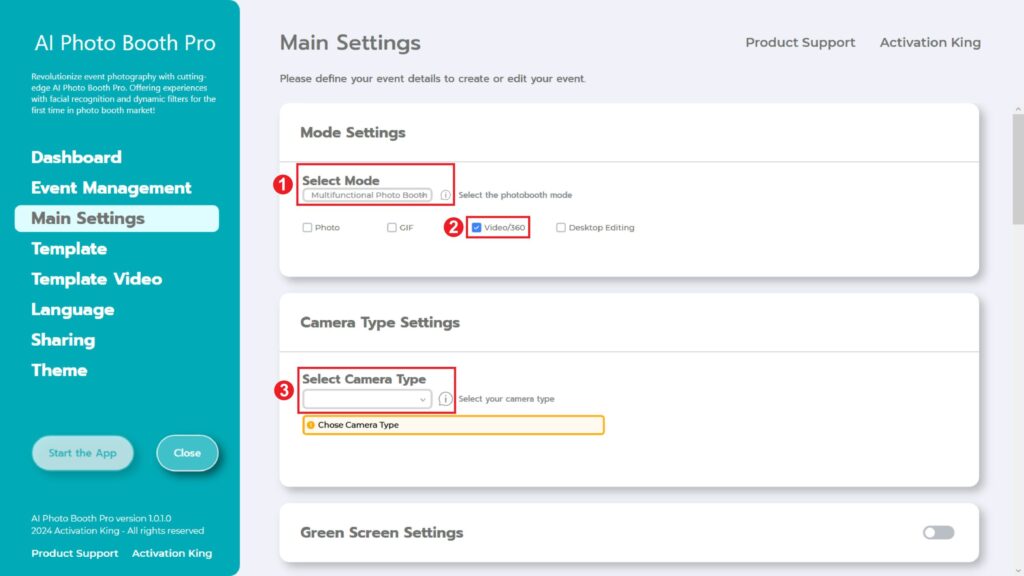
Select “Multifunctional Mode”. After making the selection, check the ” Video / 360 ” option below.
Step 2: Camera Type Settings
Make sure you are using a supported GoPro camera. We strongly recommend using a GoPro 11. Before connecting your GoPro to the computer, there are some steps you need to take.
Computer:
- Ensure that ‘Location’ services are enabled on your computer.
- Ensure that ‘Bluetooth’ services are enabled on your computer.
- You need to have ‘Two Wifi Adapters’ on your computer. (If you are using Ethernet cable for internet, one Wifi adapter will be sufficient.)
GoPro:
- Press the “Mode” button on your camera to turn on your GoPro.
- Swipe down on the camera screen, then swipe left > and select Preferences.
- Navigate to “Wireless Connections” > “Connect Device.”
- Choose “GoPro Quik App” to enter pairing mode on your camera.
(If your camera’s battery is below 20% or if the Quik software is not up to date, you may encounter connection issues.)
The above instructions are for the GoPro 11 model. The interface may vary for different GoPro models.
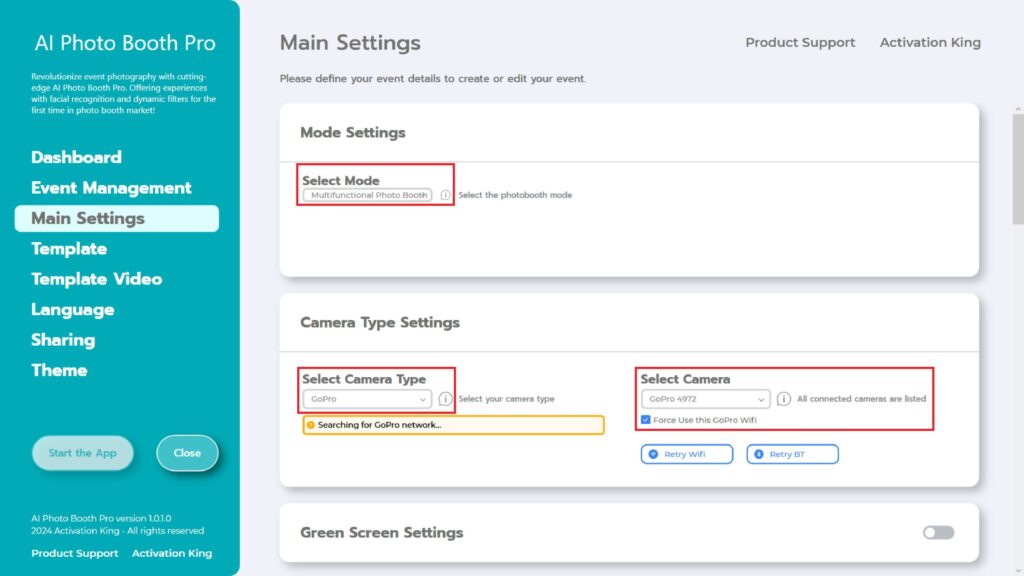
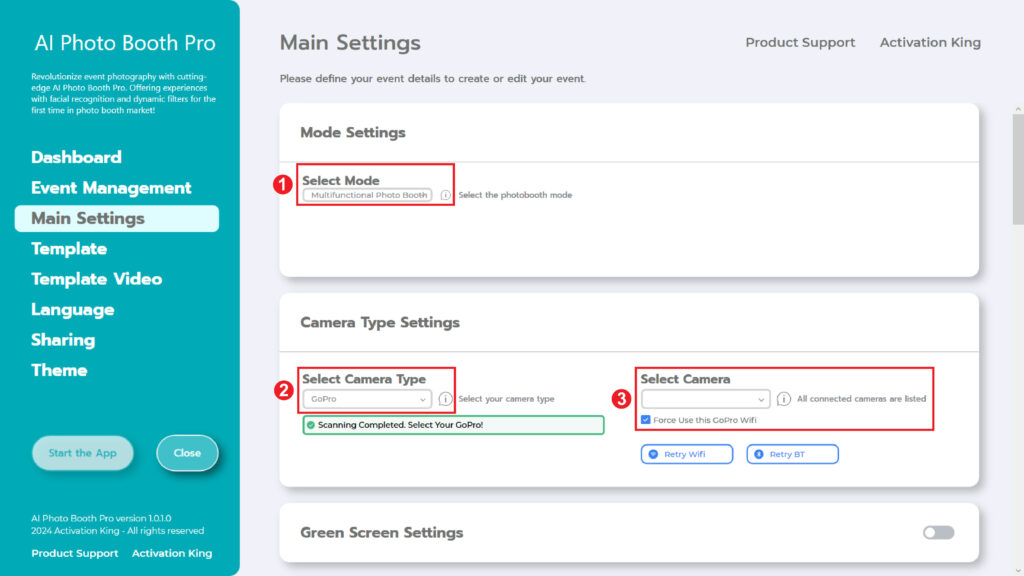
After all these procedures, we select “GoPro” from the dropdown menu in the “Select Camera Type” section under “Camera Type Settings”. Our software will automatically scan your GoPro. After the scanning process, choose your GoPro from the dropdown menu in the “Select Camera” section.
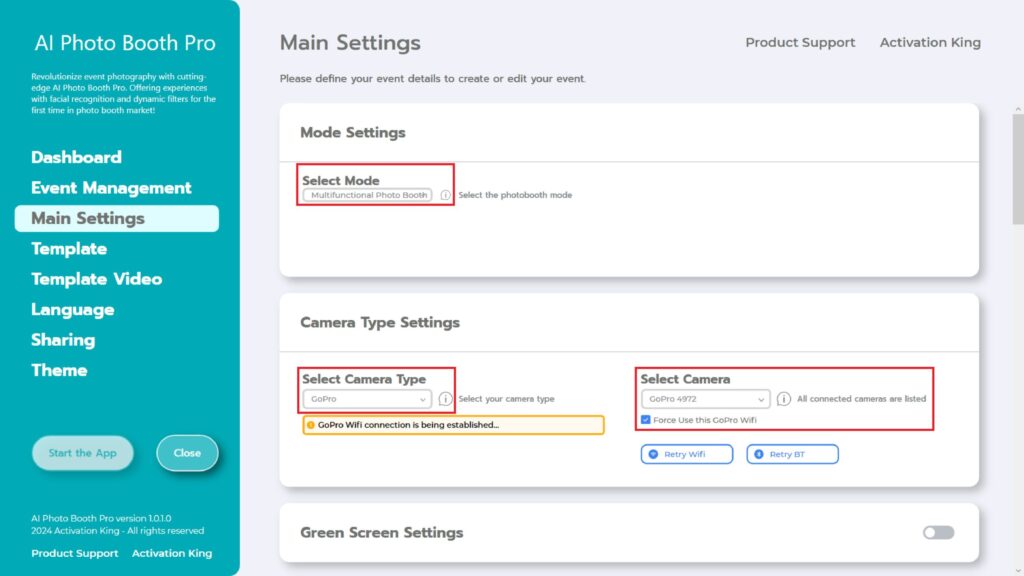
After selecting your GoPro from the “Select Camera” section, it will connect to your computer via Bluetooth and Wi-Fi.
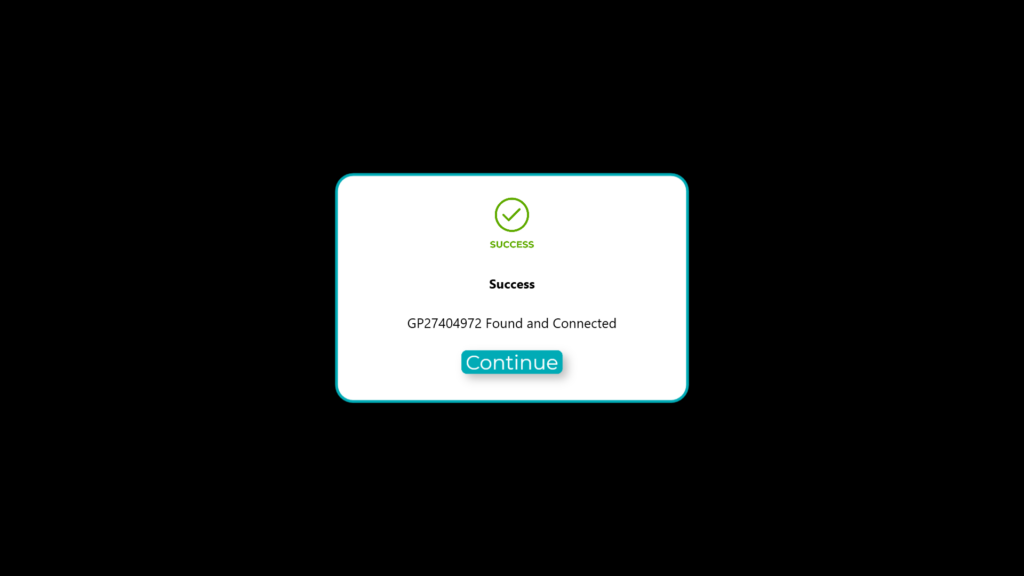
Once your GoPro is connected to your computer, this screen will appear.
(Make sure your GoPro is connected to your computer via Bluetooth and Wi-Fi. If it’s not connected, manually establish the connection.)
Step 3: Camera Settings
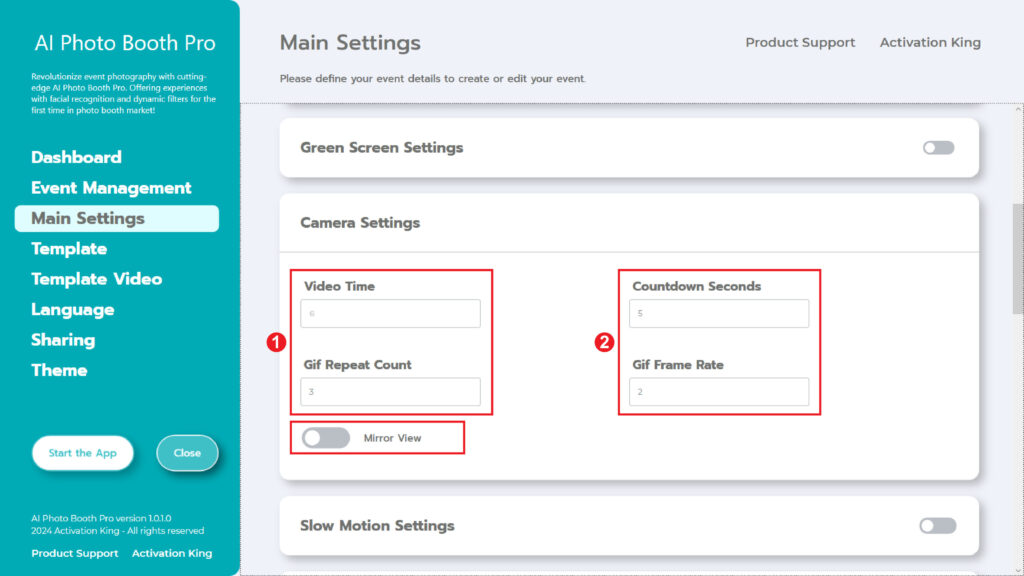
Specify your video duration in the “Video Time” section within “Camera Settings”.
Step 4: Slow Motion Settings
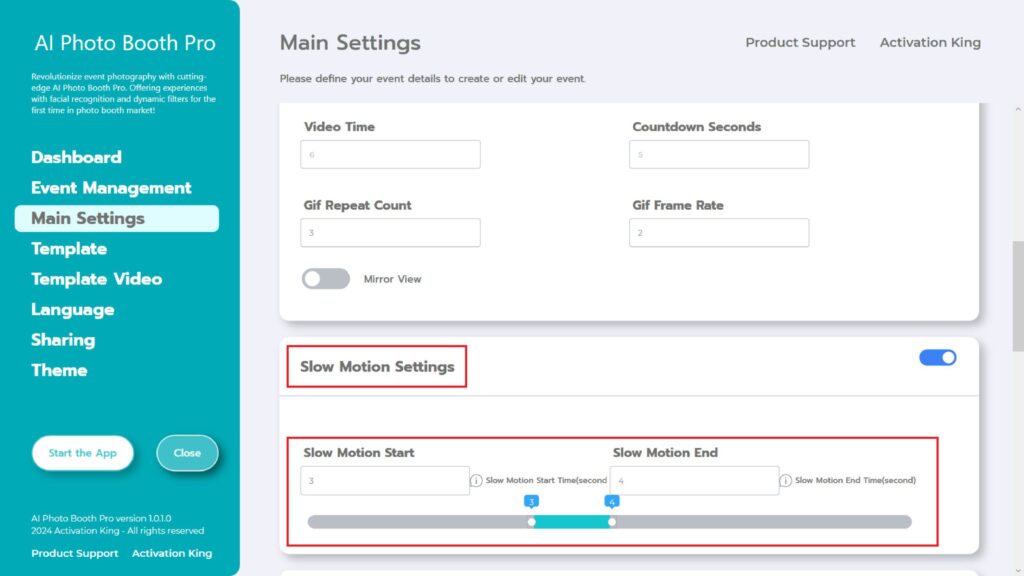
Activate the “Slow Motion Settings” button to add a “Slow Motion” effect to your videos. Specify the time interval for the Slow Motion effect by entering it in the “Start and End” boxes.
Step 5: Music Settings
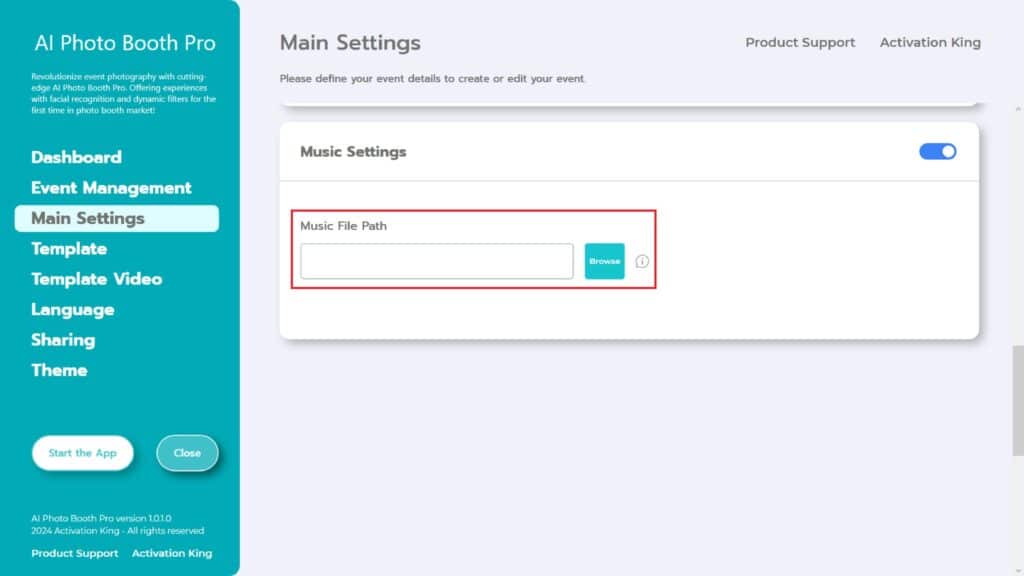
If you want to add music to your video, activate the “Music Settings” button. Then press the “Browse” button.
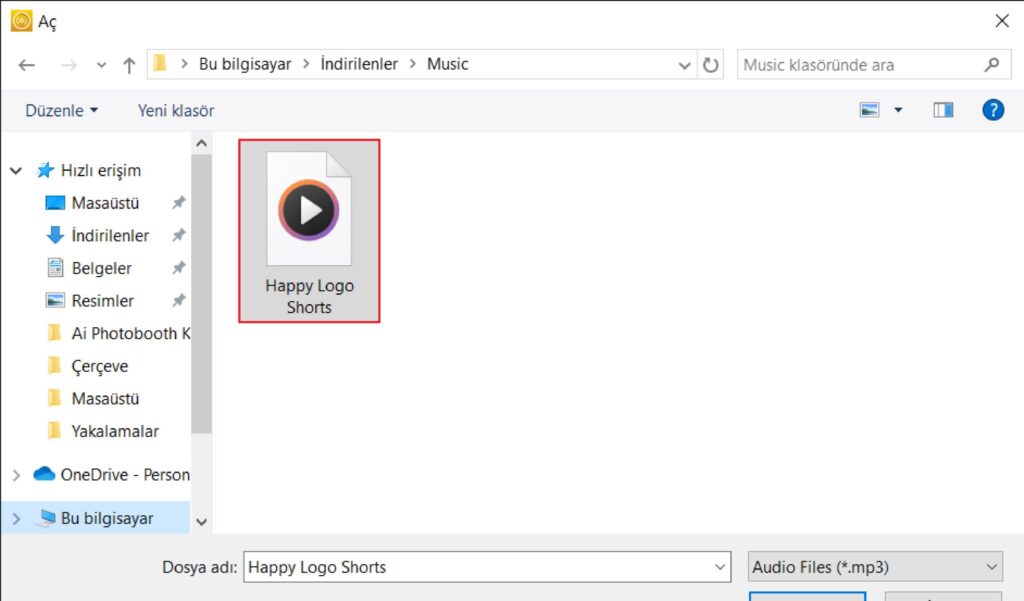
Afterwards, select your music and press the “Open” button. (The music you add cannot be shorter than the video duration!)”
Step 6: Template Video Settings
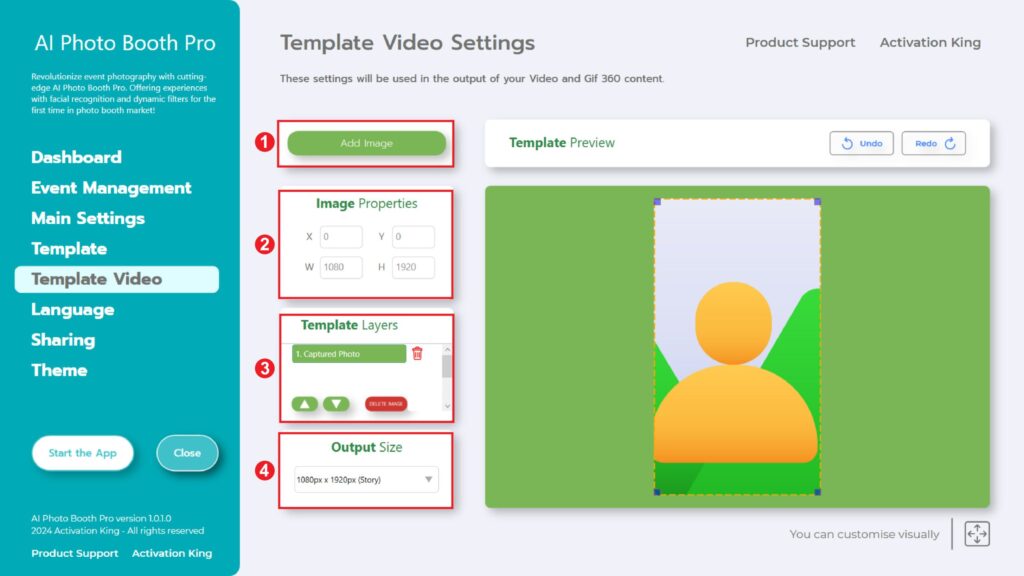
The “Template Video Settings” section is the interface we use to adjust the resolution settings of your video and to add digital frames and stickers.
In the “Output Size” section, you can set the dimensions of your video. You can also consider other options such as 1280×1280, 1080×1920, or 1280×720.
If you want to add a frame, press the “Add Image” section.
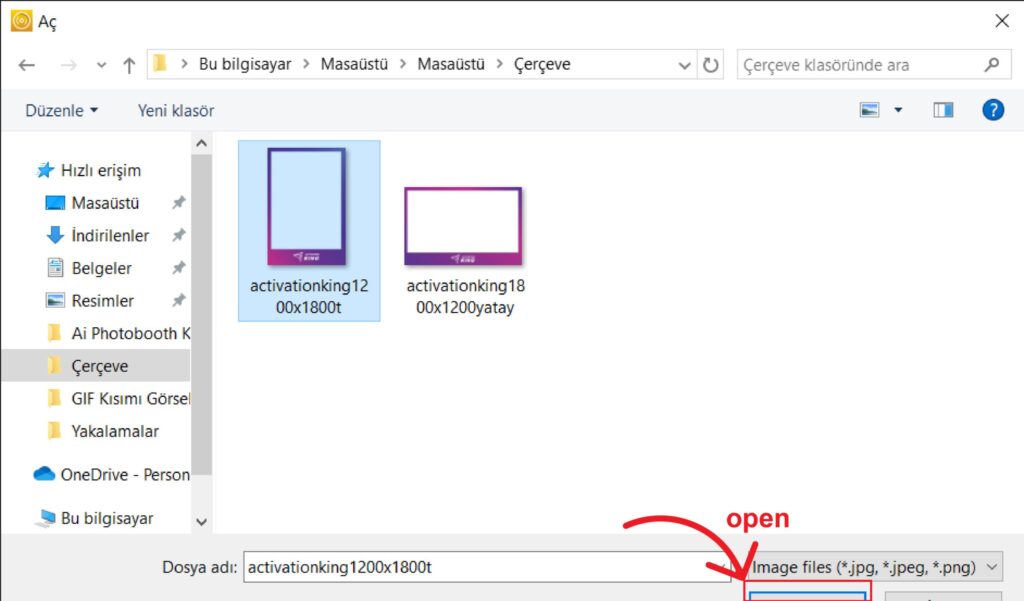
In this section, we select the horizontal or vertical frame you want to use and then click “open”.
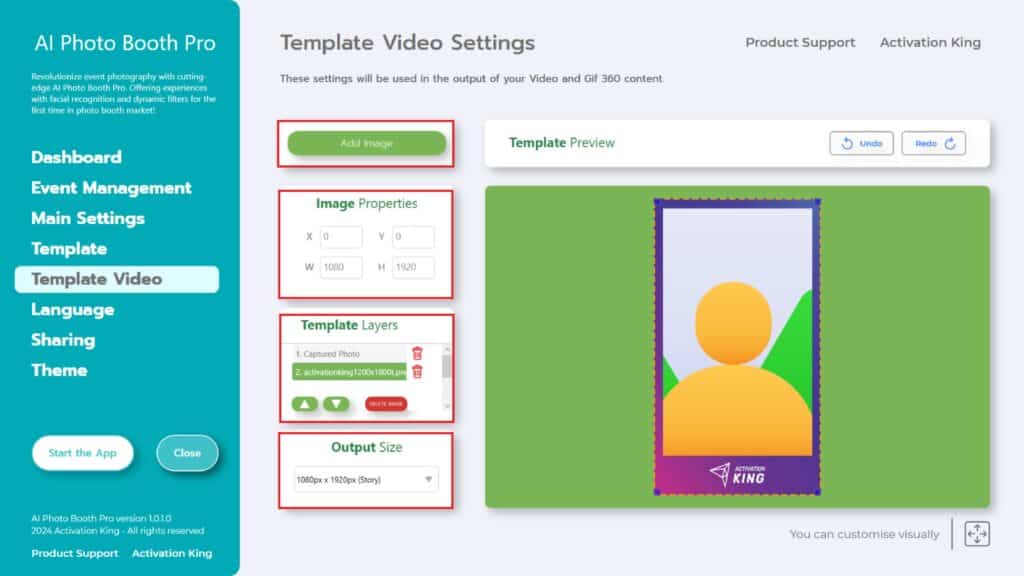
After adding your frame, if it doesn’t fit properly, click once on your frame from the “Template Layers” section. Enter the dimensions in the “Output Size” of the “Image Properties” section to ensure your frame fits perfectly onto the image.
Once you’ve completed all these steps, click on “Start the Apps”.
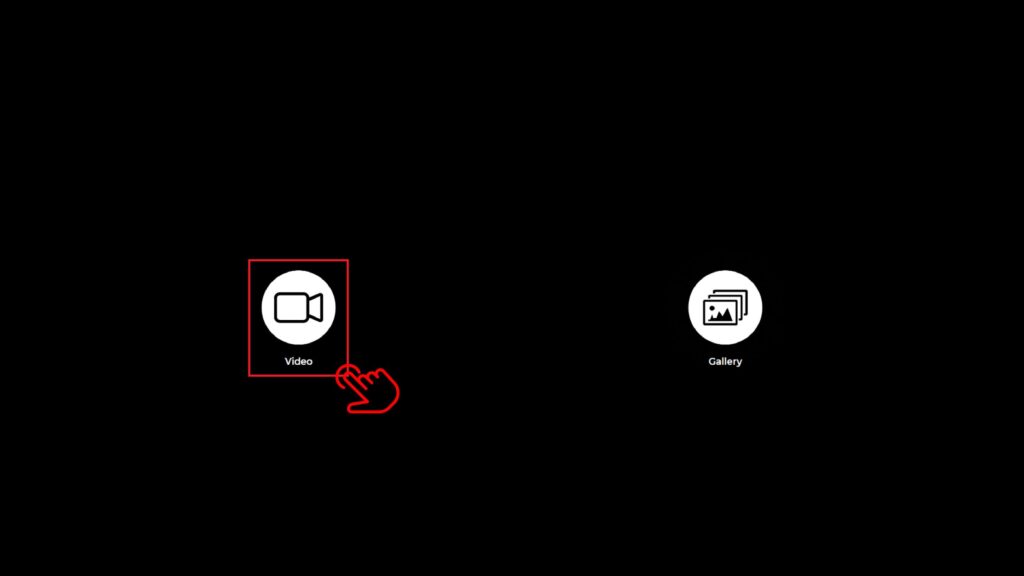
When you enter the “Start the Apps” section, you will be greeted with this screen. I click on the “Video” icon once.”
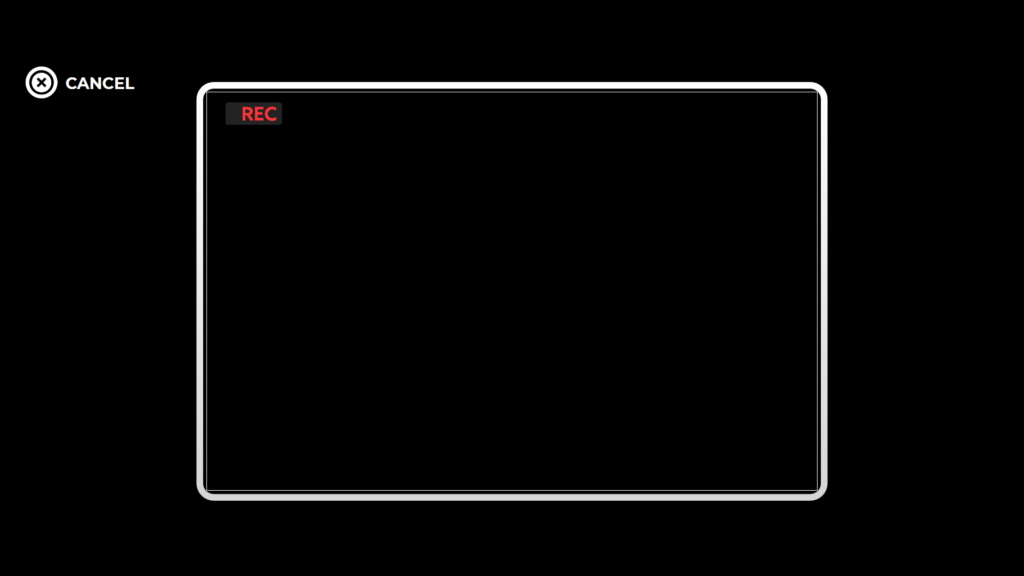
Then it will start recording for the duration you have specified.
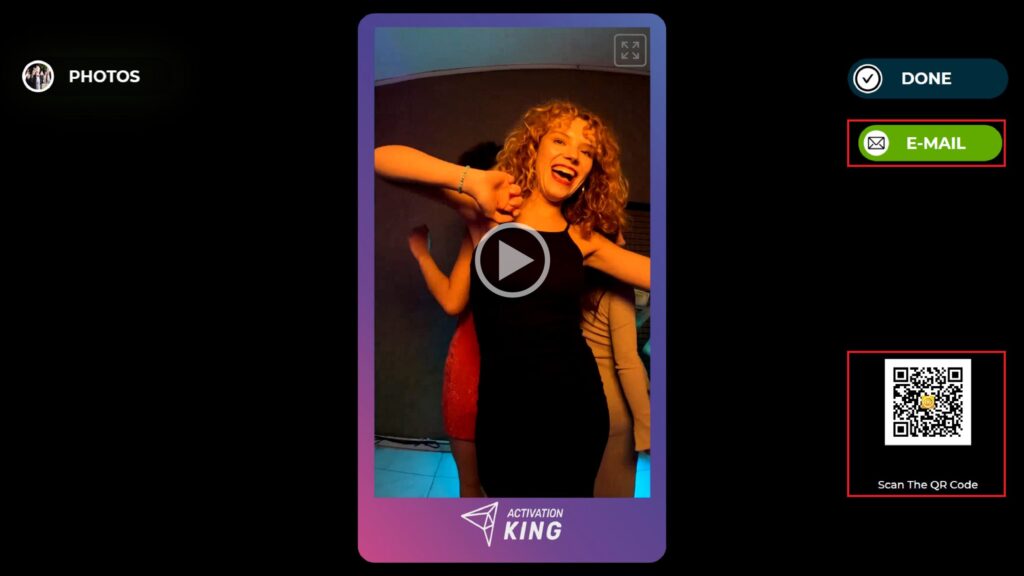
Shortly after your recording is finished, your video will appear on the screen. (The time for this may vary depending on your internet speed and the distance between your computer and GoPro.)
You can obtain it by scanning the “E-Mail or QR code” located on the right side.
To return to the recording screen, press the “DONE” icon.”
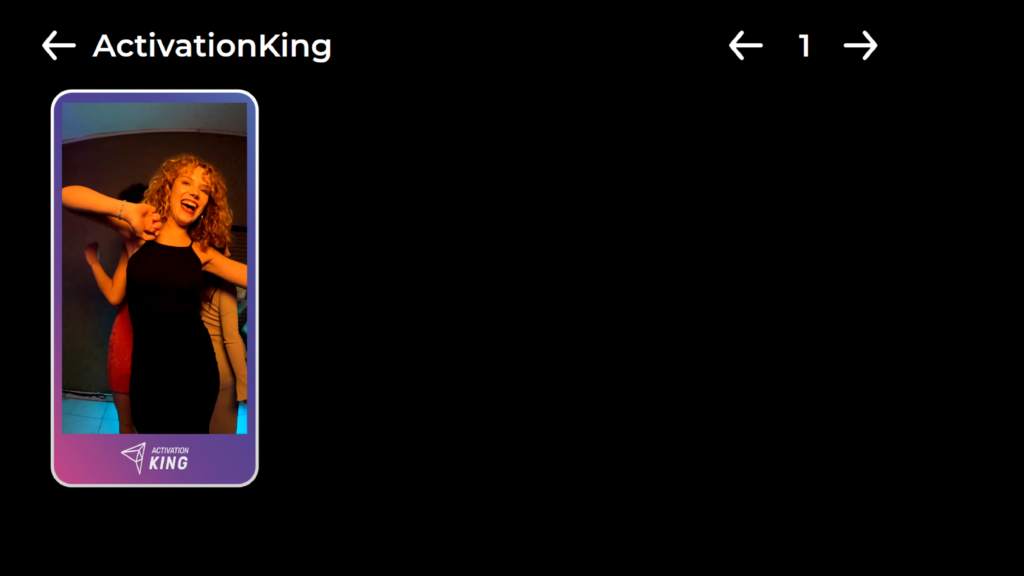
When you press the “Gallery” icon, you will access the videos you have previously recorded.
To return to the “Settings Menu,” press the “F11” key, or for users using a touchscreen, simply tap five times consecutively on the top right corner.
