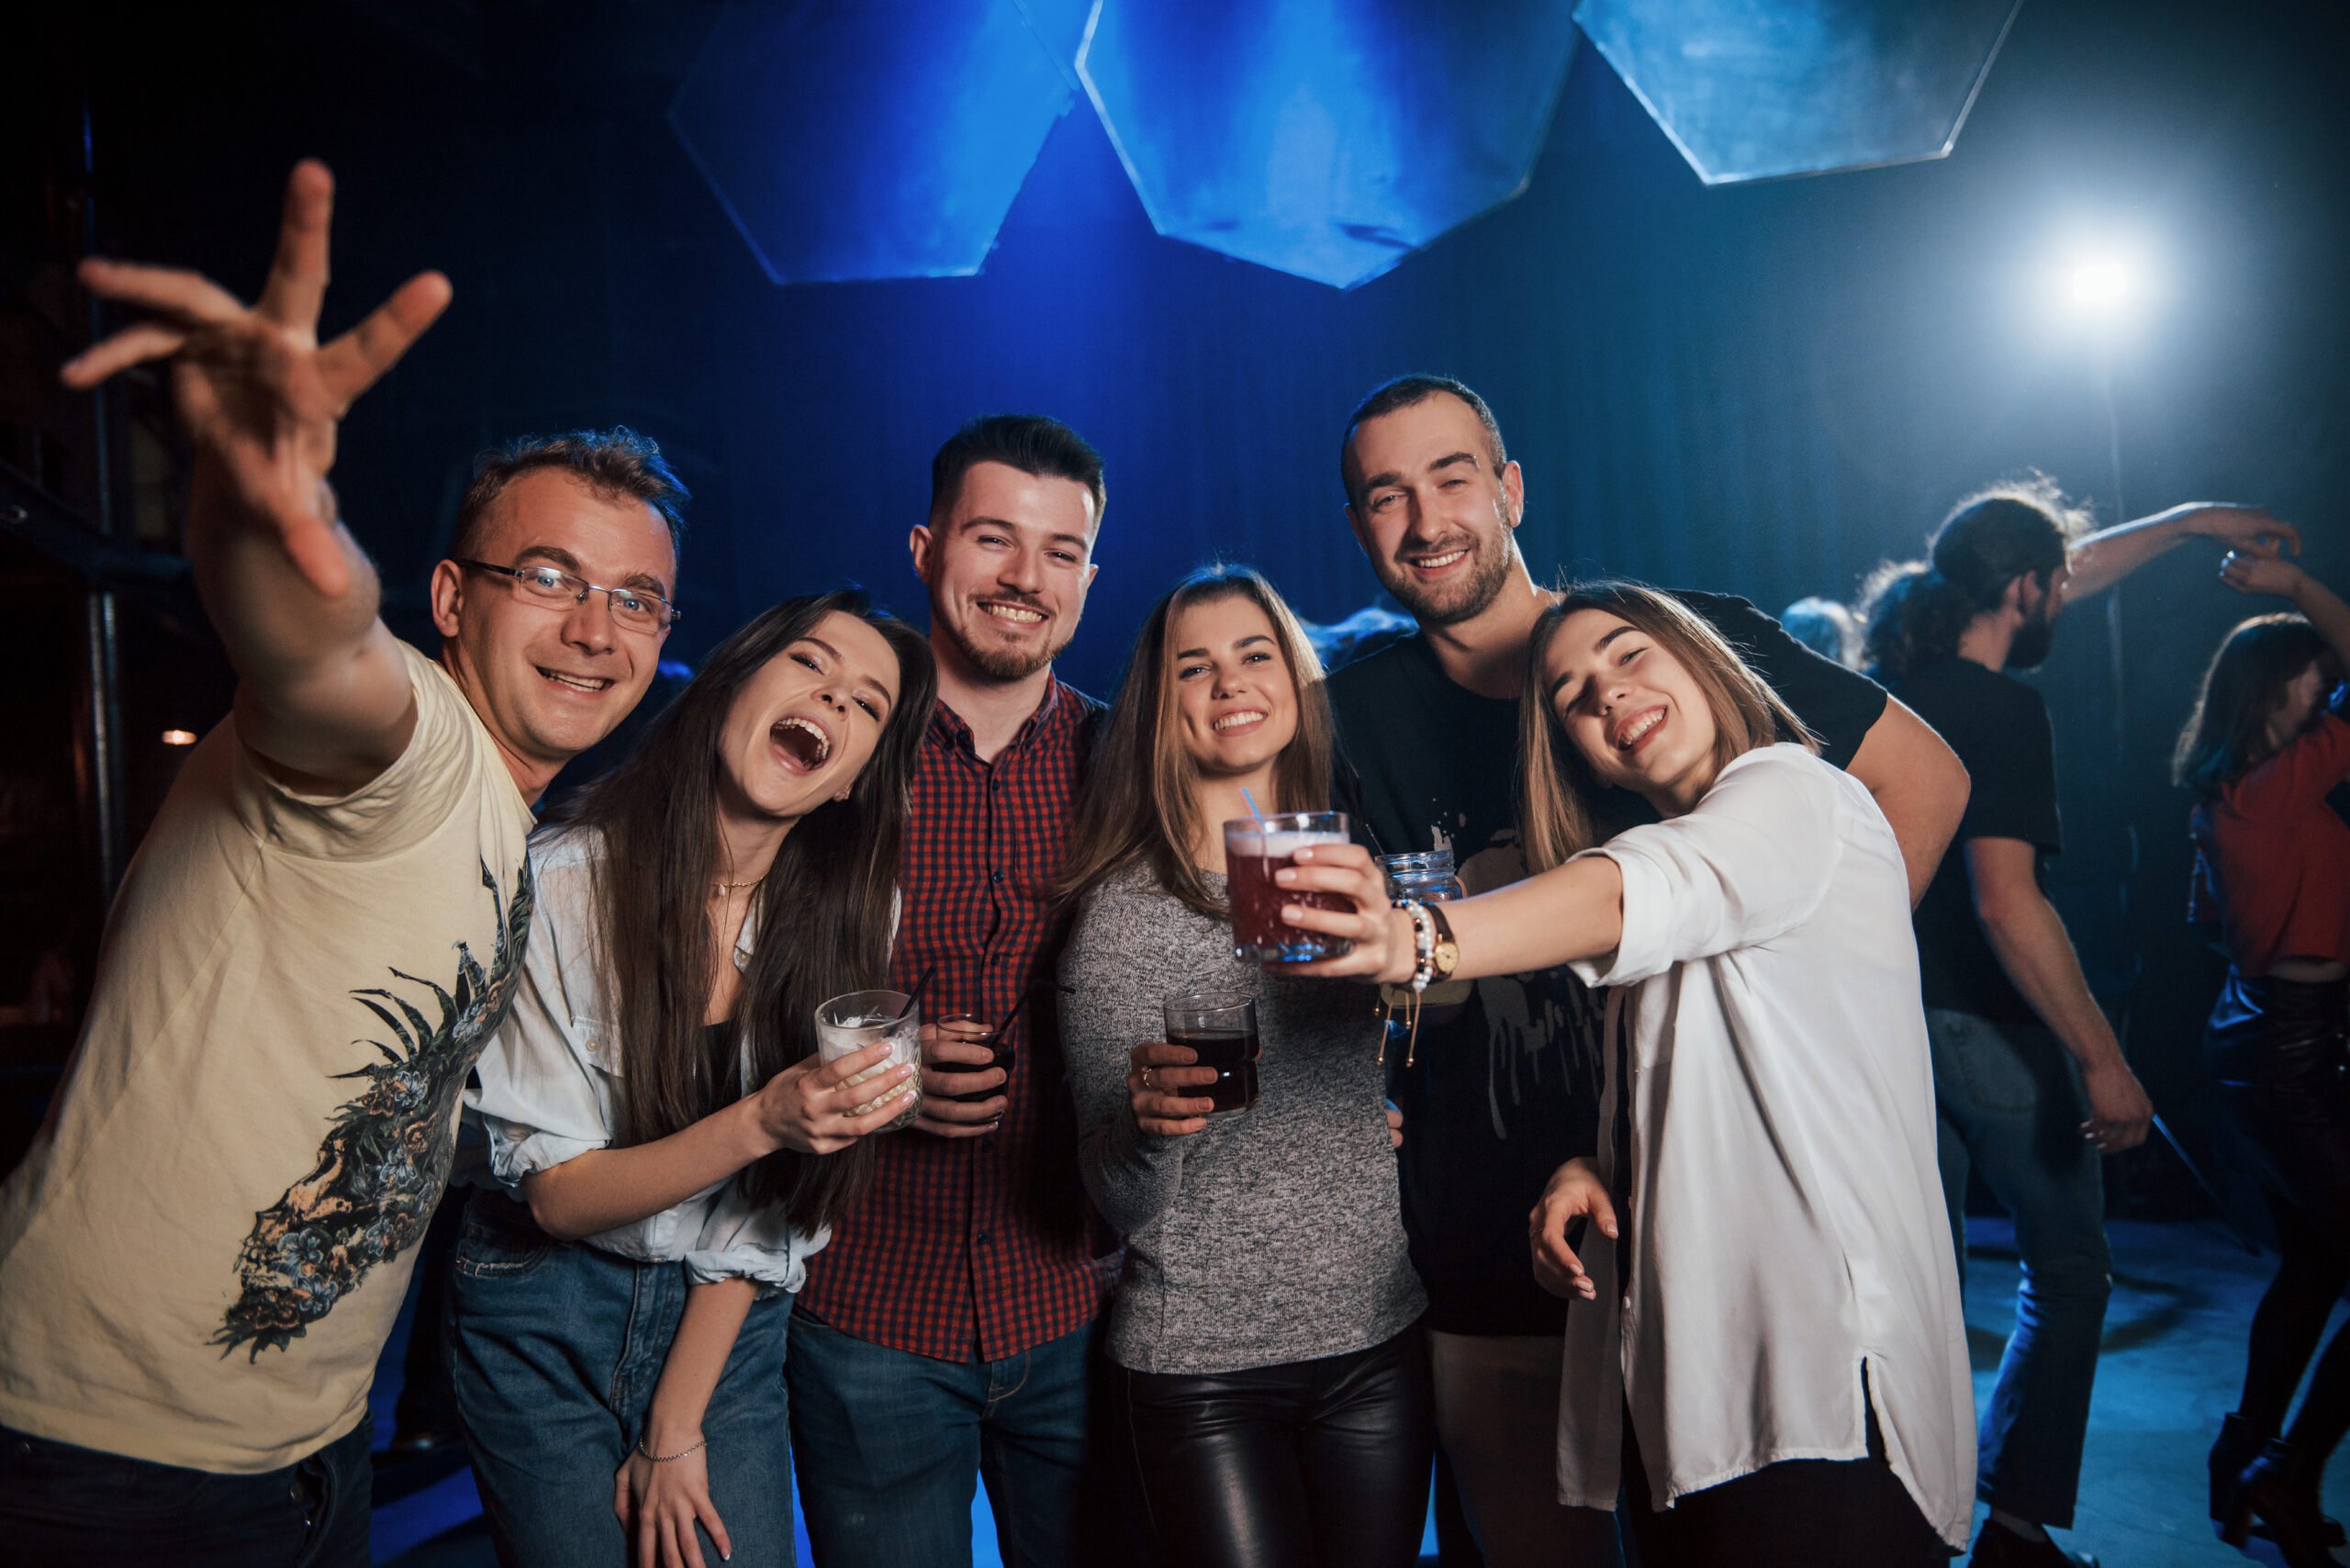
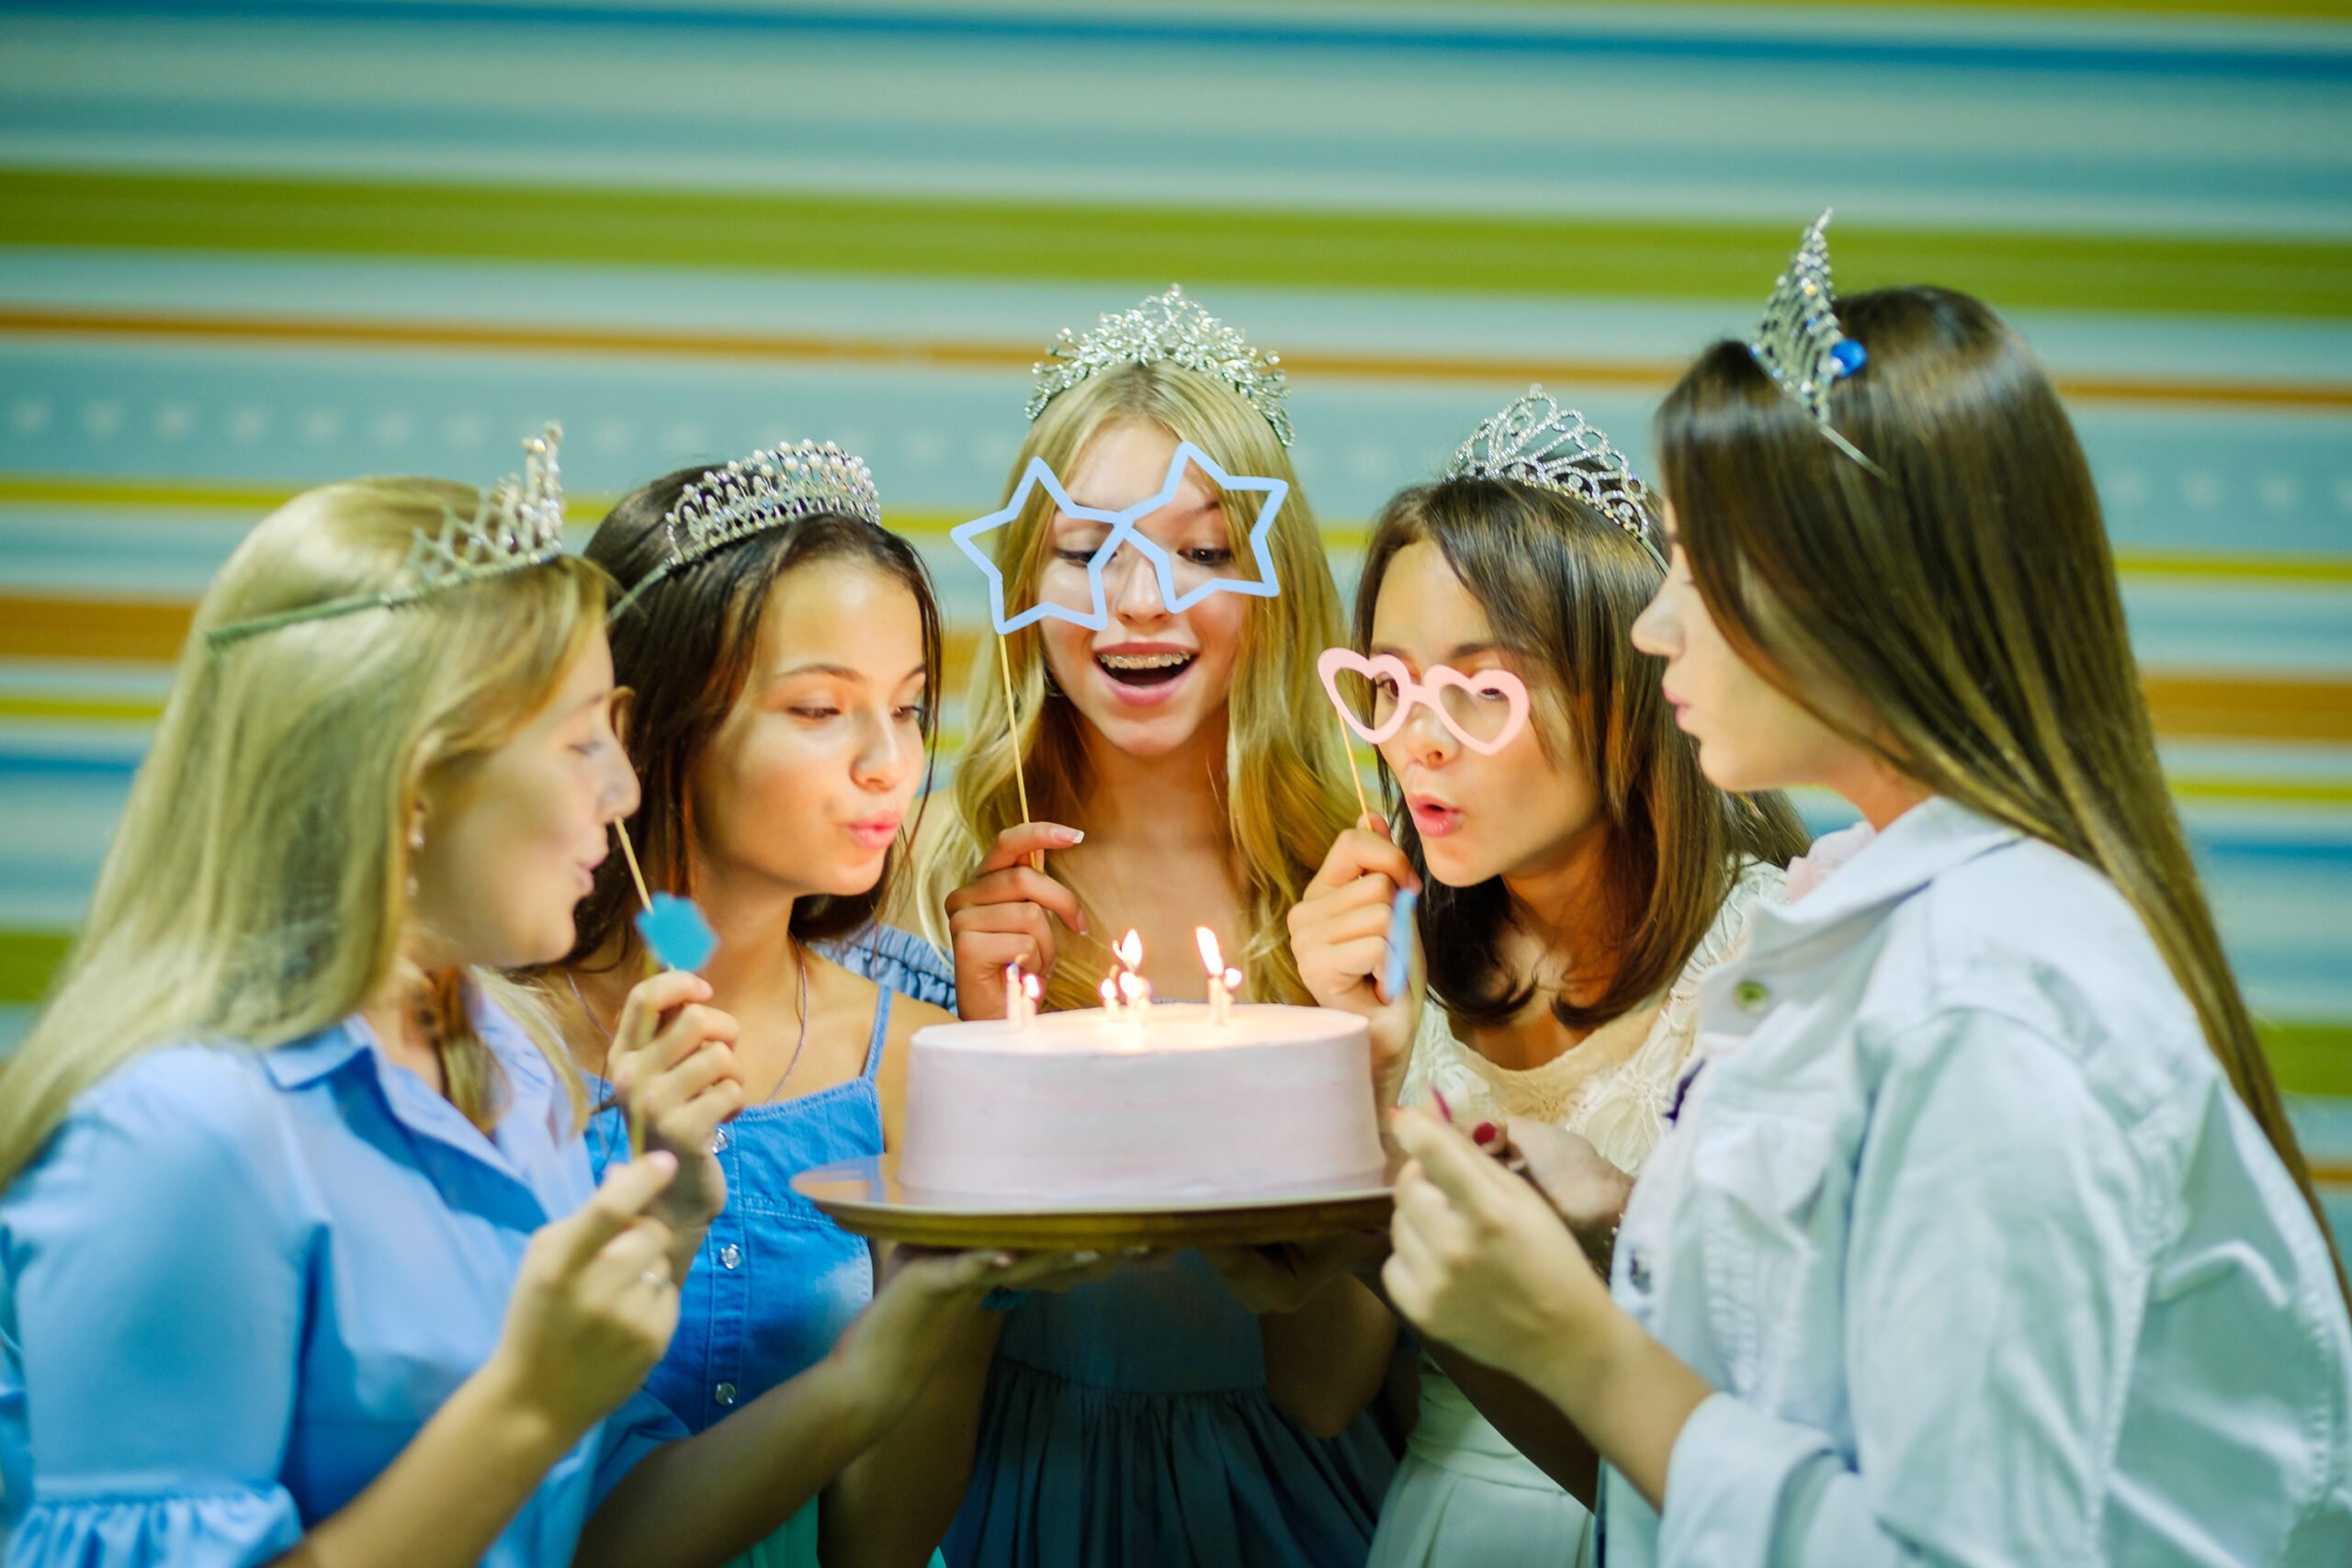
A photo booth for birthday parties is one of the best ways to immortalize the special moments you share with your loved ones and maximize the fun. AI Photo Booth is the perfect tool to make those special moments at your birthday parties even more unforgettable. In this guide, we will explain step by step how you can use AI Photo Booth at birthday parties by designing your own photo booth.
Why Use AI Photo Booth for Birthday Parties?
Reasons for Popularity
A photo booth for birthday parties is always a big hit, and AI Photo Booths take the celebration to the next level. Here are a few reasons why:
- Instant Sharing: It allows you to take photos instantly and share them on social media, so memories instantly take their place in the digital world.
- Creative Effects: Makes photos more fun and personal with birthday themed effects and filters.
- Memory Making: Creates unforgettable memories for your guests and shows how fun your party was.
- Interactive Experience: Provides an interactive activity that everyone can participate in during the party, so all guests get involved in the fun.
Types of Photo Booths That Can Be Used
There are various types of AI Photo Booth that you can use at birthday parties. You can find all the photo booth types where you can use the software here.
- Classic Booths: Traditional cabins set up in closed areas and taking photos inside.
- Open Booths: Booths set up in open areas and suitable for larger group photos.
- Mobile Cabins: Cabins that are portable and can be easily set up in different areas.
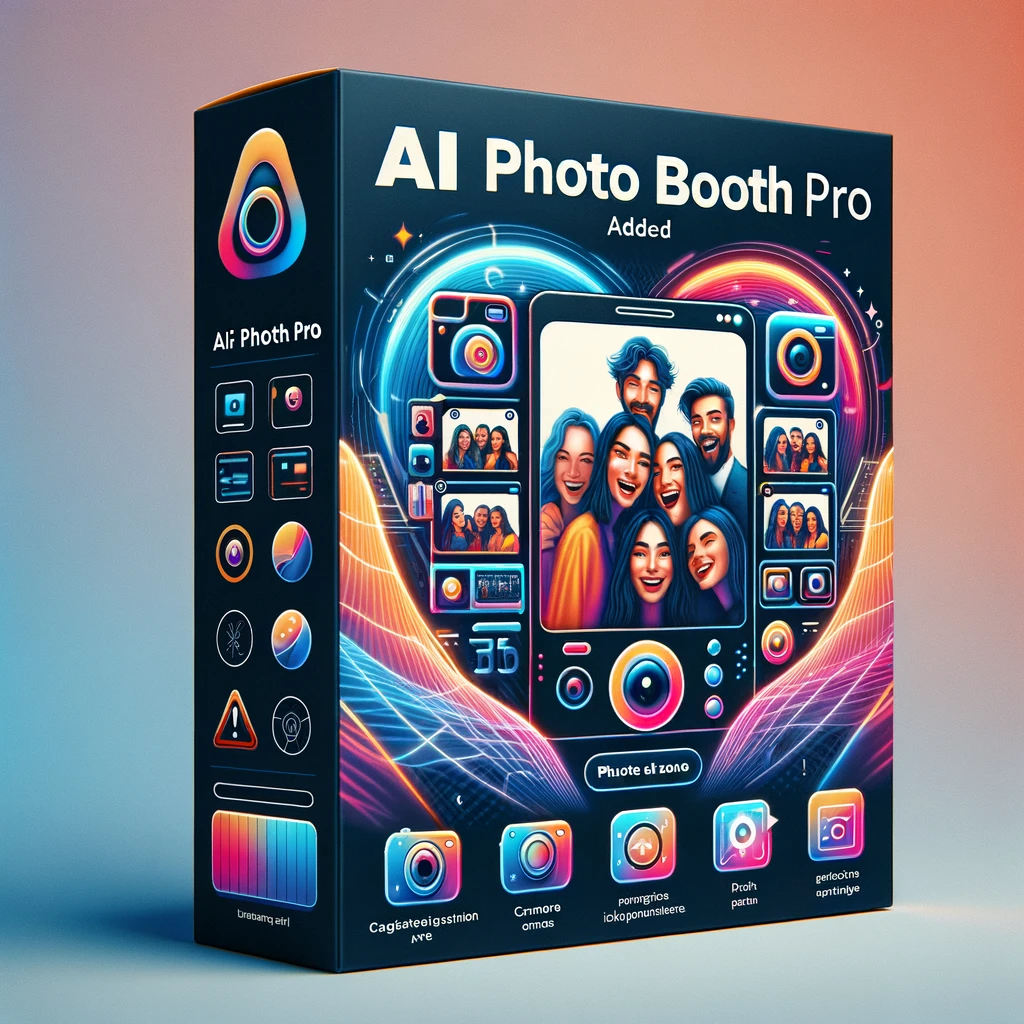
Step 1 : Buy AI Photo Booth Pro
Pricing Models
When purchasing AI Photo Booth software, two different pricing models are offered: Monthly/Annual Subscription.
- Monthly/Annual Subscription: If you plan to use AI Photo Booth regularly, monthly or annual subscription options are ideal. This model offers constant updates, new effects and ongoing support services. So you can use the most up-to-date features at every event. Subscription plans ensure the software is always up-to-date and running effectively.
Step 2: Make Your Own Photo Booth
Necessary materials
To make your own photo booth, you’ll need a few simple supplies:
- Laptop
- Tripod or sturdy stand
- Photo booth software
- Lighting equipment (LED lights or spotlights)
- Printer
How to Make Your Own Cabin?
- Build a Frame or Cabinet: Build a simple frame using cardboard boxes or PVC pipes. This will form the basic structure of your cabinet.
- Add the Background: You can choose a birthday-themed background to use in photo shoots. Or you can also choose the background options offered by AI Photo Booth. AI Photo Booth offers impressive background options without using a green screen. In this way, you can take various and impressive photos.
- Set Up Lighting: Proper lighting is essential for good photography. Make sure to set up lighting equipment and keep the photo shooting area well lit. Use LED lights or spotlights to adequately illuminate the shooting area and minimize shadows. This makes photos clearer and brighter.
- Place the Camera: Place the tablet or camera on a tripod or stand in front of the cabinet. By stabilizing your device, you can take clear photos. Stabilization ensures that there is no shake or movement while shooting and ensures quality photos.
- Add Accessories: Keep a variety of accessories near the cabinet. This way, your photo booth will stand out more and look more impressive.
Step 3: Position the AI Photo Booth
Choosing the Right Location
In order for the AI Photo Booth to work at its best, it is important to choose the right location. Here are some points you should pay attention to:
Easy Accessibility
Place the AI Photo Booth in an area where attendees can easily access it. So everyone can use it easily. If your guests can easily access the photo booth, it increases their usage rate and makes your event more entertaining.
Lighting
Choose a location with natural light or use a well-lit area with artificial lighting. Lighting directly affects the quality of photos. A well-lit area allows you to get more vivid and clear photos.
Space Arrangement
Make surroundings around AI Photo Booth a relaxing and fun space. Create a space where participants can move freely and use accessories. Space arrangement enhances the photo-taking experience of your guests and makes the booth more attractive.
Step 4: Using AI Photo Booth
User guide
Prepare a simple user guide so that participants can easily use AI Photo Booth. Here are some simple steps:
Start Up
Open AI Photo Booth and make sure the software is installed. Check that the software is up to date and working properly. The user manual helps your guests use the cabin easily.
Adjust Settings
Adapt photo shooting settings to suit participants. You can choose from filters, effects and backgrounds. Adjusting the settings according to your guests’ preferences will ensure they have a more enjoyable experience.
Photo Shoot
Have participants strike fun poses during the photo shoot. AI Photo Booth will make photos more fun by adding instant effects. Helping your guests pose comfortably and creatively makes shoots more fun and memorable.
Sharing and Printing
Let participants instantly share or print captured photos. This allows memories to be shared instantly and made permanent. Offering printing and sharing options makes it easy for your guests to save and share their photos.
Step 5: Store and Share Photos
Digital Archive
Digitally save all the photos taken at the birthday party. This prevents memories from being lost and ensures you can easily access them in the future. Creating a digital archive keeps your photos organized and safe.
Social Media Shares
Encourage participants to share their photos on social media. This is a great way to show off how fun your party was. Social media sharing allows your event to reach a wider audience.
Creating a Photo Album
After the party, create a photo album by printing the photos taken. This scrapbook is a great way to capture the memories of your birthday party. The photo album creates a lasting memory for you and your guests.
Extra Tips and Ideas
Themed Photo Booths
Customize the photo booth to match the theme of the birthday party. For example, you can use a superhero theme for kids or a retro theme for adults. Themed photo booths offer a fun experience that is compatible with the concept of your party. Set these up before your event starts and give your guests an unforgettable experience.
Customized Backgrounds
Make your photo booth more personal by designing your own custom backgrounds. This allows you to take photos that match the theme and style of your birthday party. Customized backgrounds make your guests’ photos more special.
Personalized Photo Frames
Use specially designed photo frames for the birthday party. You can make the photos taken by your guests more special by decorating them with these frames. Personalized frames make the memories of your party more precious. Customize the frames with the birthday person’s name and age.
Memorial Stand
Let your guests display the photos taken by setting up a souvenir stand next to the photo booth. This creates a fun corner at your party and lets everyone see the photos. The souvenir stand allows photos to be displayed and memories to be shared during the party. Decorate the stand with colorful lights and decorative items.
Share This Post Now!
Discover the World’s Best Photo Booth Software
AI Video, AI Face Swap, AI Prompt, AI Background Removal, Photo Booth, 360 Video, Mirror Booth, Green Screen, GIF Booth, Word Portrait and GLAMBOT!


