Step 1: Event Management
To use the mosaic wall software, you need two screens. The first screen will be a screen where you upload the images you moderate. The other screen will be your mosaic wall.
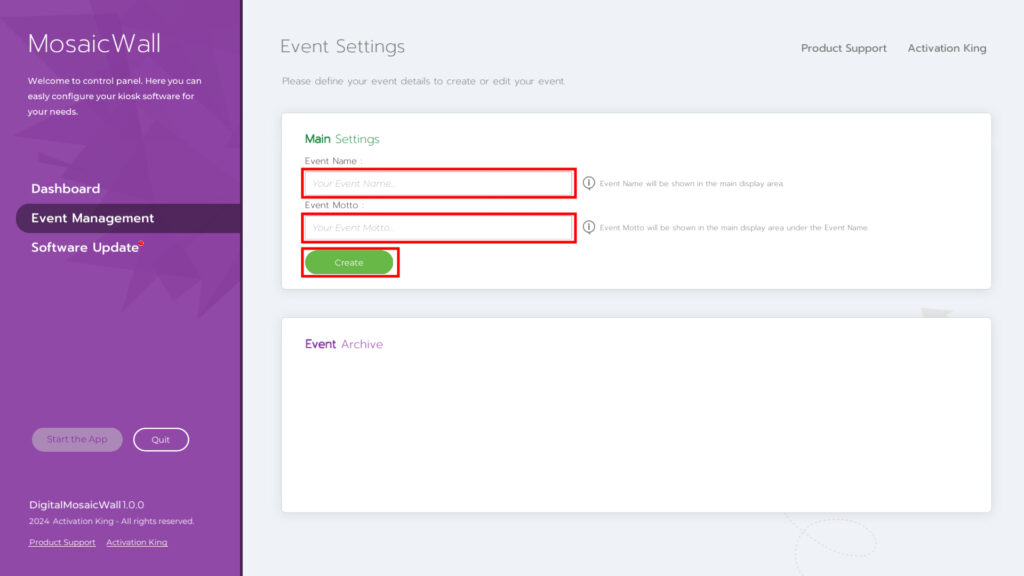
“Event Management” is the page where you can check your current events and create new events. After entering this page, type an event name in the Event Name box under the “Main Settings” section. The event motto section is completely optional and you can leave it blank if you wish. Then click the “Create” button.
Thus, you will have created your first event.
Step 2: Main Settings
After creating your event, click “Main Settings” on the left panel.
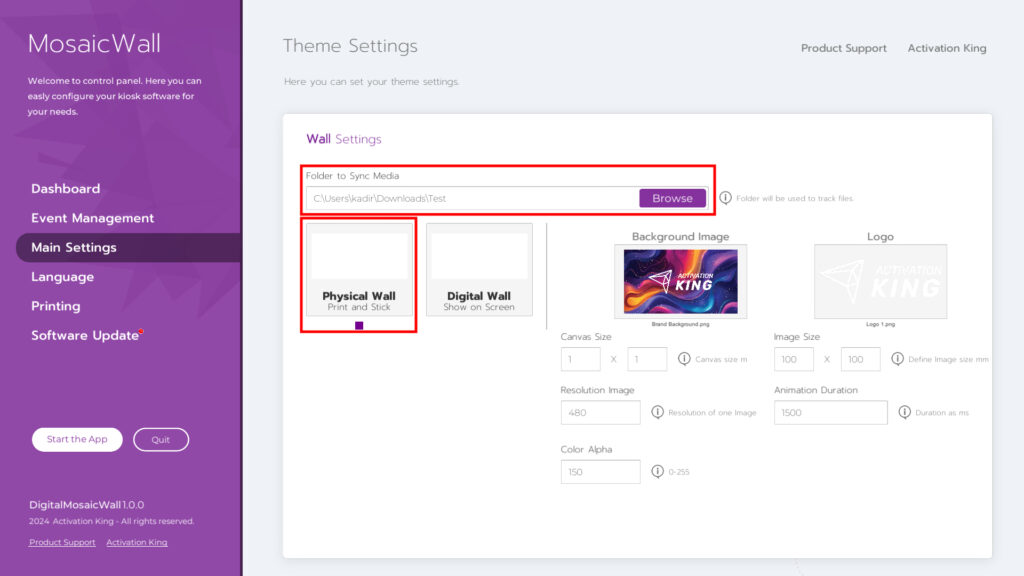
After the page opens, the first thing we need to do here is to select the folder where the images taken for the mosaic wall are located. Click the Browse button in the Folder to Sync Media section. Select the folder where the images are located. Then make sure that the “Physical Wall” box below it is selected. If it is not selected, click on it once.
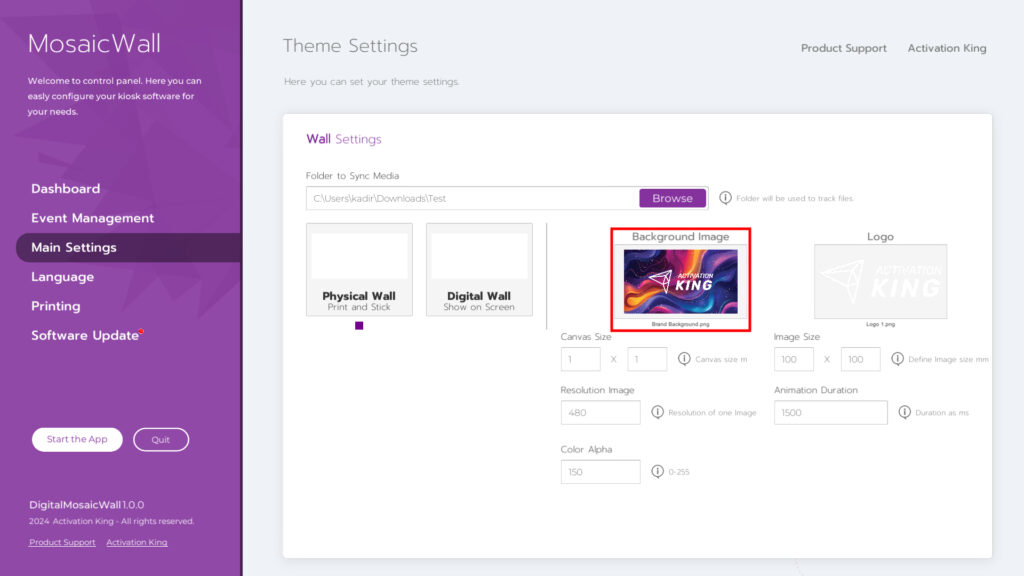
Upload your image to the “Final Image” section for the mosaic you want to create.
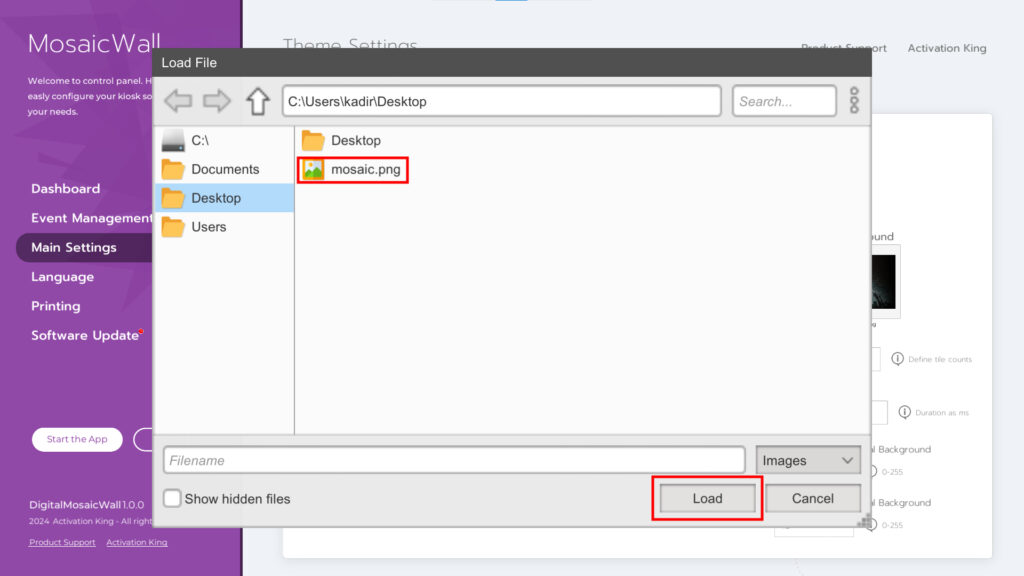
To upload your image to the Final Image section, click on the image once. Select your photo on the screen that opens and press the “load” button.
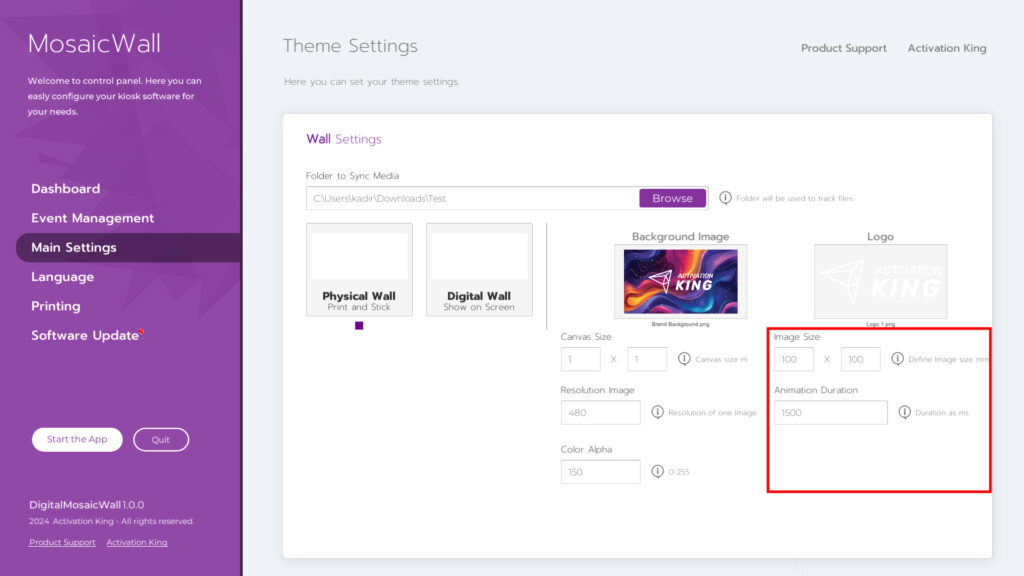
When we come to the settings section, “Row and Column” is the section where we scale the photos of the people we take in mm. Scale it so that it does not exceed the dimensions of the photo paper you will print.
The Animation Duration section is a setting for the Digital Mosaic Wall. You can continue without changing this setting.
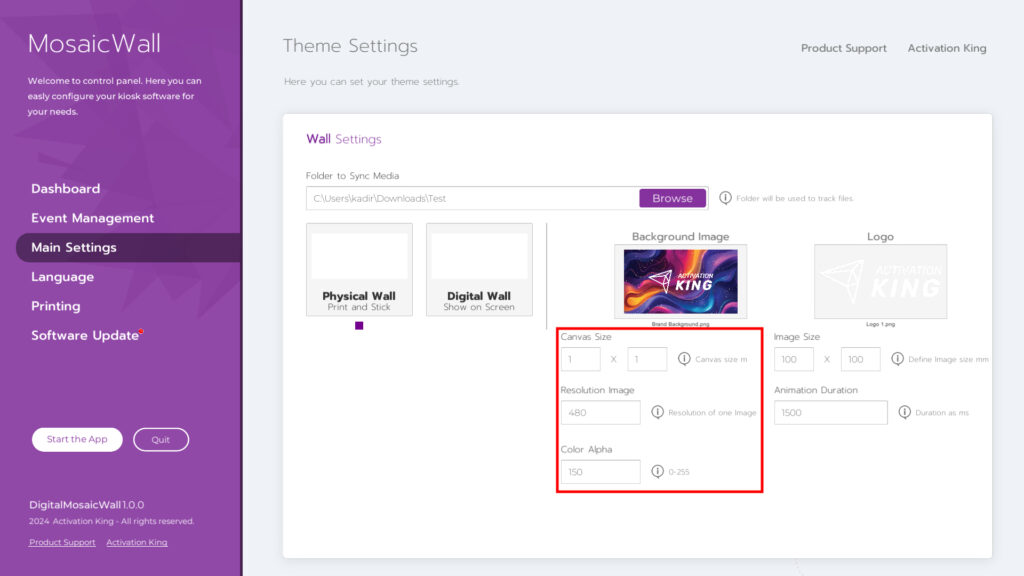
The Canvas Scale section is the size of the screen on which you project the mosaic image. The measurement value you enter in this section and the measurement you enter in the “row and column” section will create squares for mosaic photos.
The Resolution Image section shows the resolution of the photo you took on the mosaic wall. For example, you took a photo with 1080 resolution, but when it reaches the mosaic wall, it will drop to 480 resolution. Since the photos you took will be displayed as small squares, 480 resolution will be more than enough. If you wish, you can make it 720, 1080. Increasing this resolution may strain your system. If you keep the resolution high, use a high-performance computer.
Color Alpha, section shows the opacity value of your image that will appear in the Final.
Step 3: Language Settings
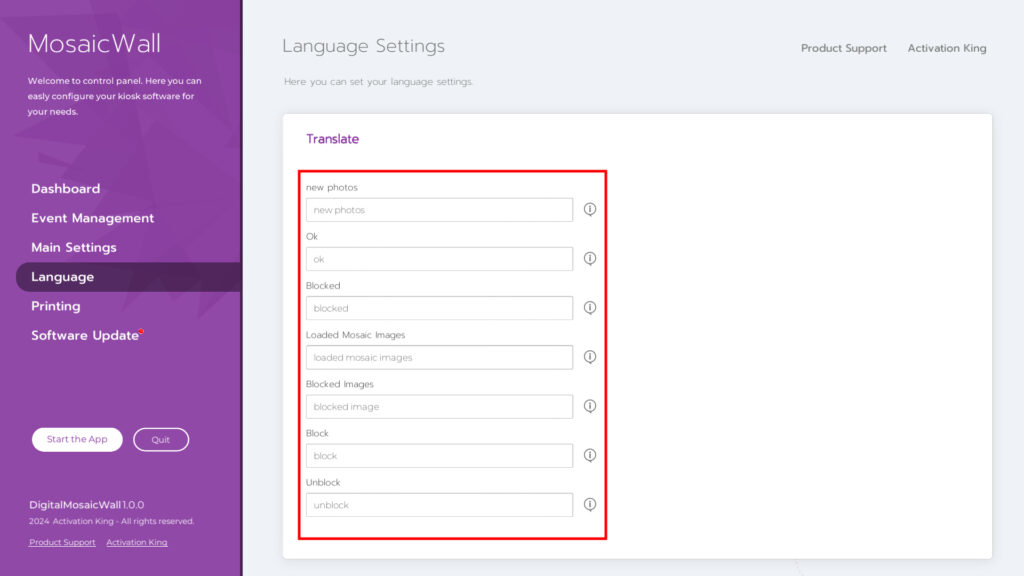
This is the area where you can customize certain texts in the Language section.
Step 4: Printer Settings
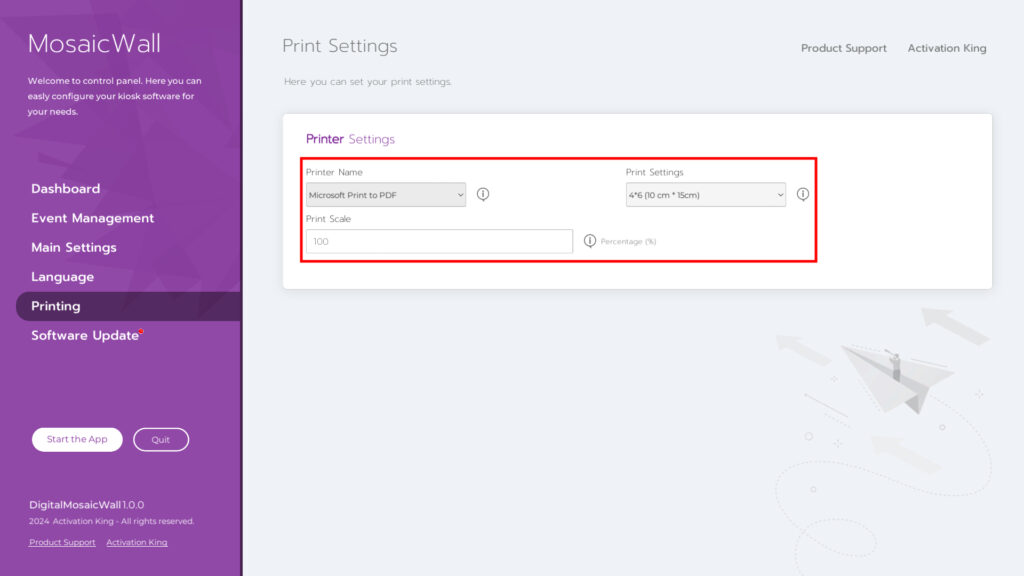
In the Printer Name, section, select the printer connected to your device.
In the Printer Settings, section, enter the paper size of the printer you will use.
In the Printer Scale, section, you can change your scale.
Step 4: Start the Apps
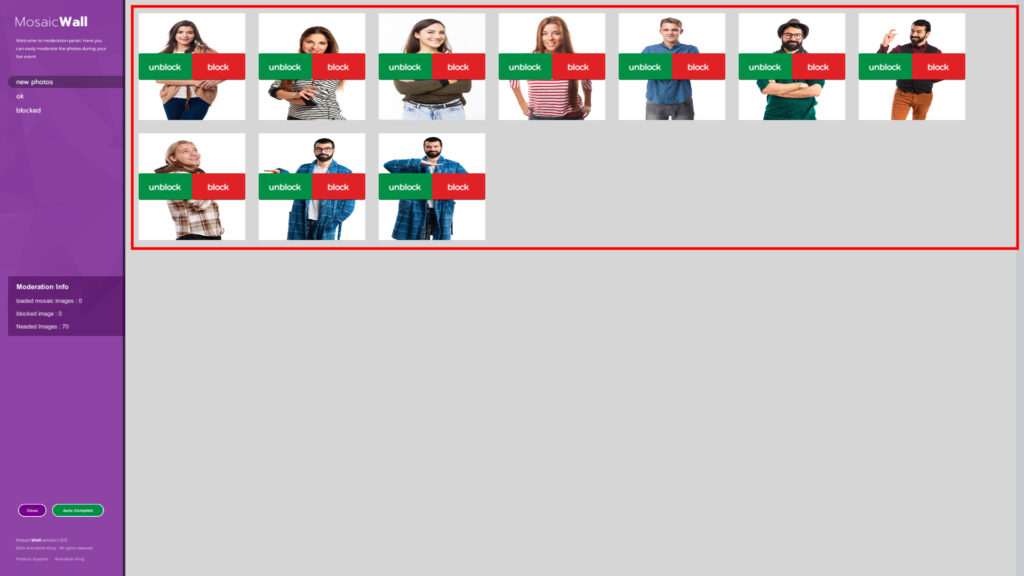
After pressing the Start Application button, you will see the images in the folder you selected. Your mosaic wall will appear on your second screen. When you press the unblock button on the photos, it will start printing from the printer. When you press the block button, you will delete the image.
You can see the approved images and blocked images by pressing the tabs in the upper left section.
In the moderation information section, you can see how many frames you have created on your mosaic wall and how many of these frames have photos added.
You will see the locations of the printed images on your second screen. In case the photo disappears, you can press on the lost image on the second screen and print it again.
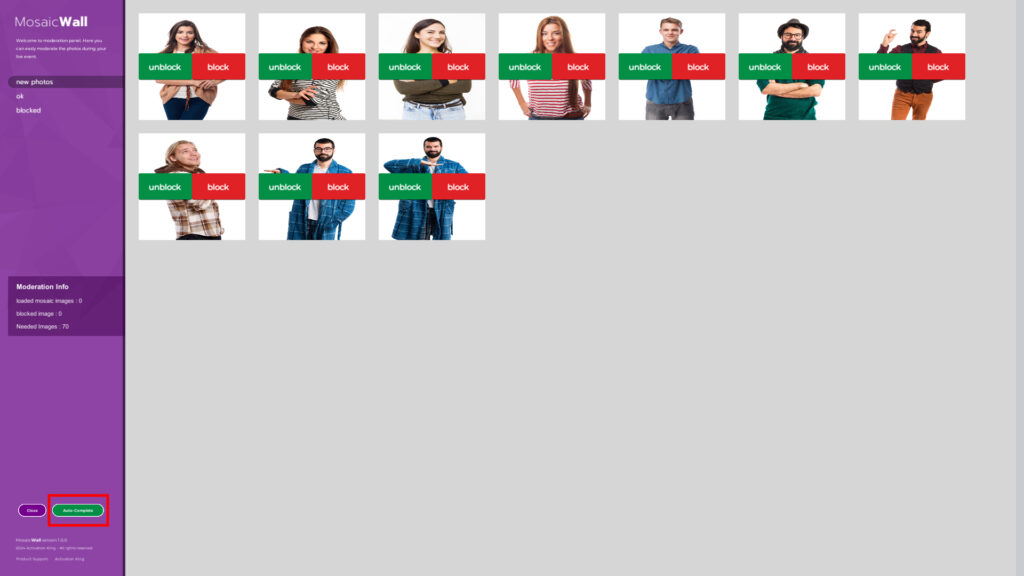
The Auto Complete button at the bottom produces photos that you can fill in if you have a missing photo and no one is left to take it.
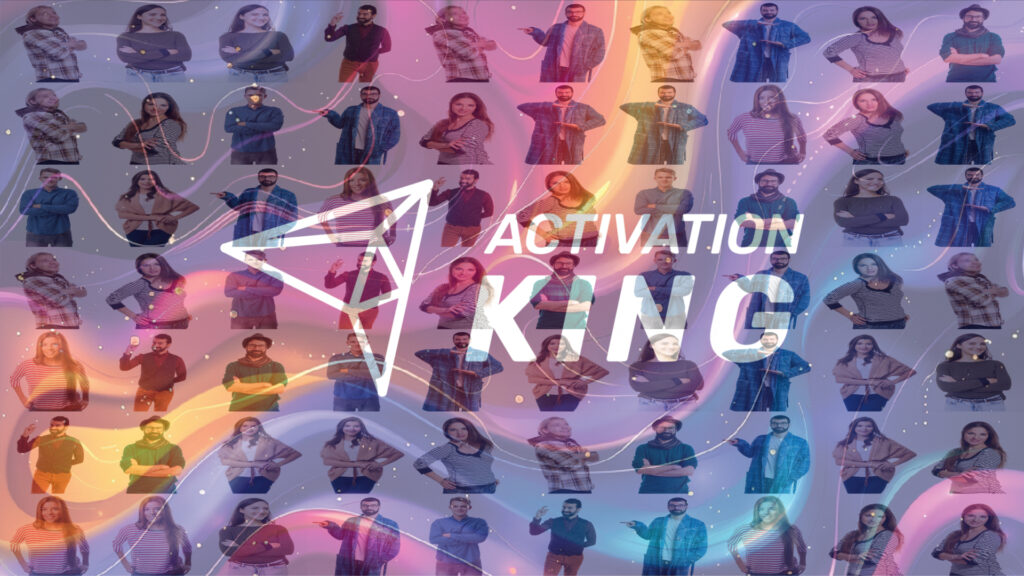
Once you have added all the photos, your mosaic wall will be complete. After the wall is complete, it will automatically render in 16k. Therefore, no matter how big your mosaic wall is, you will have clear human faces.