If you want to leave unforgettable memories for your guests at your wedding, a DIY Photo Booth can be a great option. The setup process is pretty simple and all you need is a camera, computer and software. Here’s our step-by-step guide on how to set up and use your own DIY Photo Booth at your wedding:
Necessary Equipment for DIY Photo Booth
All you need to create your own photo booth is a computer, a camera and software. Once you download and install the software, it does the rest and lets you take photos effortlessly.
- Camera: Use a DSLR or a quality digital camera. It is important to choose a camera that can take high resolution and clear photos. Thus, the quality of the printed photos is high.
- Computer: A laptop or desktop computer on which the software will run. Ensuring that the computer has sufficient processing power and memory capacity ensures that the software runs smoothly. In addition, it is important that the computer has a sufficient number of USB ports and can transfer data quickly.
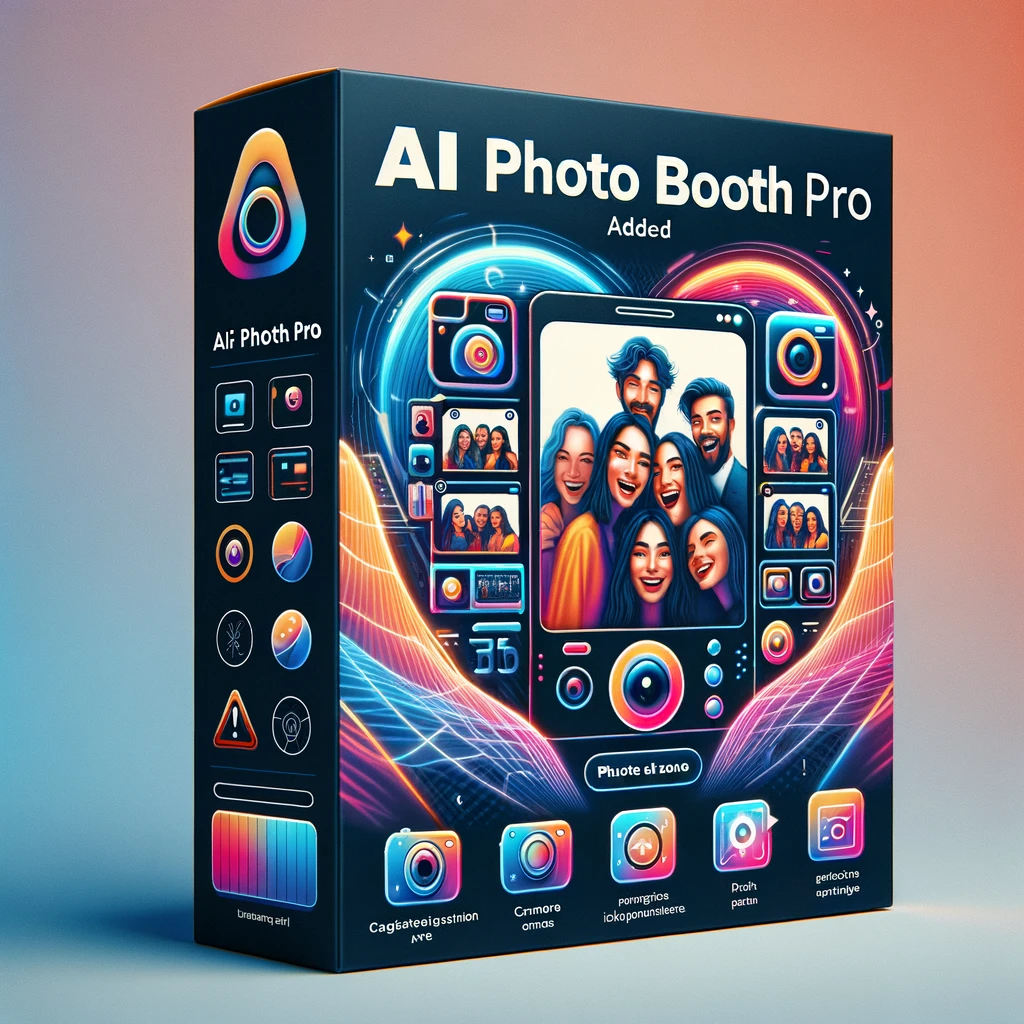
- Software: Download and install AI Photo Booth software. This software allows you to capture, process, print and share photos digitally. It offers a user-friendly interface and adapts to your wedding theme with various customization options. Additionally, the software adds an extra dimension to photos with artificial intelligence features such as facial recognition and filters.
Step 1: Locate the Photo Booth
Where the photo booth will be placed at the wedding venue is of great importance. Here are a few things to consider:
- Easy Access: It is important that the photo booth is in a location that is easily accessible to your guests. Usually somewhere near the dance floor or dining area is ideal. This way, your guests won’t have to stray too far to take photos.
- Area: Leave enough free area around the cabinet. This ensures that your guests can move freely and avoid congestion while waiting in line. Additionally, the large photo shooting area allows group photos to be taken more easily.
- Lighting: Choose a location with natural light or well-lit lighting. If the location is dark, you can illuminate the photo shooting area by using additional lighting. Good lighting makes photos appear clearer and more beautiful.
Step 2: Create Background
AI Photo Booth offers various backgrounds and effects, eliminating the hassle of dealing with background and decoration in the venue. This software allows you to create customizable frames specific to your wedding theme or backgrounds as you wish. Whether you’re planning a romantic countryside wedding or a stylish salon wedding, you can create the perfect frames and backgrounds for any theme with AI Photo Booth. If you want to achieve a stylish look in the space, you can make the area around your DIY Photo Booth more attractive by using colorful curtains, lighting and decor around a plain background.
Step 3: Download and install the software on your computer
First, download the AI Photo Booth software to your computer. The software is very simple and easy to use. You can install it quickly by following the installation instructions. After installation, adjust the software settings to determine photo size, printing options and digital sharing settings. With these settings, you can plan ahead for how your guests will receive and share their photos. You can also benefit from the latest features by regularly checking for software updates.
Step 4: Select/Place Your Camera
When choosing a camera for your DIY Photo Booth, you should choose one that can take high resolution and clear photos. While DSLR cameras are ideal for this job, a quality digital camera or GO Pro can also do the job. Pay attention to your camera’s low-light performance and autofocus capabilities. These features improve the quality of photos, providing your guests with a better experience. You can access the cameras supported by AI Photo Booth Pro from supported cameras.
You can use a tripod to mount the camera steadily and securely. A tripod keeps the camera steady without shaking and helps take clear photos. Adjust the angle and height of the camera to ensure your guests of different heights can take the best photos. By placing the camera in the exact center of the photo shooting area, you can ensure that the shots are smoother and symmetrical. Also, create a safe environment by organizing the camera’s cables.
Step 5: Trial and Final Checks
Once the installation is complete, take test shots to make sure everything is working properly. Check the quality of the photos and make sure the software is working properly. Also test the print time and digital sharing options for photos. This way, you can ensure that the system runs smoothly without any disruptions on the wedding day.
DIY Photo Booth is a great way to create unforgettable memories for your guests at your wedding. Easily set up with just a camera and computer, this system makes photo shoots fun and instantly shareable. One of the biggest advantages of this system is that photos can be instantly printed and shared digitally. Your guests can instantly view the photos taken, print them and share them on social media. Plus, the photo booth is customizable, allowing you to make adjustments to suit your wedding theme and style.
Share This Post Now!
Discover the World’s Best Photo Booth Software
AI Video, AI Face Swap, AI Prompt, AI Background Removal, Photo Booth, 360 Video, Mirror Booth, Green Screen, GIF Booth, Word Portrait and GLAMBOT!


